Here's the first Patchwork Auditions post!
Patchwork Auditions will look at some classic blocks and expose some alternate colorings. My goal is to simply think about other ways to color a quilt block I have looked at hundreds of times. Then I'll make one. Or two. Eventually, I'll put them together into a scrappy quilt.
Join me on this laid back adventure if you like! Below you'll find a cutting list for the basic blocks in 12" and 16" finished blocks, but not a tutorial. Use the coloring sheet to generate your own ideas. I hope that you'll audition other color arrangements and play as I am. ---------------------------------------------------------------------------------------------------------
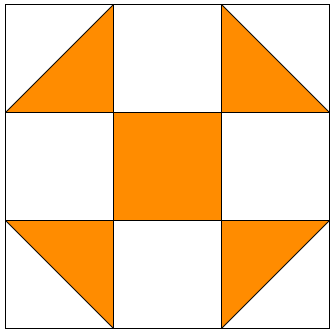
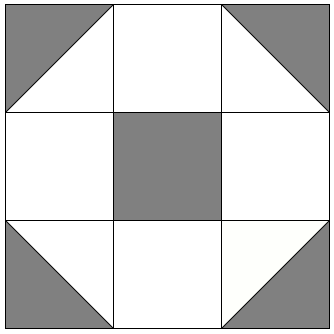
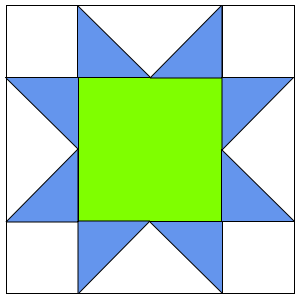
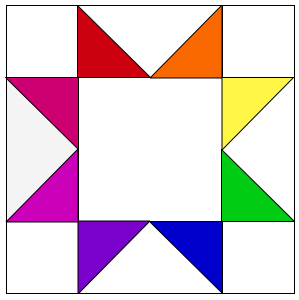
Sawtooth Star (Traditional)
I'm starting this series with probably a very well known quilt block - the Sawtooth Star. Everybody loves a star. And pictured below is the most common way to make it.
Sawtooth Star Coloring Sheet Download the PDF
here.
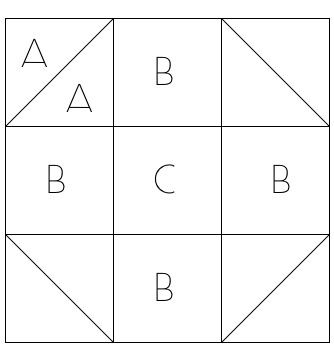
Block Structure
This block can be constructed using either Flying Geese units or Half Square Triangles (HSTs) to make the star points. It is really up to you. Personally, I switch between the methods. Flying Geese units have more waste, but can be a time saver. If I want to use a lot of colors, HSTs are very helpful and have significantly less waste. The block has a large center square, either (4) Flying Geese or (8) HSTs, and (4) corner squares.
Cutting List. I have listed cuts for Flying Geese and HST methods for both 12" and 16" blocks.
For 12" blocks. (Flying Geese method)
- Cut (4) 3 1/2" x 3 1/2" squares for corners.
- Cut (1) 6 1/2" x 6 1/2" square for center.
- Cut (4) 6 1/2" x 3 1/2" rectangles for Geese.
- Cut (8) 3 1/2" x 3 1/2" squares for Geese.
Make (4) Flying Geese units. Geese are 3 1/2" x 6 1/2" unfinished. See Flying Geese tutorial here.
For 12" blocks. (HST method)
- Cut (4) 3 1/2" x 3 1/2" squares for corners.
- Cut (1) 6 1/2" x 6 1/2" square for center.
- Cut (4) 4 1/4" x 4 1/4" squares for HSTs of Fabric #1.
- Cut (4) 4 1/4" x 4 1/4" squares for HSTs of Fabric #2.
Make (8) HSTs. Square them up to 3 1/2" x 3 1/2" unfinished. See HST tutorial here.
For 16" blocks. (Flying Geese method)
- Cut (4) 4 1/2" x 4 1/2" squares for corners.
- Cut (1) 8 1/2" x 8 1/2" square for center.
- Cut (4) 8 1/2" x 4 1/2" rectangles for Geese.
- Cut (8) 4 1/2" x 4 1/2" squares for Geese.
Make (4) Flying Geese units. Geese are 4 1/2" x 8 1/2" unfinished. See Flying Geese tutorial here.
For 16" blocks. (HST method)
- Cut (4) 4 1/2" x 4 1/2" squares for corners.
- Cut (1) 8 1/2" x 8 1/2" square for center.
- Cut (4) 5 1/4" x 5 1/4" squares for HSTs of Fabric #1.
- Cut (4) 5 1/4" x 5 1/4" squares for HSTs of Fabric #2.
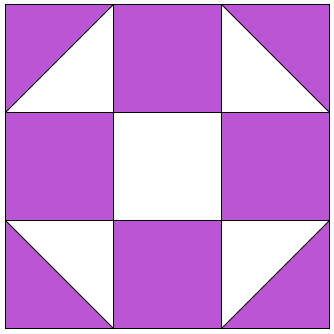
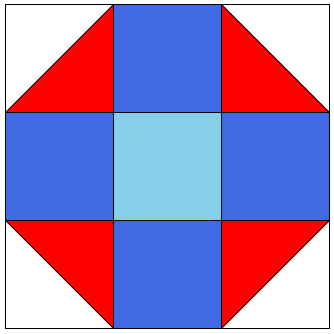
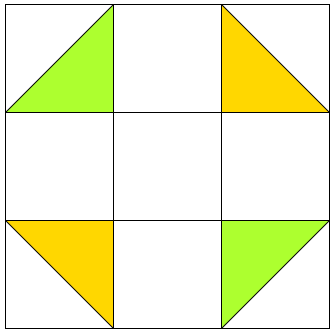
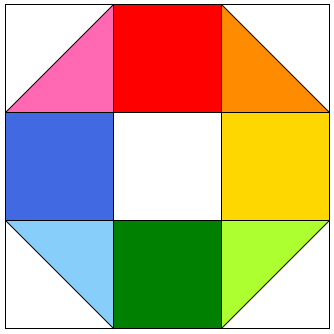
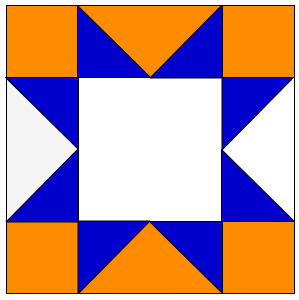
Alternate Coloring Options
There are many ways to chop up this block and rework it. Often that makes it more difficult with more pieces to sew back together. In this exercise, I simply want to recolor the block without changing it's basic construction. These are just a few of the options I came up with. I'm sure there are tons more! Hopefully, this is a good starting point.
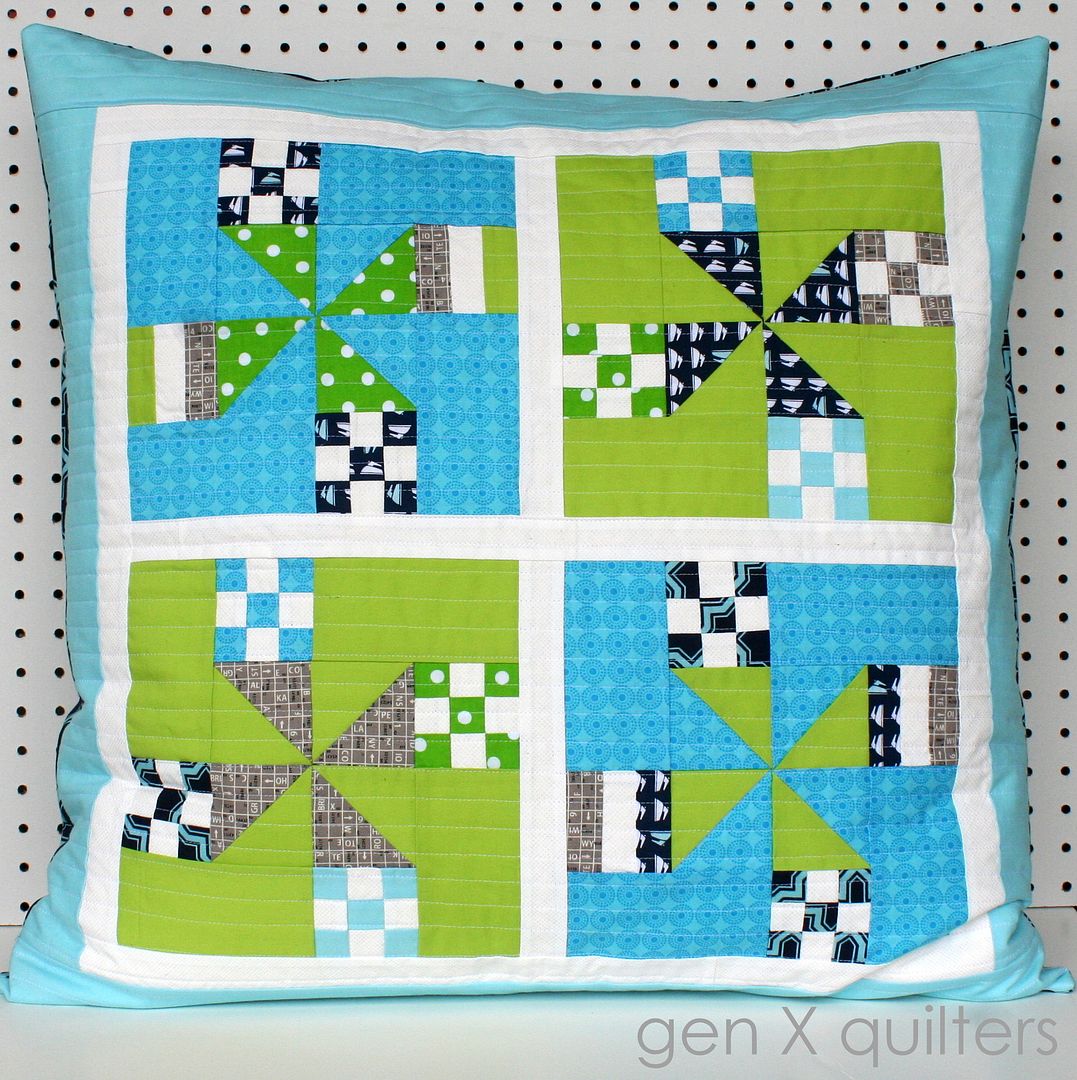
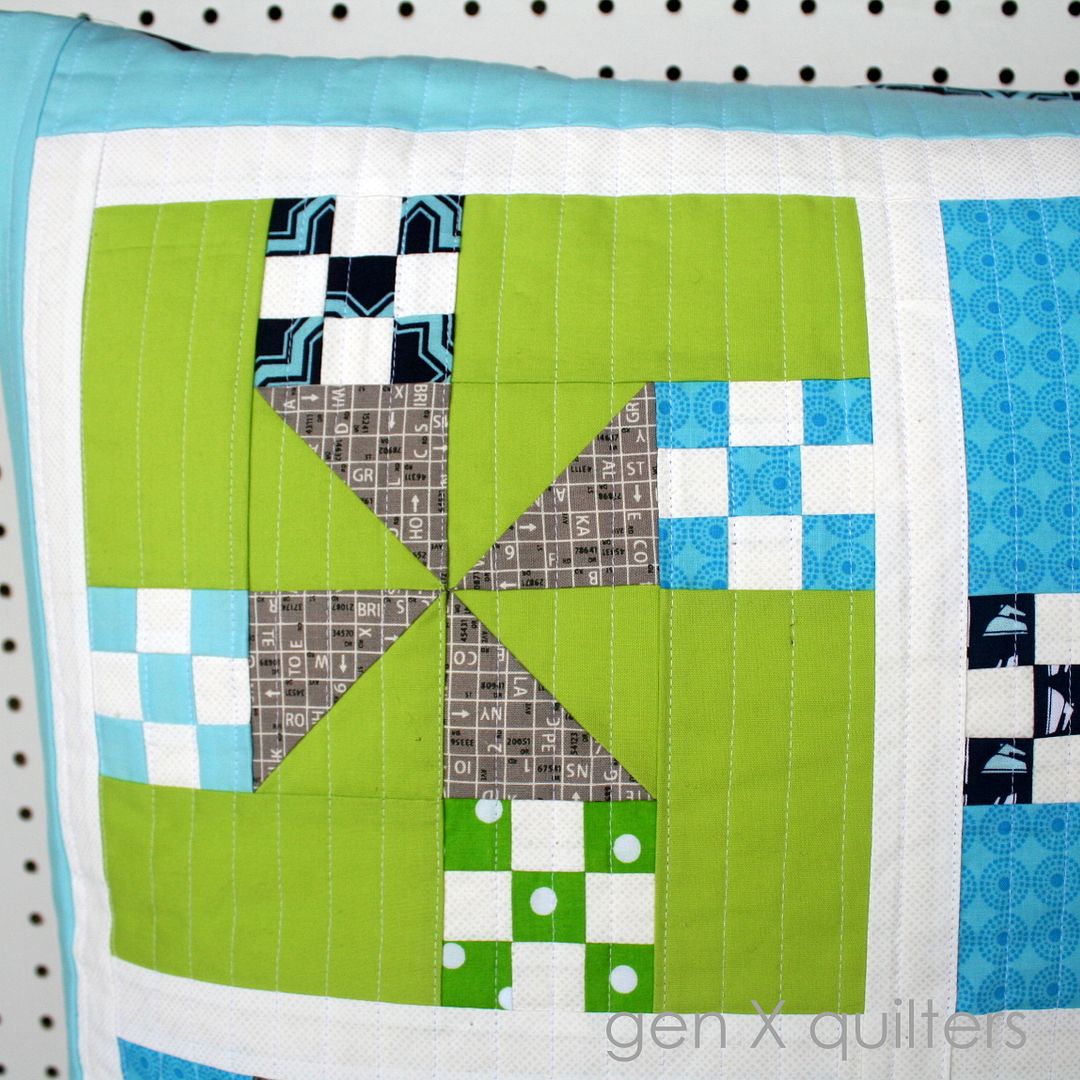
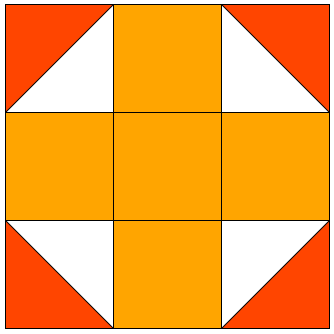
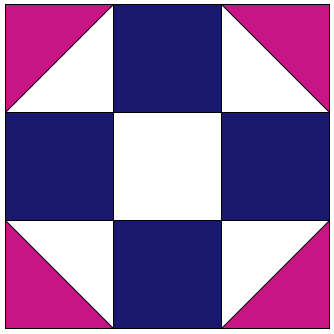
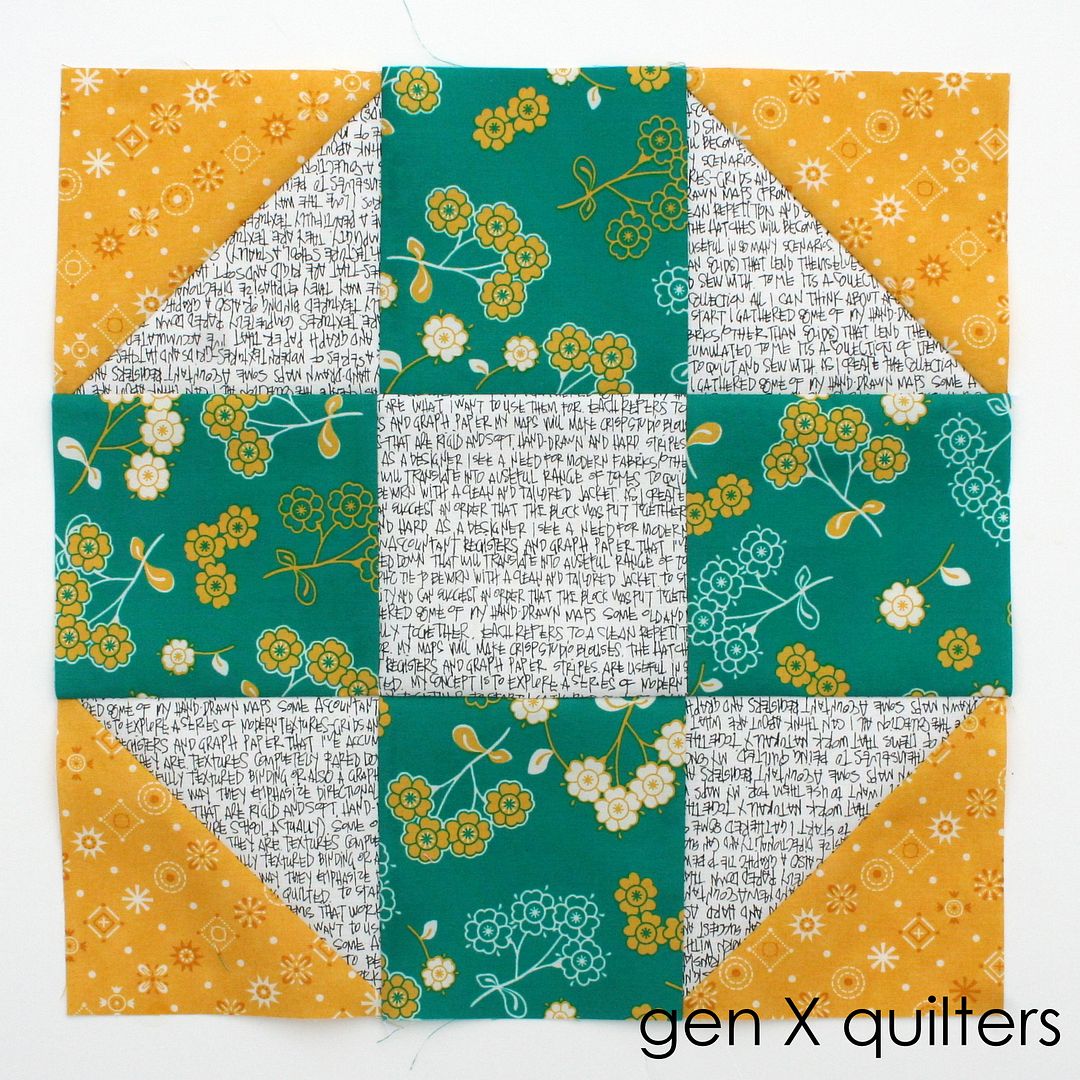
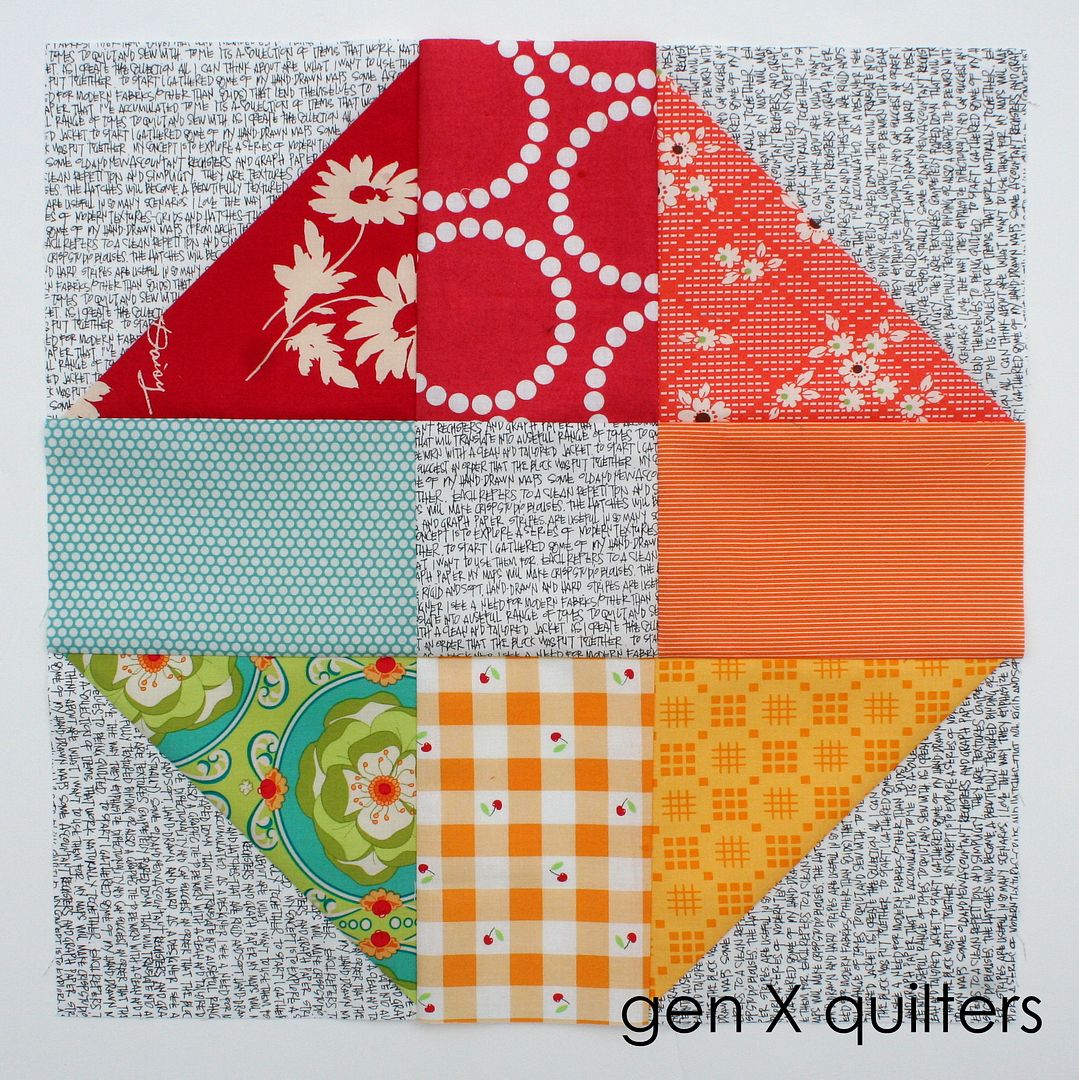
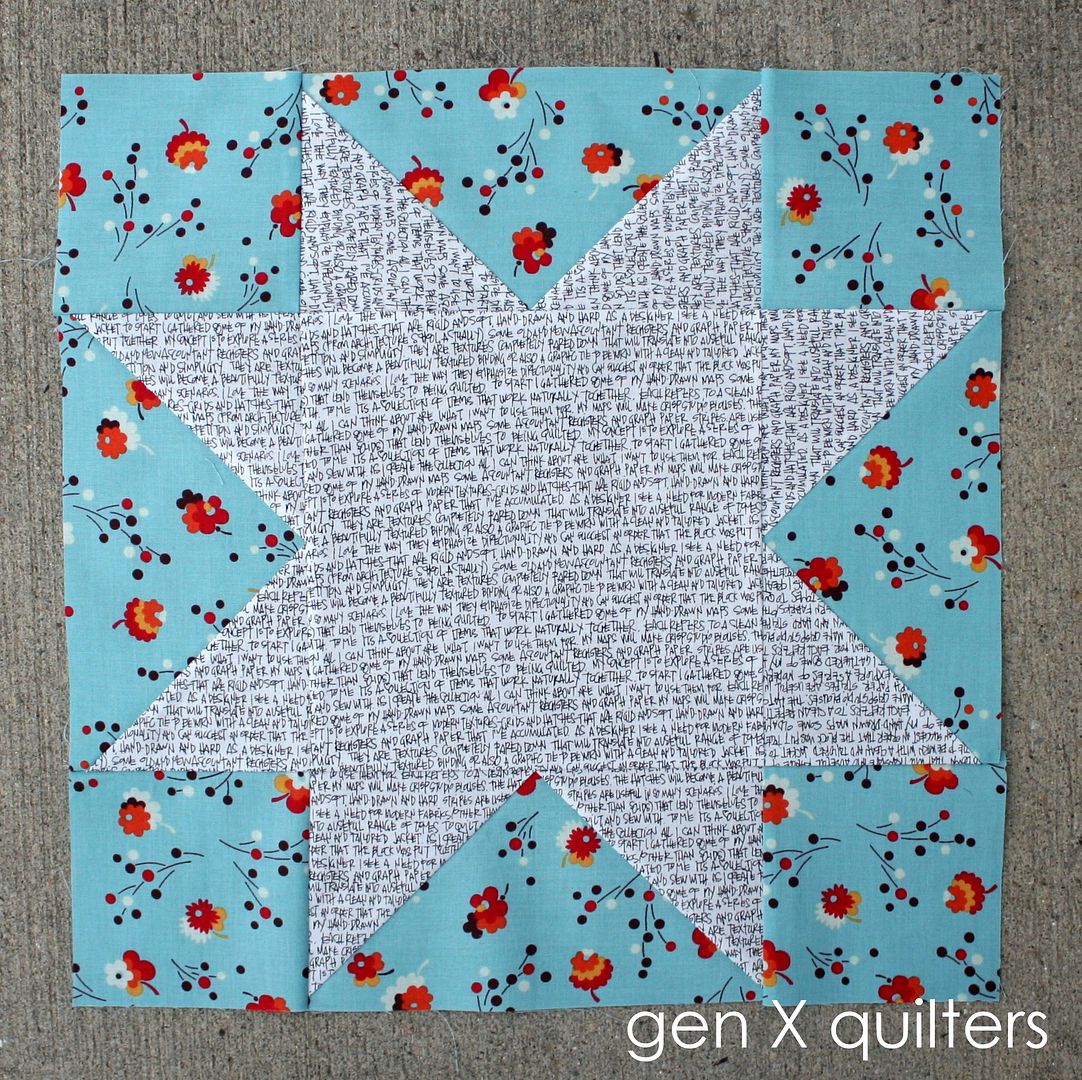
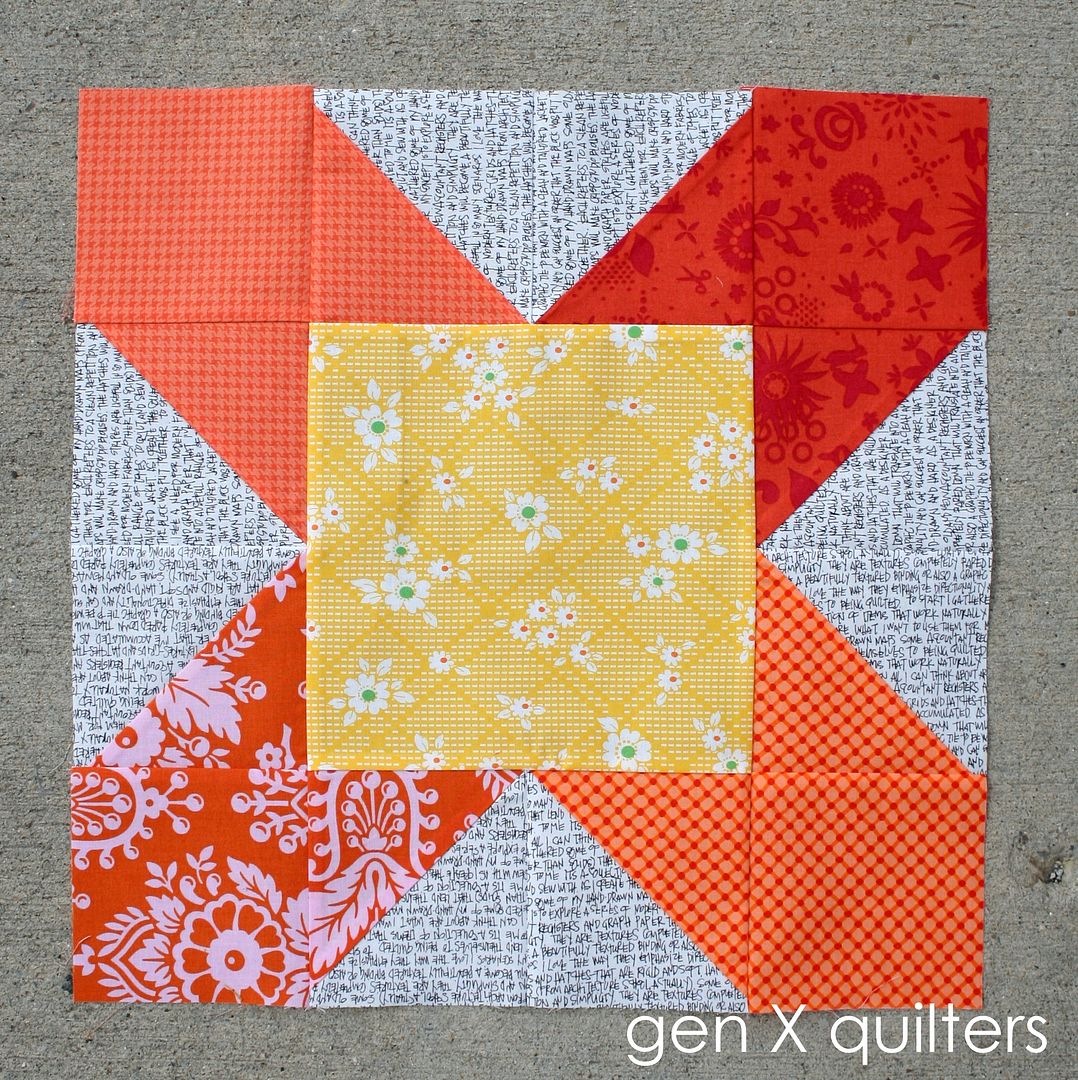
My Sample Blocks
letter F in the table above (used Geese method)
letter E in the table above (used HST method)
There are many fun things to do with this basic block! Share any past or present Sawtooth Stars you've made with us to show how you colored it using #patchworkauditions #sawtoothstar. Enjoy!