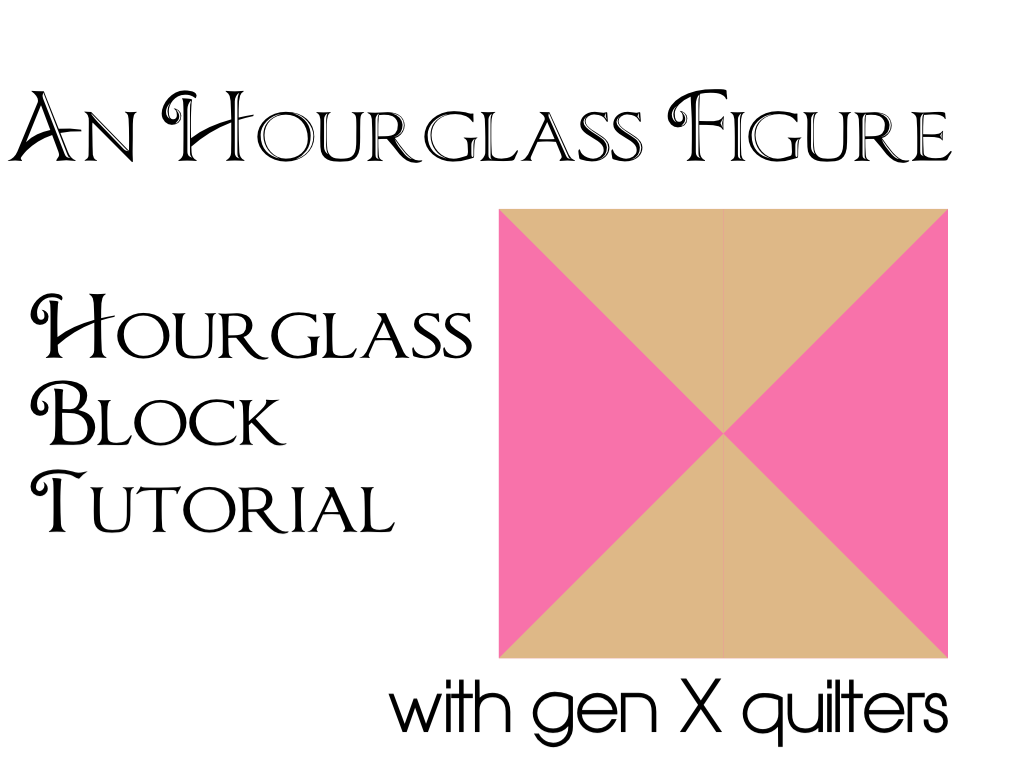
An Hourglass Figure: Hourglass Block Tutorial

Hourglass

Here is a tutorial for a fundamental quilt block, the Hourglass block.  Such a classic!  Bet you can't guess what block will be May's Sisters' Ten block??  Hee hee.  The block for the BOM will build upon this hourglass block... but I love having the basics separated out into it's own tutorial.  Here we go...

1letters
1.  Cut 2 squares the same size.  One from Fabric A and one from Fabric B.
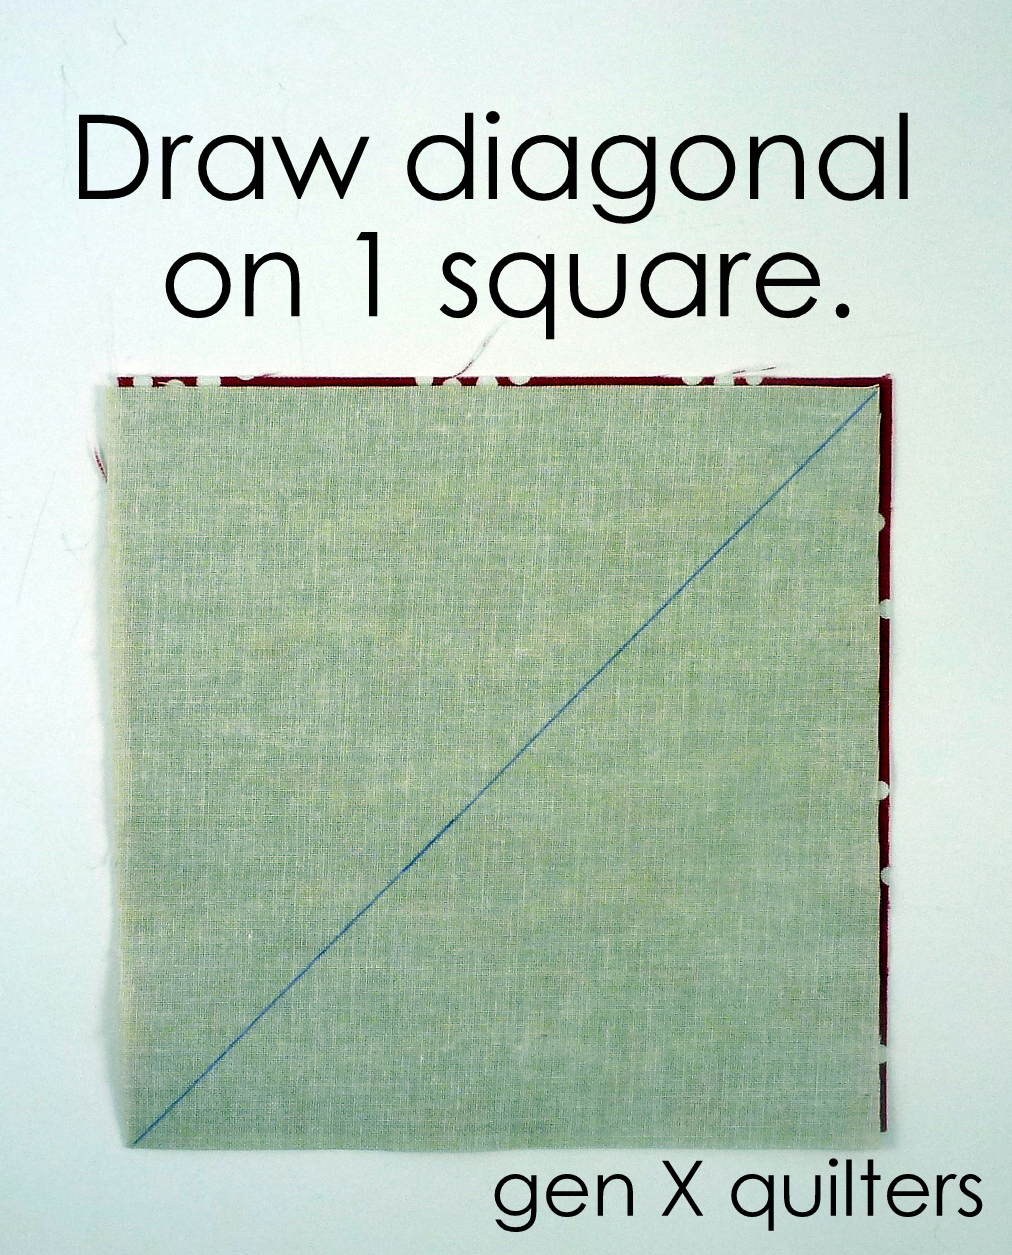
Draw a diagonal line on the wrong side of the Fabric A square.
2


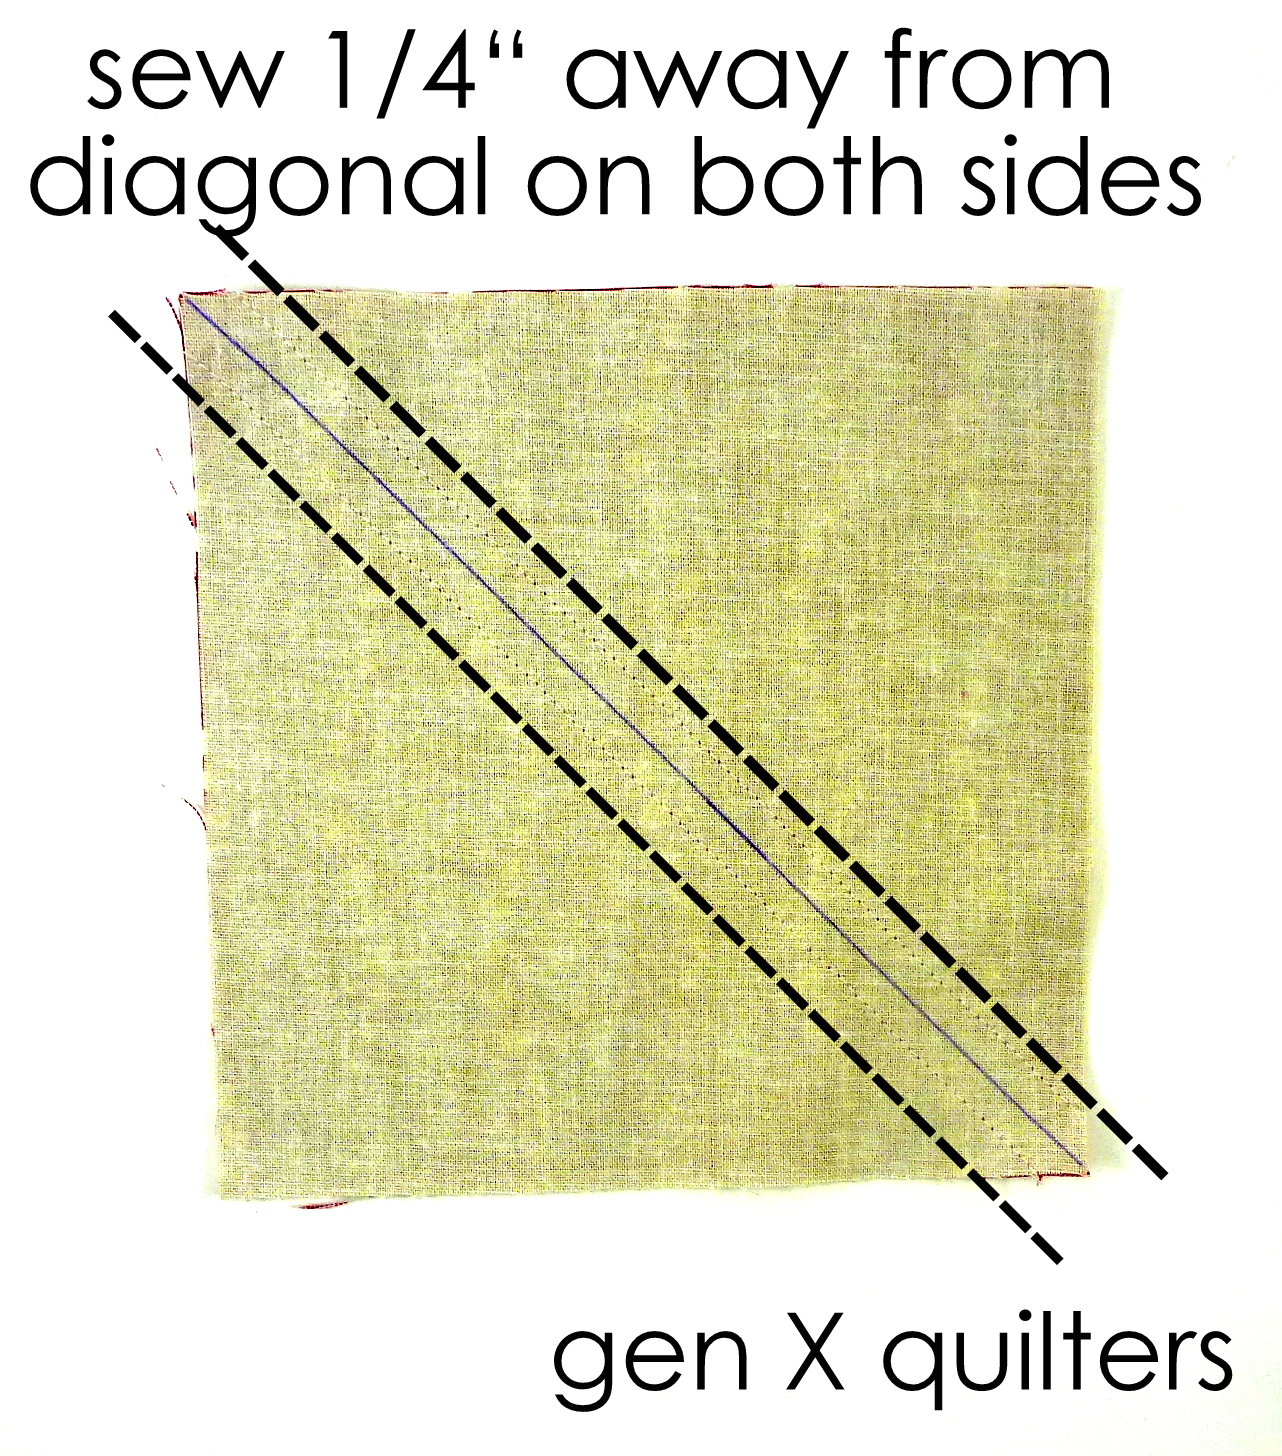
2.  Layer the Fabric A square atop the Fabric B square with right sides together.  Sew pairs together, stitching 1/4" on each side of the drawn line.
3
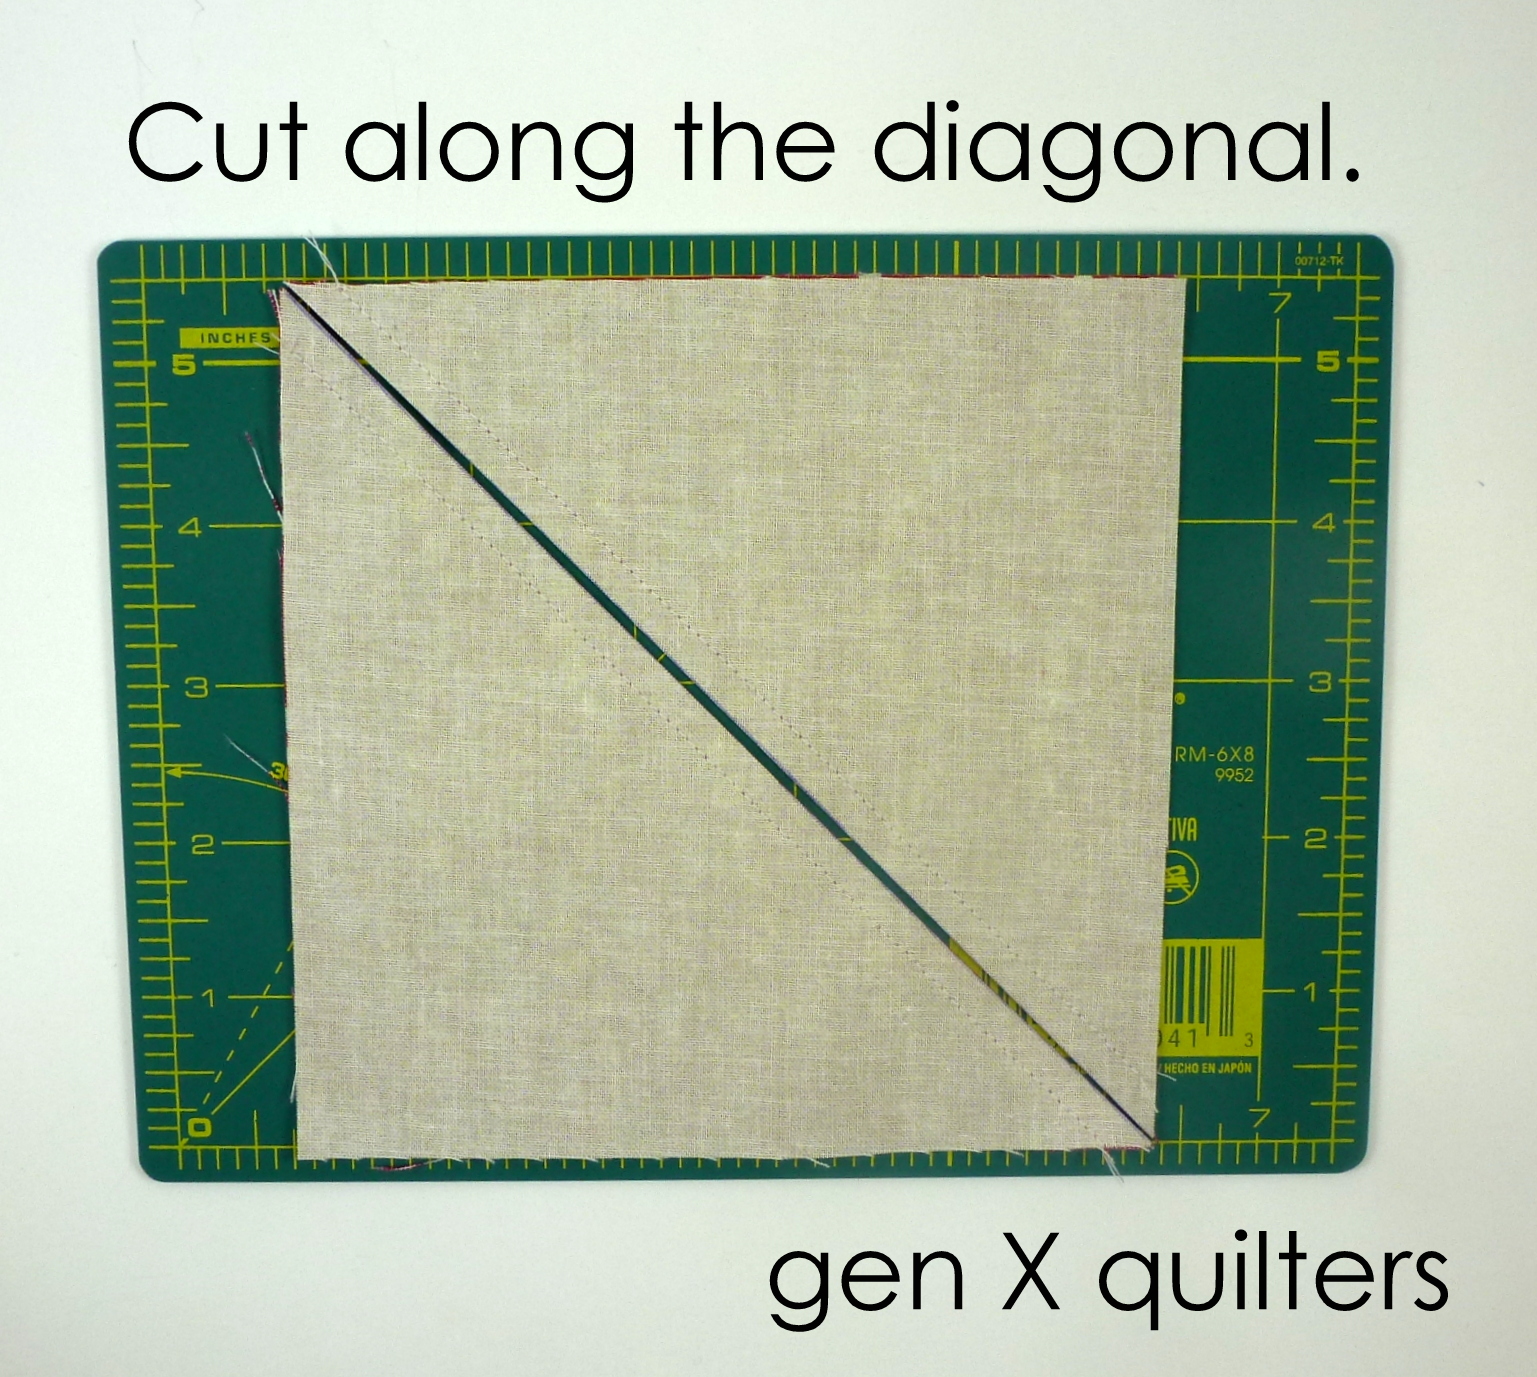
3.  Cut the pair apart using your rotary cutter along the drawn line.
4

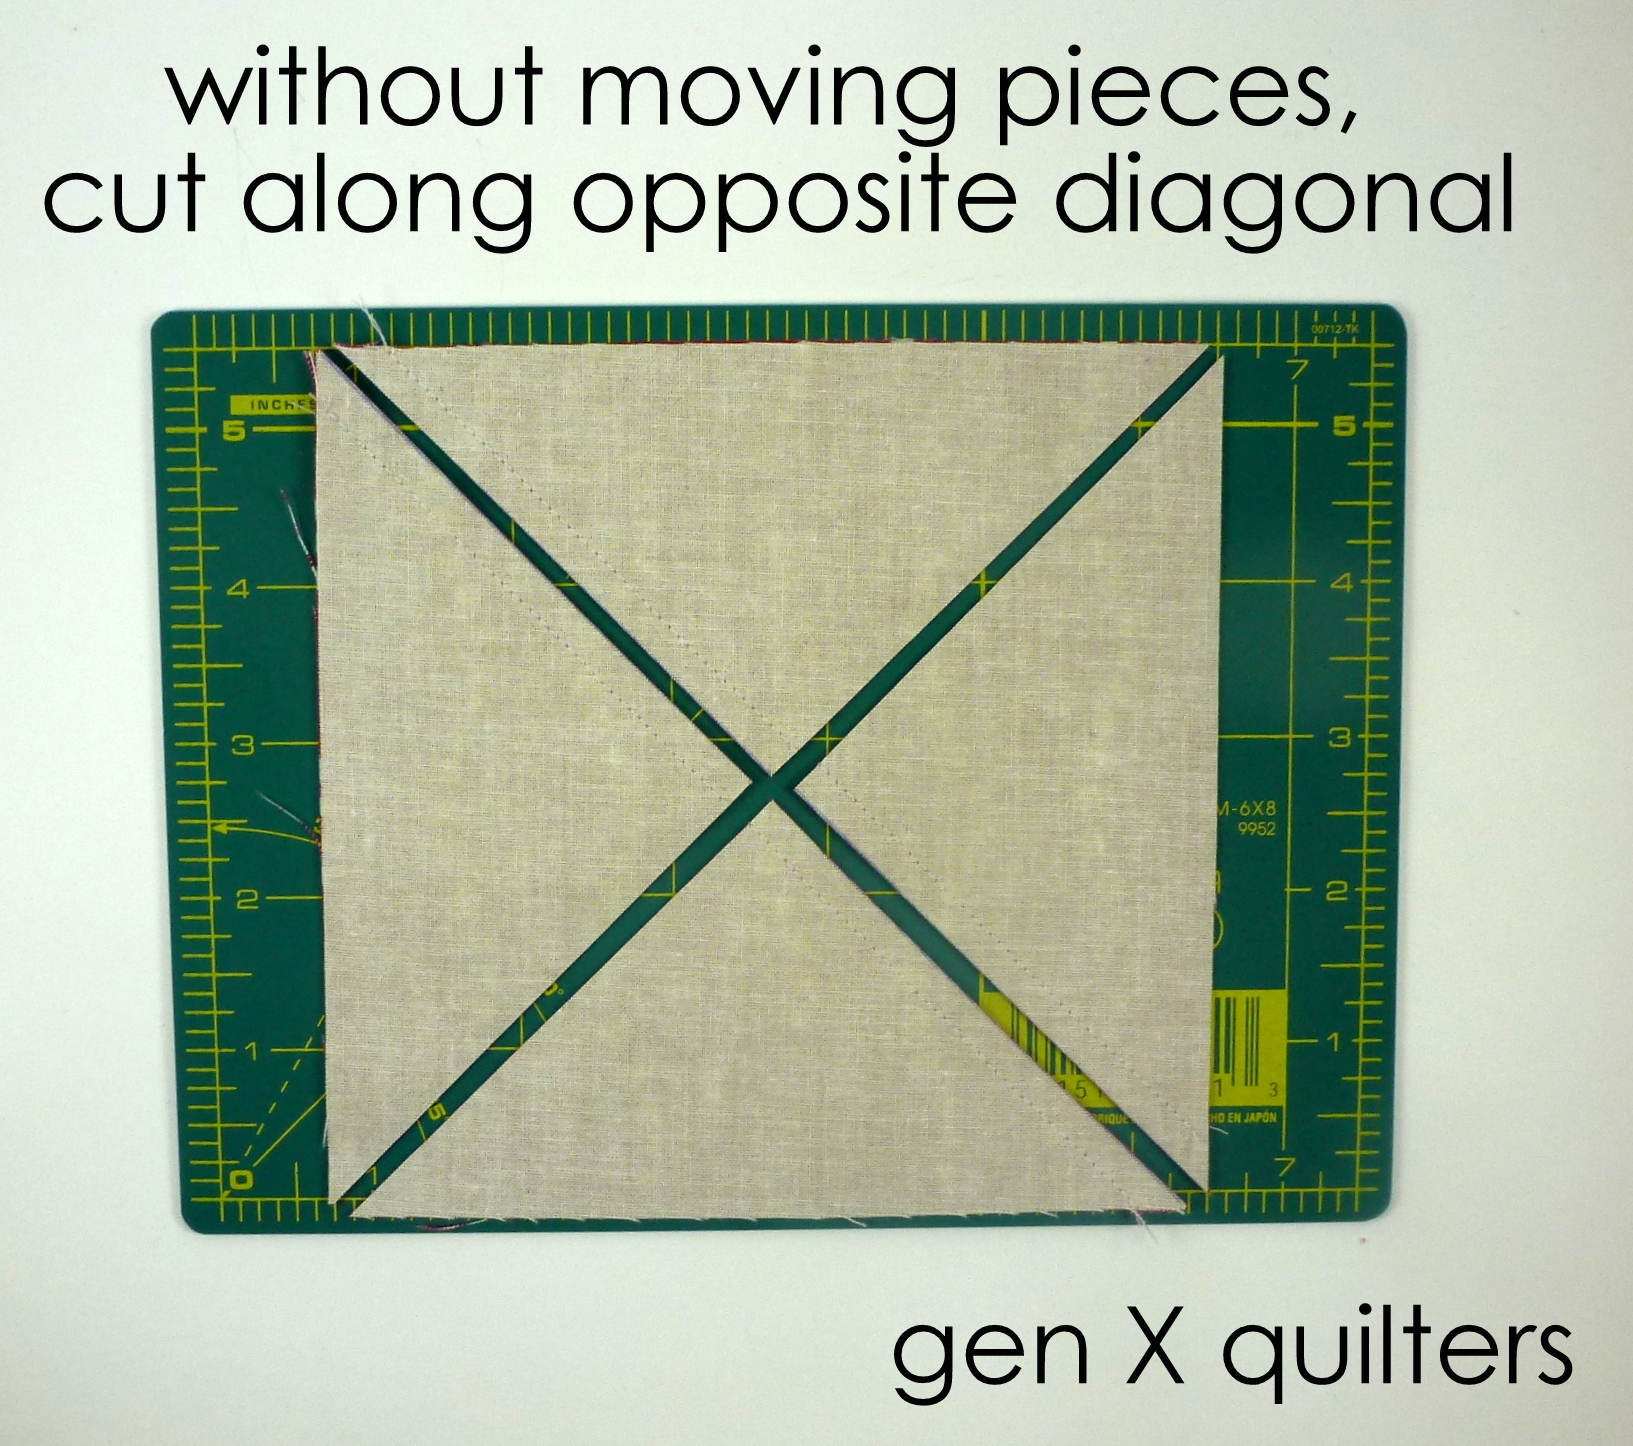
4.  Without moving the blocks you just cut, place your ruler over the opposite diagonal and cut.  There are now four triangle units.  Each unit has one A triangle and one B triangle.
5
5.  Press the seams toward the dark side and match up pairs of triangles that form the hourglass block together.
6
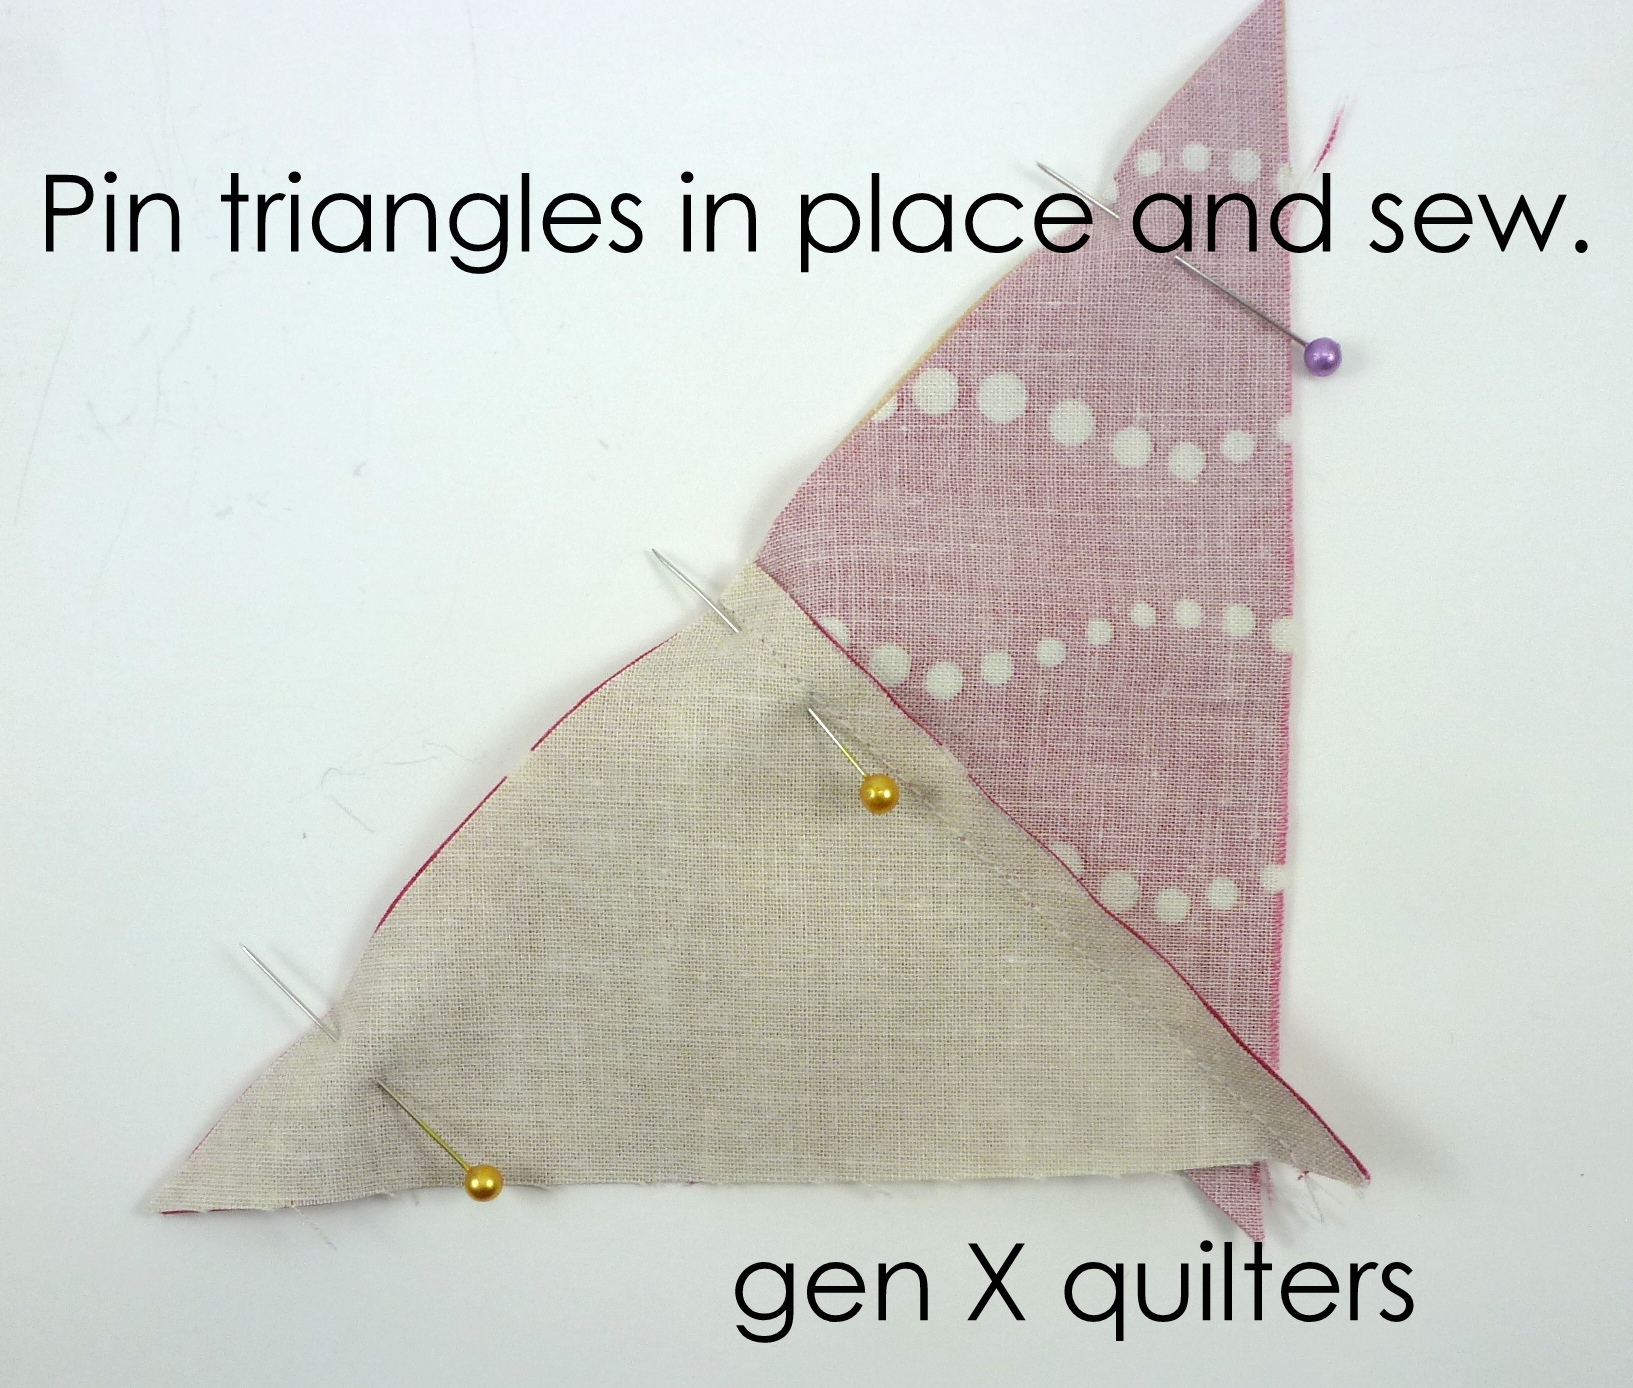
6.  Pin triangles in place and sew.  Now I admit, I am a bit of an anti-pinner, but this is one case where I do like to pin.  When sewing triangles with bias introduced, the simple act of pinning can help from your triangles getting distorted.
7

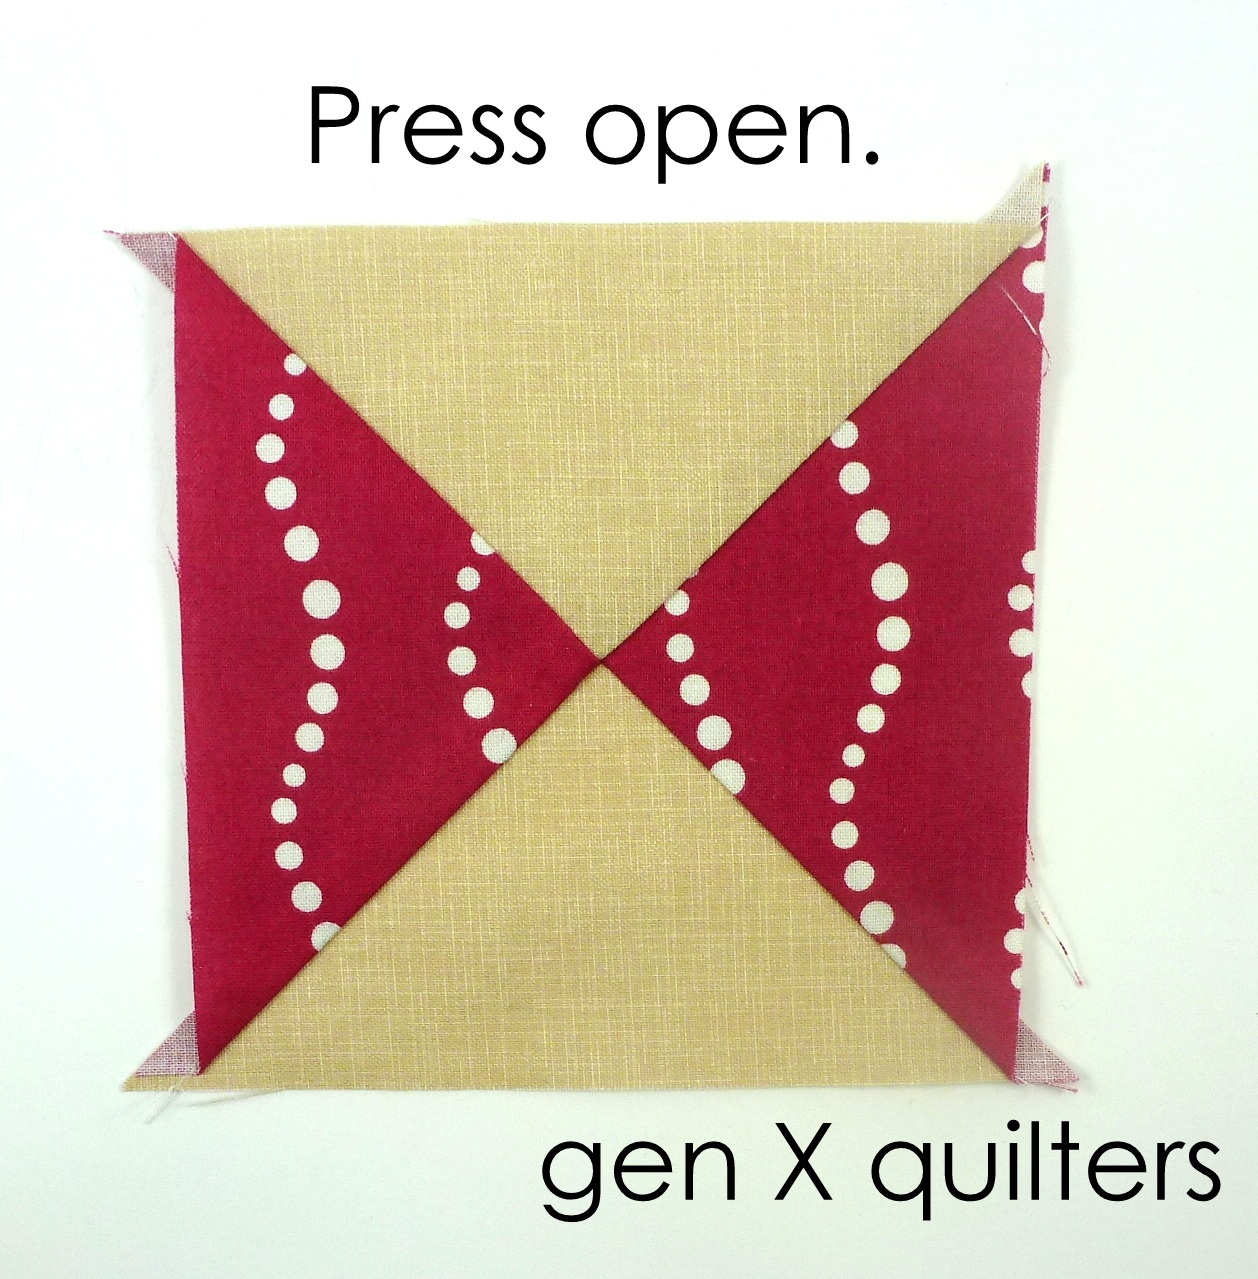
7.  Press the block open.
8
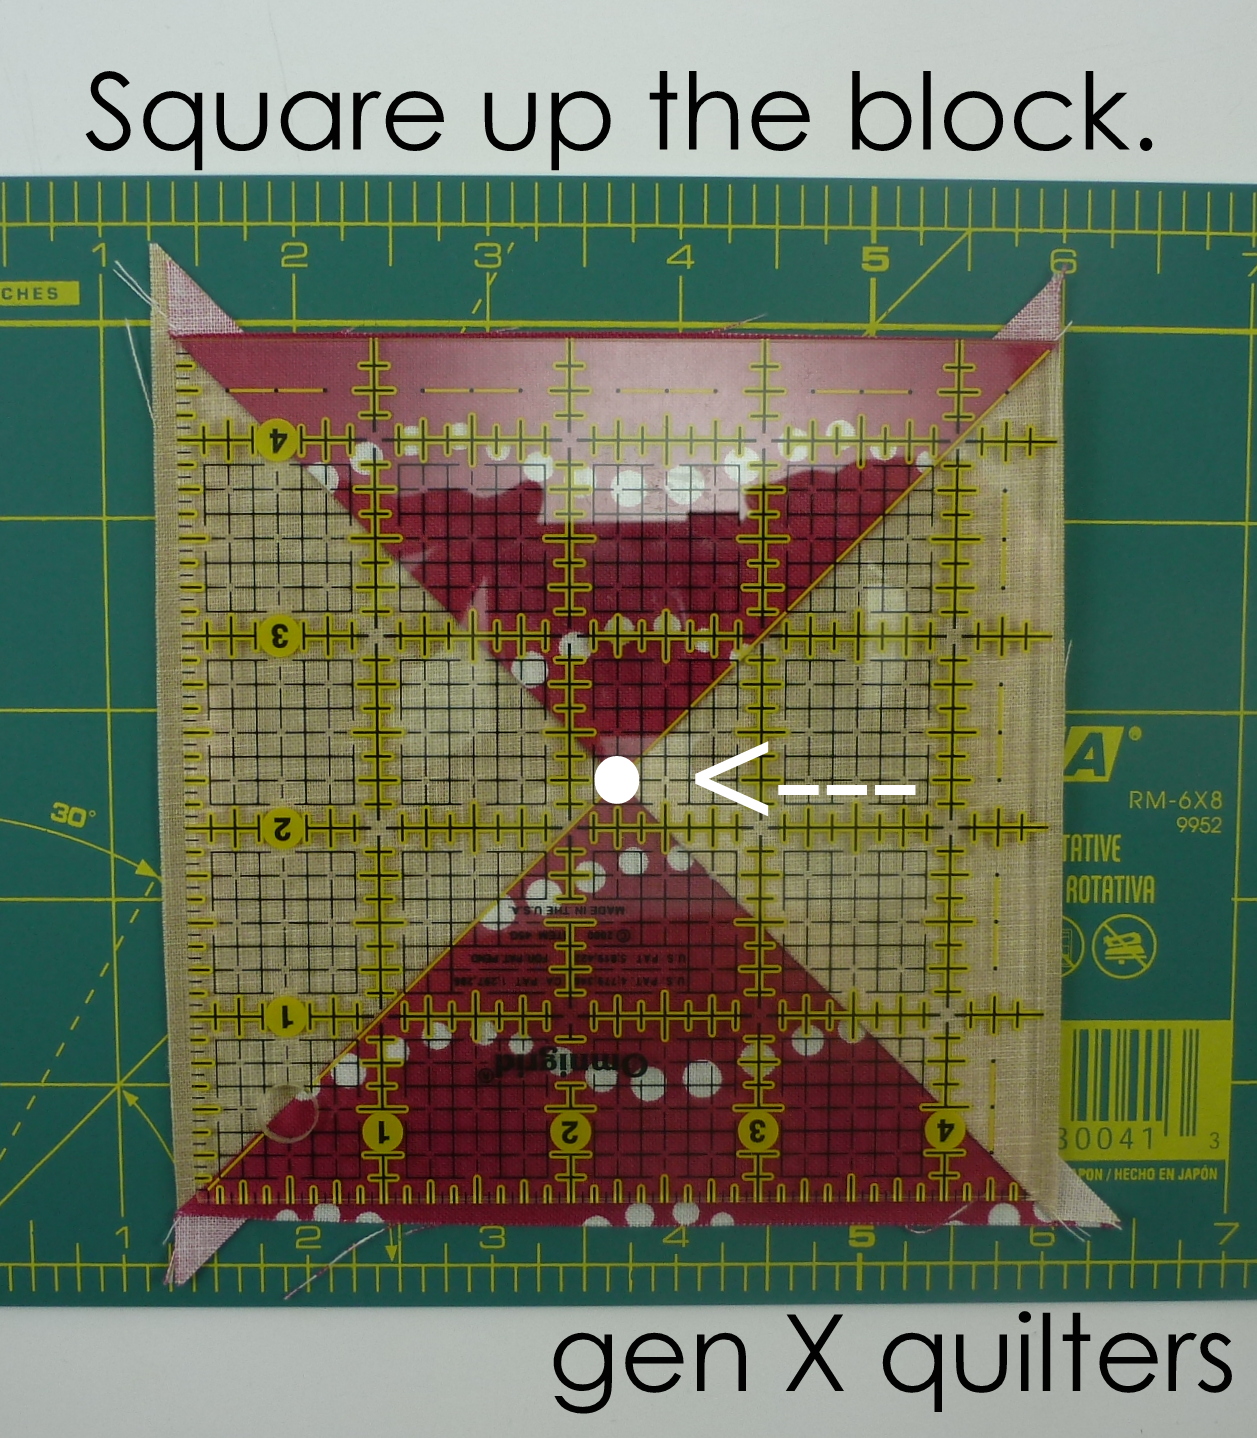
8.  Square up the block.

In this case, I was lucky that this block needed to square up to 4 1/2" and I happened to have a 4 1/2" ruler.

Mark the center of the block on your ruler.  Lay the diagonal of the ruler on top of one of the diagonals of the Hourglass, making sure the center dot is at the intersection of the block.  Trim excess fabric on all sides.
9

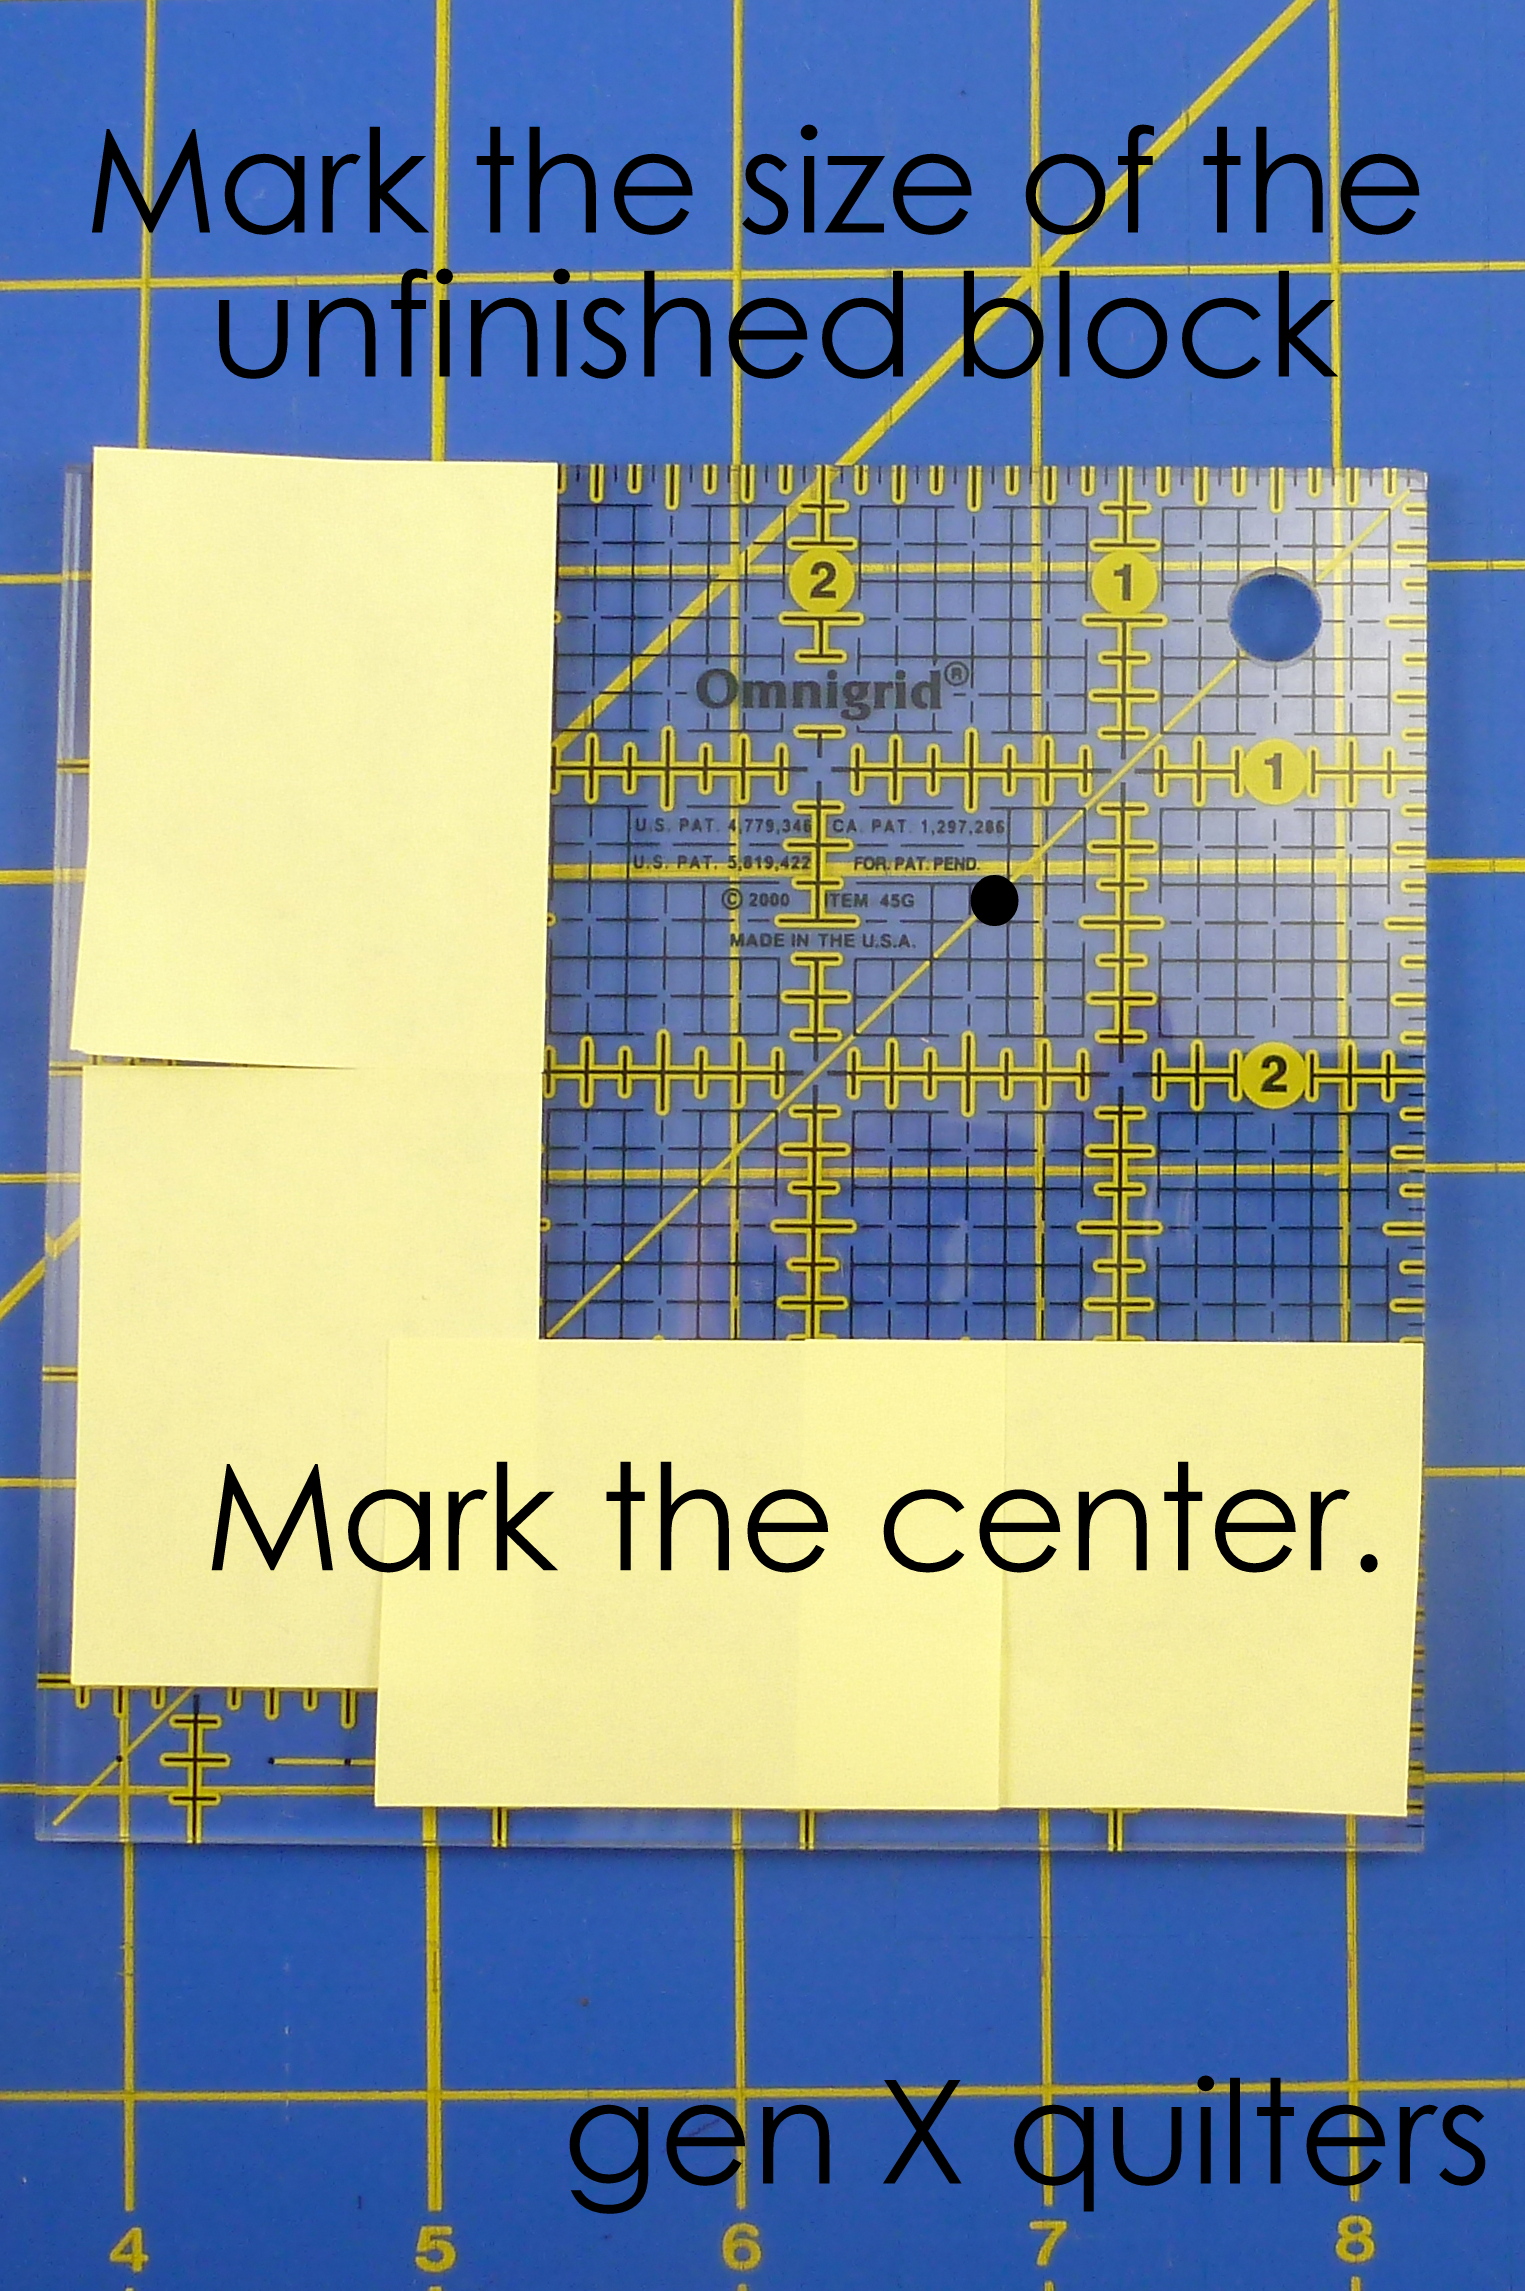
8.5.  If your ruler is not exactly the same size as you need, I like to mark off the unfinished size I am going to trim the block down to.  I lay post-its on the ruler so I can see the unfinished size without getting confused.  (In this example, I have gridded off a 2 7/8" x 2 7/8" square.  Mark the center of the square also.

hourglass 5. mark required unfinished size
8.75.  Now you can continue as above (in step 8) by laying the diagonal of the ruler on top of the diagonal of the hourglass, making sure the center dot is at the intersection of the block.  Trim excess on all sides.  (For further details on squaring up with the marked off ruler, see this tutorial.)
10
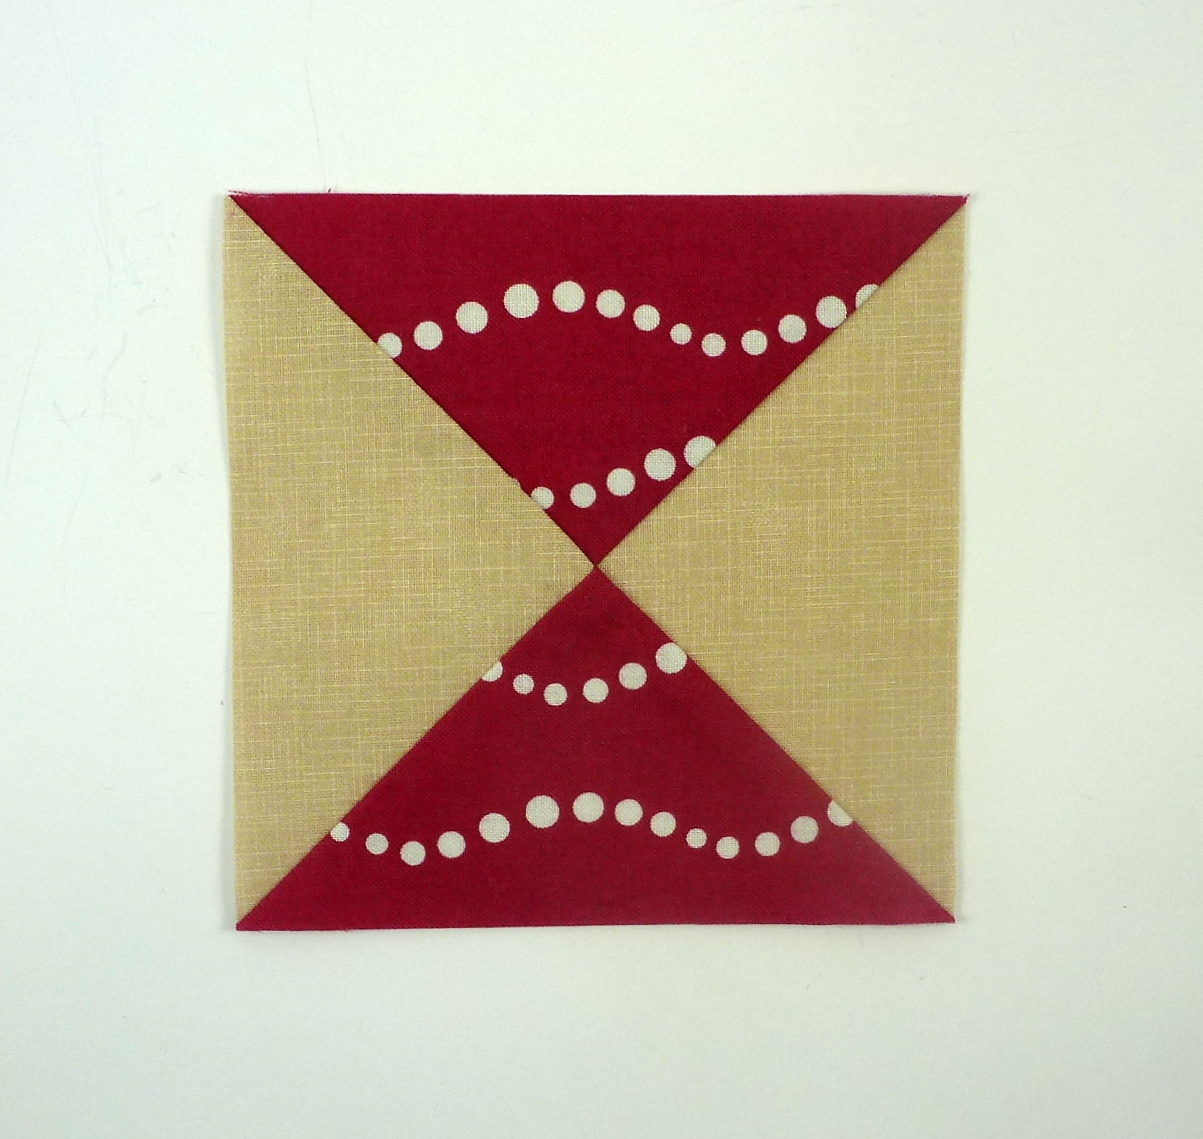
Finished!

Easy Machine Applique Tutorial: How to Applique in No Time

Applique Cover
Have you tried applique?  If not, are you scared of something new?  No matter!  There are several types of applique, some harder than others.  Today I will show you a very easy and basic method of machine applique.  I hope this helps get you started.

Materials.

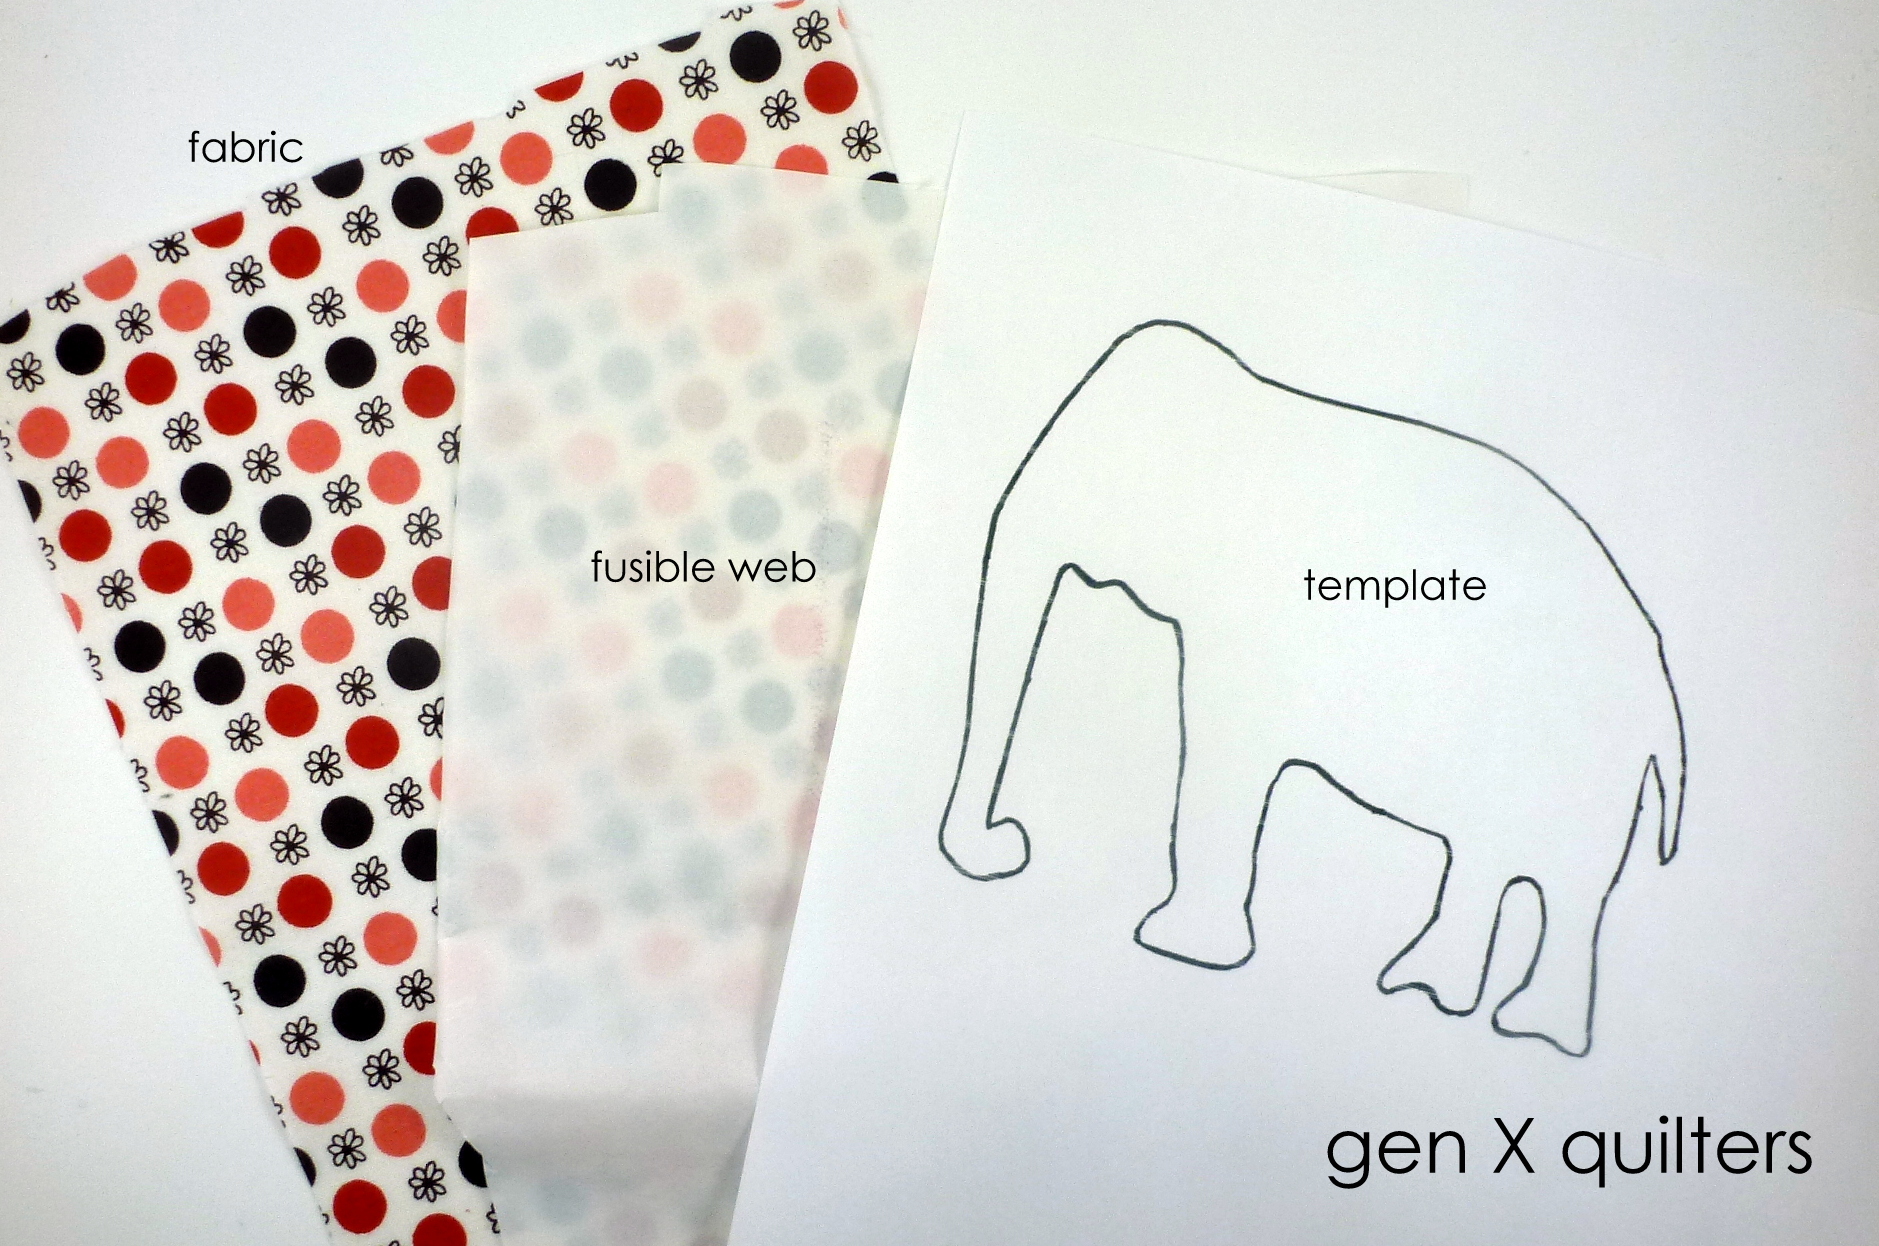
  • template - the shape you want to applique.  It can be a printout from a pattern or a drawing or something you trace from a coloring book.  The possibilities are endless!
  • fusible web - there are many common brands of fusible web.  Heat 'N' Bond Lite is typically what I use.  Steam-A-Seam, MistyFuse, and Pellon Wonder-Under are other brands I have tried.  Make sure to get sew-able fusible web.  There is a non-sewable version of fusible web and if you try to sew through it, it will gum up your needle with glue.  Trust me.
  • fabric - a piece slightly larger than your desired applique shape.  You will also need a background fabric to fuse your applique shape to.  This may be another rectangle for a quilt block, a t-shirt, a bag, a quilt top, etc.
  • interfacing or stablizer (optional) - if your background fabric is lightweight or thin, you may want to place interfacing underneath the background fabric to stiffen it.

applique 1

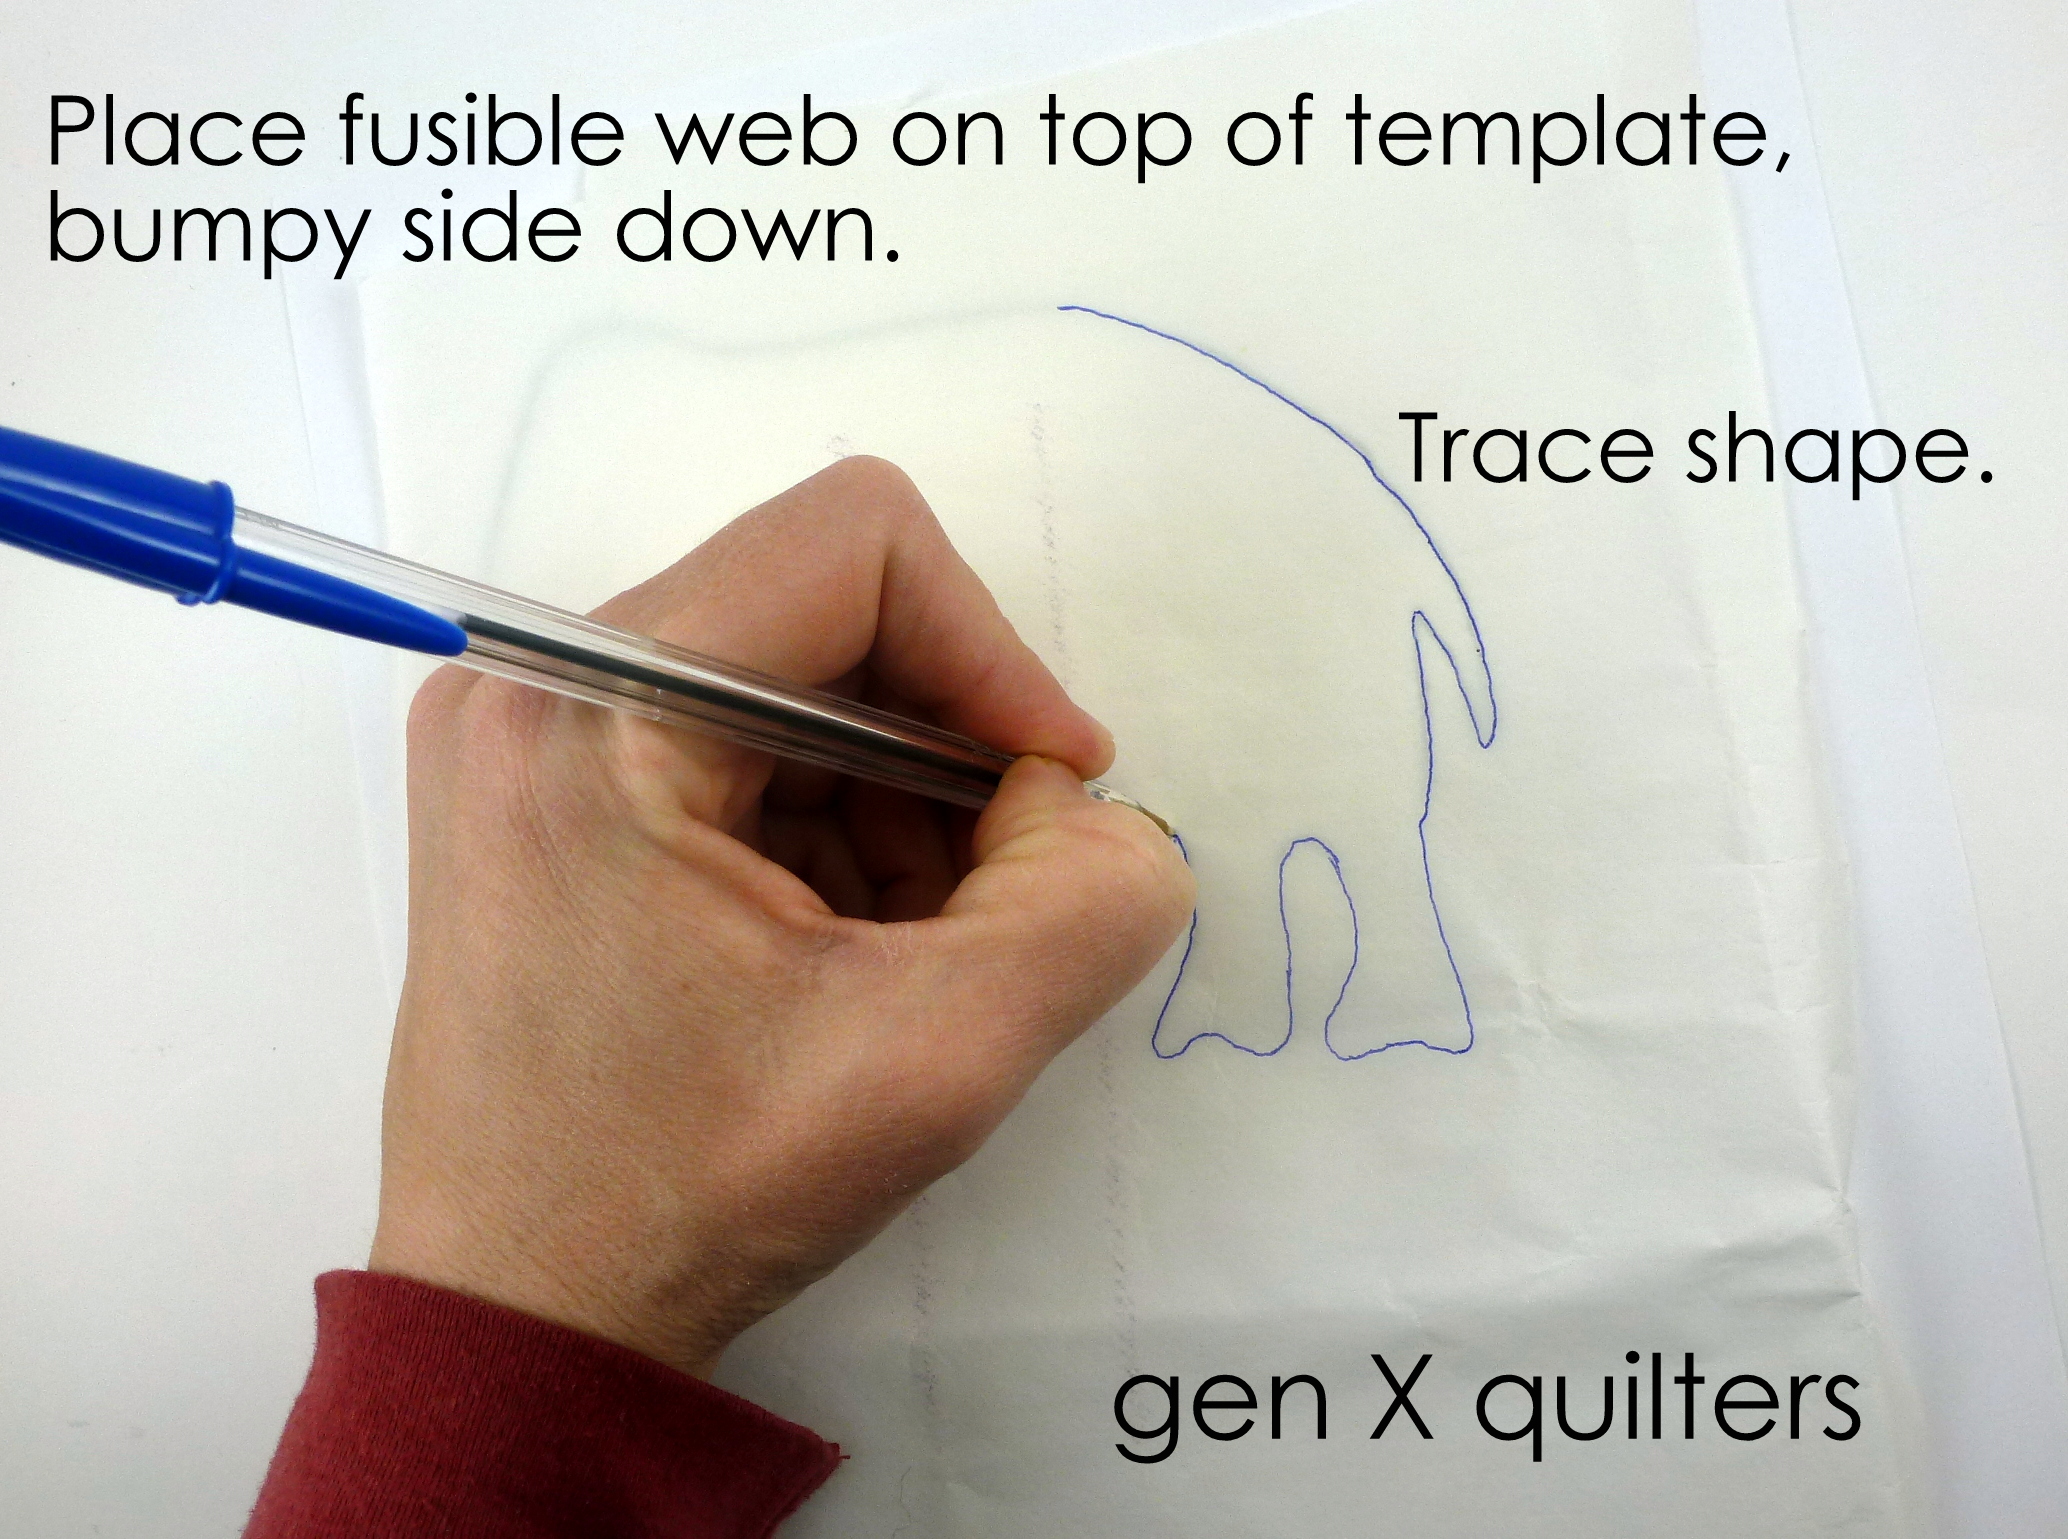
1.  Place the fusible web rectangle, bumpy side down, on top of pattern sheet and trace the applique shape.    
applique 2

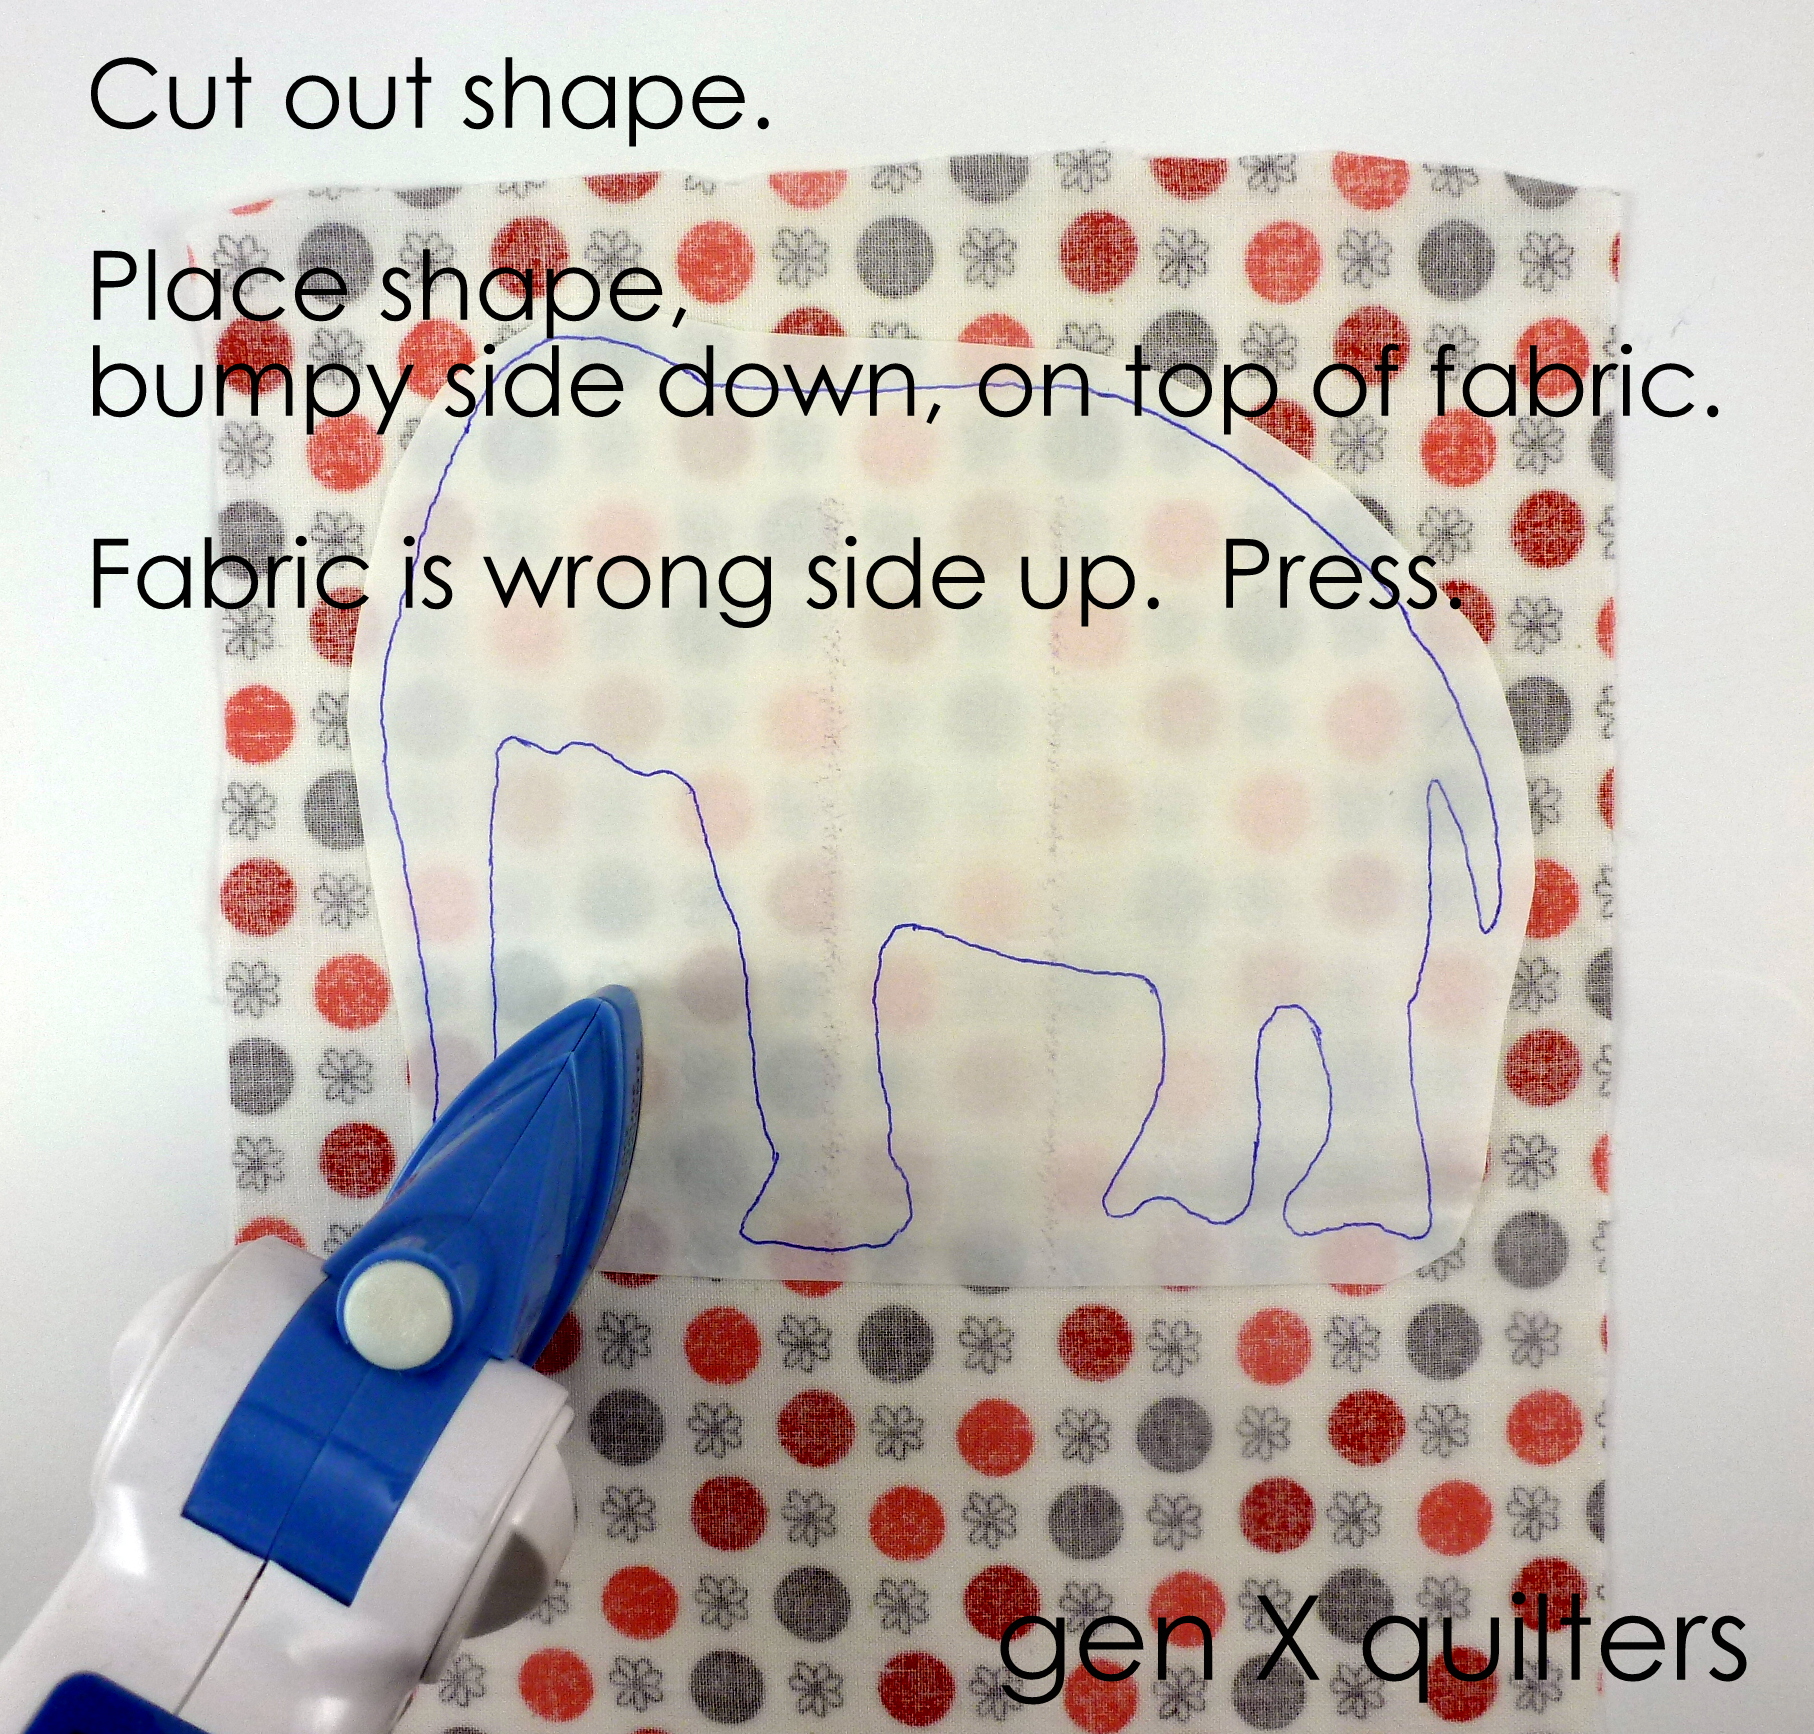
2. Cut out the shape leaving a 1/4” margin around the shape. Place the fusible web with the traced shape bumpy side down on the wrong side of the fabric.  Press to fuse the fusible web to the applique fabric.  Make sure to read the manufacturer’s instructions prior to beginning for appropriate heat settings and length of time to press.  For Heat 'N' Bond Lite, I usually press for about 8-10 seconds on a low (medium-low) setting.
applique 3

3.  Cut out the shape carefully. 
applique 4

applique 5

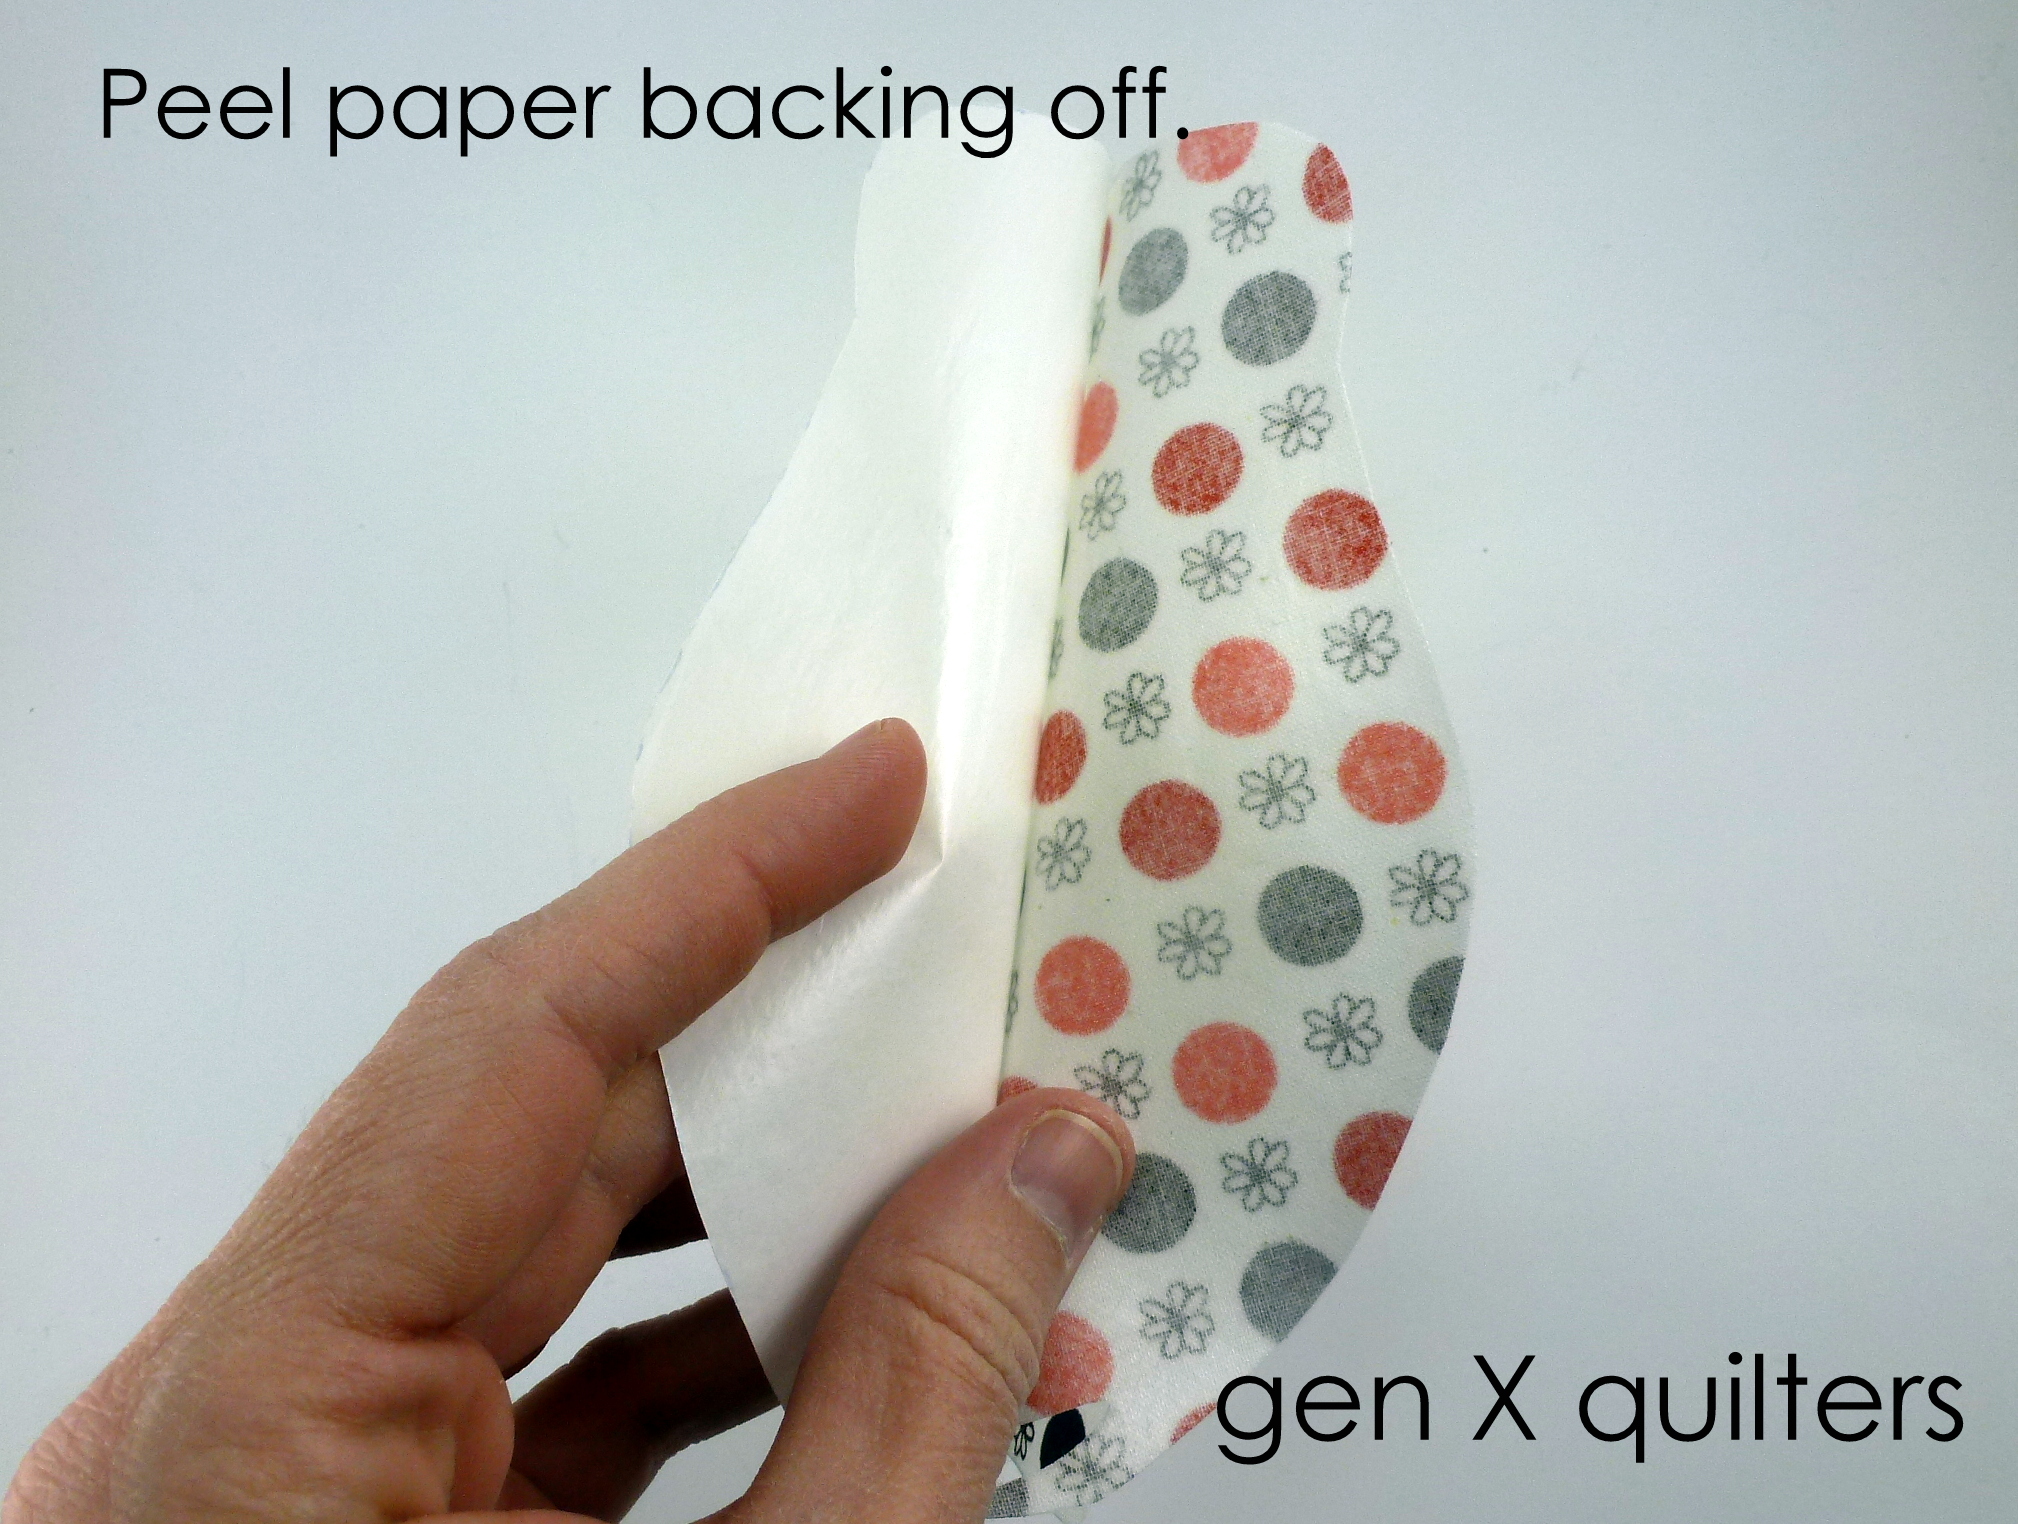
4.   Peel the paper backing off of the shape.  Now your fabric shape will have the fusible web on the wrong side of the fabric.  It is ready to apply to your background.
applique 6

5.  Fuse the shape (wrong side down) to the right side of the background fabric, making sure to center the shape.  Use the same technique and settings as step 2. 

*Note*  If you want to use an interfacing to support the background, now is the time to apply it.  Either fuse the interfacing to the background or pin it in place on the wrong side of the background fabric.  Honestly, I usually skip this step.  Call me lazy - but I have found I don't need it when appliquing for a quilt.  The Heat 'N' Bond Lite product gives the applique shape some stiffness.  If I am working on a t-shirt though, the interfacing is very helpful.
applique 7

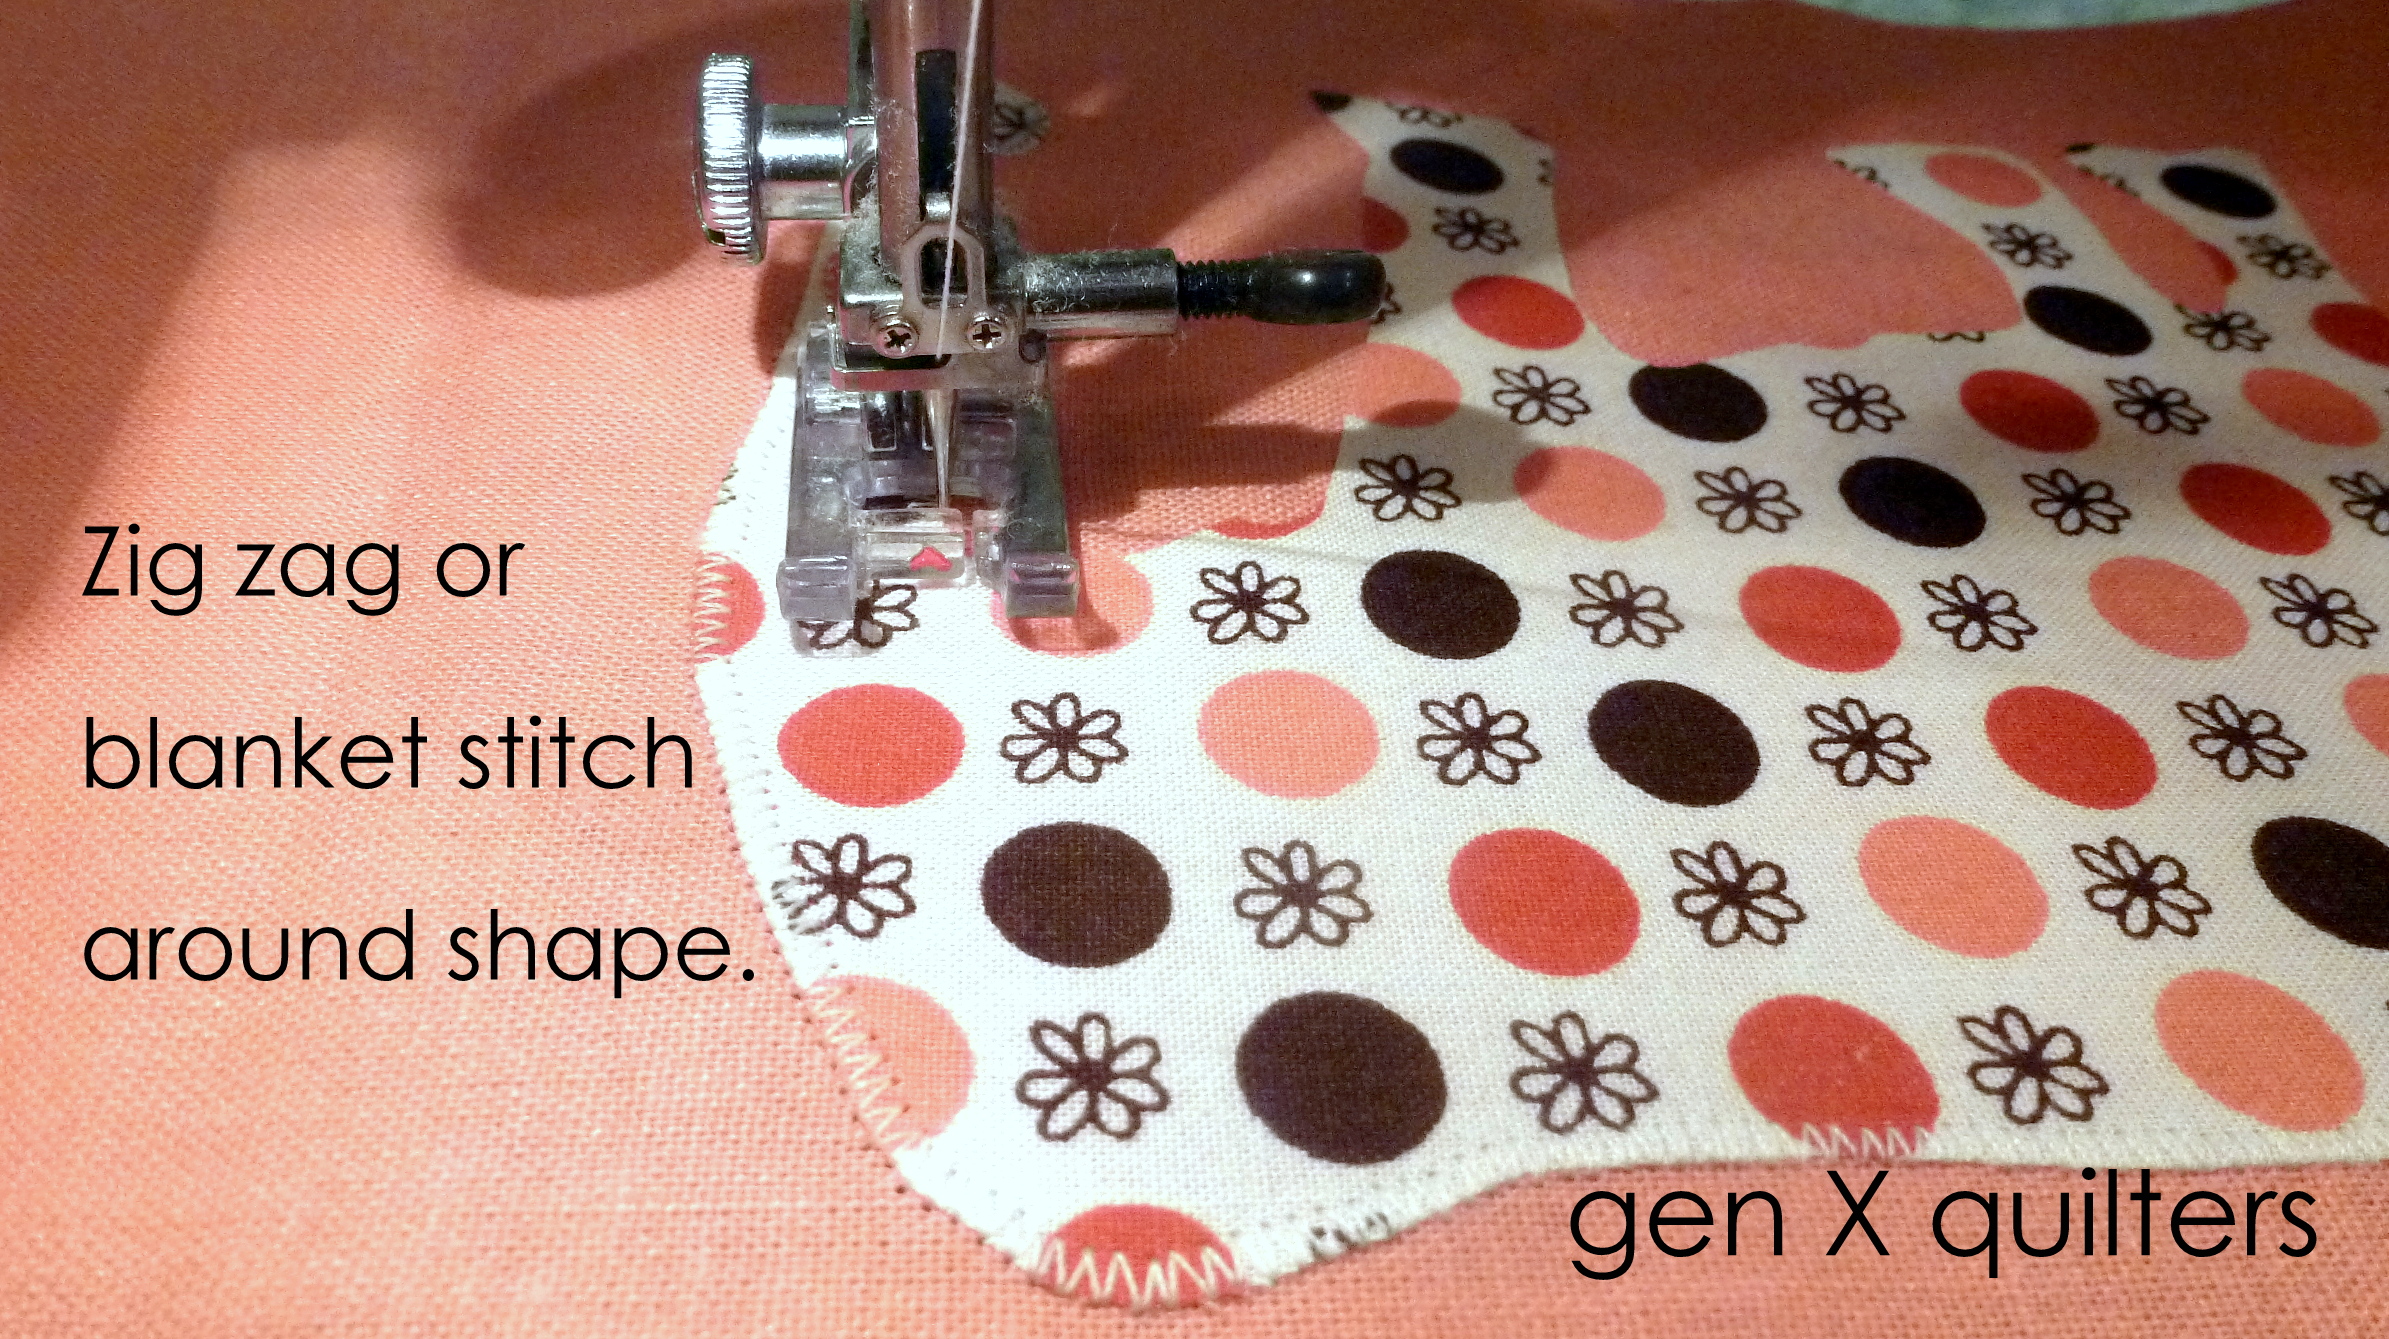
6.  Zigzag or blanket stitch around the shape to secure the appliqué.  Patience!!  Sewing a tight zigzag around a complex shape can take some time, but it is well worth the flair it adds to the piece.  Try experimenting with the tightness of your zig zag.  Most machines allows you to adjust how close the stitches are.  If you are appliquing on clothing, I would choose a tighter zig zag stitch because clothing will be washed repeatedly.  You may not need such a tight stitch for other applications, such as a quilt.
applique 8

Isn't she cute?
applique 9
Finished Applique Shape
And here it is in my quilt top!
elephant parade quilt 2

I hope this helps get you started with applique.  It can be so fun to personalize handmade gifts.

Sisters' Ten Modern BOM April Block: Lady of the Lake

Sisters Ten BOM 1
April already?  Today the next block for the Sisters' Ten Modern Block of the Month Club is up!  This block is a classic.  Get ready to get your HST on - it's Lady of the Lake.
April - Lady of the Lake1

Cutting Instructions.

For 12" blocks.
  • Cut (10) 3 1/8" x 3 1/8" squares of Fabric A (background).
  • Cut (10) 3 1/8" x 3 1/8" squares of Fabric C.
  • Cut (1) 9 1/4" x 9 1/4" square of Fabric A (background).
  • Cut (1) 9 1/4" x 9 1/4" square of Fabric B.

April fabrics

For 9" blocks.
  • Cut (10) 2 5/8" x 2 5/8" squares of Fabric A (background).
  • Cut (10) 2 5/8" x 2 5/8" squares of Fabric C.
  • Cut (1) 7 1/4" x 7 1/4" square of Fabric A (background).
  • Cut (1) 7 1/4" x 7 1/4" square of Fabric B.
Piecing Instructions.
*Use a scant 1/4" on all seam allowances. See the Scant Rant series for details.

1. Make a Half-Square Triangle (HST) unit with Fabric A and Fabric B. Use (1) Fabric A square and the (1) Fabric B square to make (2) total Half-Square Triangle units using the method in this tutorial. The HSTs should be trimmed down to:
                     
12" blocks:  8 1/2" (unfinished size).
9" blocks:  6 1/2" (unfinished size).
**NOTE** The 2 large HSTs made in this step will be used for both blocks you make this month.  Each block requires only 1 of these HSTs.  I wanted to keep the same method of construction and reduce waste.

2. Make Half-Square Triangle (HST) units with Fabric A and Fabric C. Use the remaining (10) Fabric A squares and the (10) Fabric C squares to make (20) total Half-Square Triangle units using the method in this tutorial. The HSTs should be trimmed down to:

12" blocks:  2 1/2" (unfinished size).
9" blocks: 2" (unfinished size).

3. Layout the Half-Square Triangle Units as shown below.
Sisters Ten April

4. Sew each of the four rows that surround the center A/B HST together, pressing seams in one direction.
Sisters ten april 3 labeled

5. Sew the rows on the left and right side to the large center half-square triangle.
Sisters ten april 4 labeled 1

6.  Sew the remaining rows to the top and bottom of the unit from step 5.
Sisters Ten April 5

7. Make (2) blocks. They may be identical blocks or made from differing fabrics for a scrappier look.  As I pointed out in the note above in Step 1, to reduce waste, I used the same fabric for both the large center HSTs in these blocks.  Don't worry if you think they look too similar!  Once the blocks are separated on opposite sides of the quilt, it will be much harder to notice.

April - Lady of the Lake 2 blocks collage

Fabric is Alison Glass for Andover, Lucky Penny with background Quilter's Linen in Straw by Robert Kaufman.