{simple} patchwork baby quilt finish

simple baby quilt 2

Sometimes it's nice to remember why I started quilting.  For me, it all started with a simple patchwork baby quilt for my firstborn.  A handmade gift.  Granted, a lot has changed in the past 7 years, but returning to those simple roots is still as gratifying as making some complicated paper pieced beast.

Good friends had their third - a girl after 2 boys.  Her arrival gave me the chance to use these Bonnie & Camille Ruby and Bliss charms I had remaining from my Holland Breeze quilt.

Isn't she gorgeous?
simple baby quilt
Sometimes basic is best, I think.

Scant Rant: A Quarter Inch Seam Tutorial for Basic Sewing Machines

Scant Rant Part 3 - Fixed Needle Position Sewing Machines
Since writing the original Scant Rant: 1/4" Seam Tutorial post, it was brought to my attention that not all sewing machines have adjustable needle positions.  Of course!  My first sewing machine, a basic Janome, was a great beginners machine with only one needle position.  I brought it out to find the scant 1/4" seam for those with this type of sewing machine.

Spending just a few minutes to find the scant 1/4" will save you many headaches in the future.  The term scant means just a thread shy of a 1/4".  If you never test it, you don't realize that your thread and the pressed fold take up some space in the measurement, usually resulting in blocks being short of their required finished dimension.

Video Tutorial here.

Janome basic machine

Placing a Piece of Tape as a Guide.
If the needle on your sewing machine is in a fixed position (i.e. you cannot shift it right or left), an easy way to find your scant 1/4" is to find the sweet spot and place a small piece of tape on the throat plate to serve as your guide.

--------------------------------------------------------------------------------------------------------------------------------
The Test.
  1. Cut (2) 1 1/4" x 2" rectangles.  Sew along the 2" length with right sides together (RST), using the edge of your presser foot as your guide.  Press seam in one direction or open.  [Use your preferred pressing method - more details about how pressing method affects scant seams here.]
  2. Measure the block to see if it is a 2" x 2" square.
  3. If the block is short, you will need to place a piece of tape slightly to the left of the presser foot edge.  
  4. If the block is too long, you will need to place a piece of tape slightly to the right of the presser foot edge.
  5. Continue shifting the tape a little at a time until you find the sweet spot where the block measures 2" x 2".
--------------------------------------------------------------------------------------------------------------------------------
Scant rant for basic machines scant quarter inch on basic machine 2
In the photo above, you can see how much I needed to move the tape to the left in order to achieve the scant 1/4".  This measurement may be just a few millimeters, but that dimension will add up to a larger amount with each seam you sew in the quilt.

Scant quarter inch on basic machine

After finding the correct location for the tape, line up your squares and/or rectangles to be sewn with the tape and (not the edge of the presser foot) each time you need a scant 1/4".  And keep the kiddos fingers from peeling it off!


Does Pressing Method Affect the Scant Seam & Block Size?

splitting threads collage

This is a continuation of the Scant Rant: 1/4" Seam Tutorial from earlier this week.  Jess of the Elven Garden raised an excellent point in the comments.  From her experience, blocks were always a little off until she started pressing her seams open.  And since scant seams account for thread thickness and the fold, I thought I'd play Scooby Doo Detective.

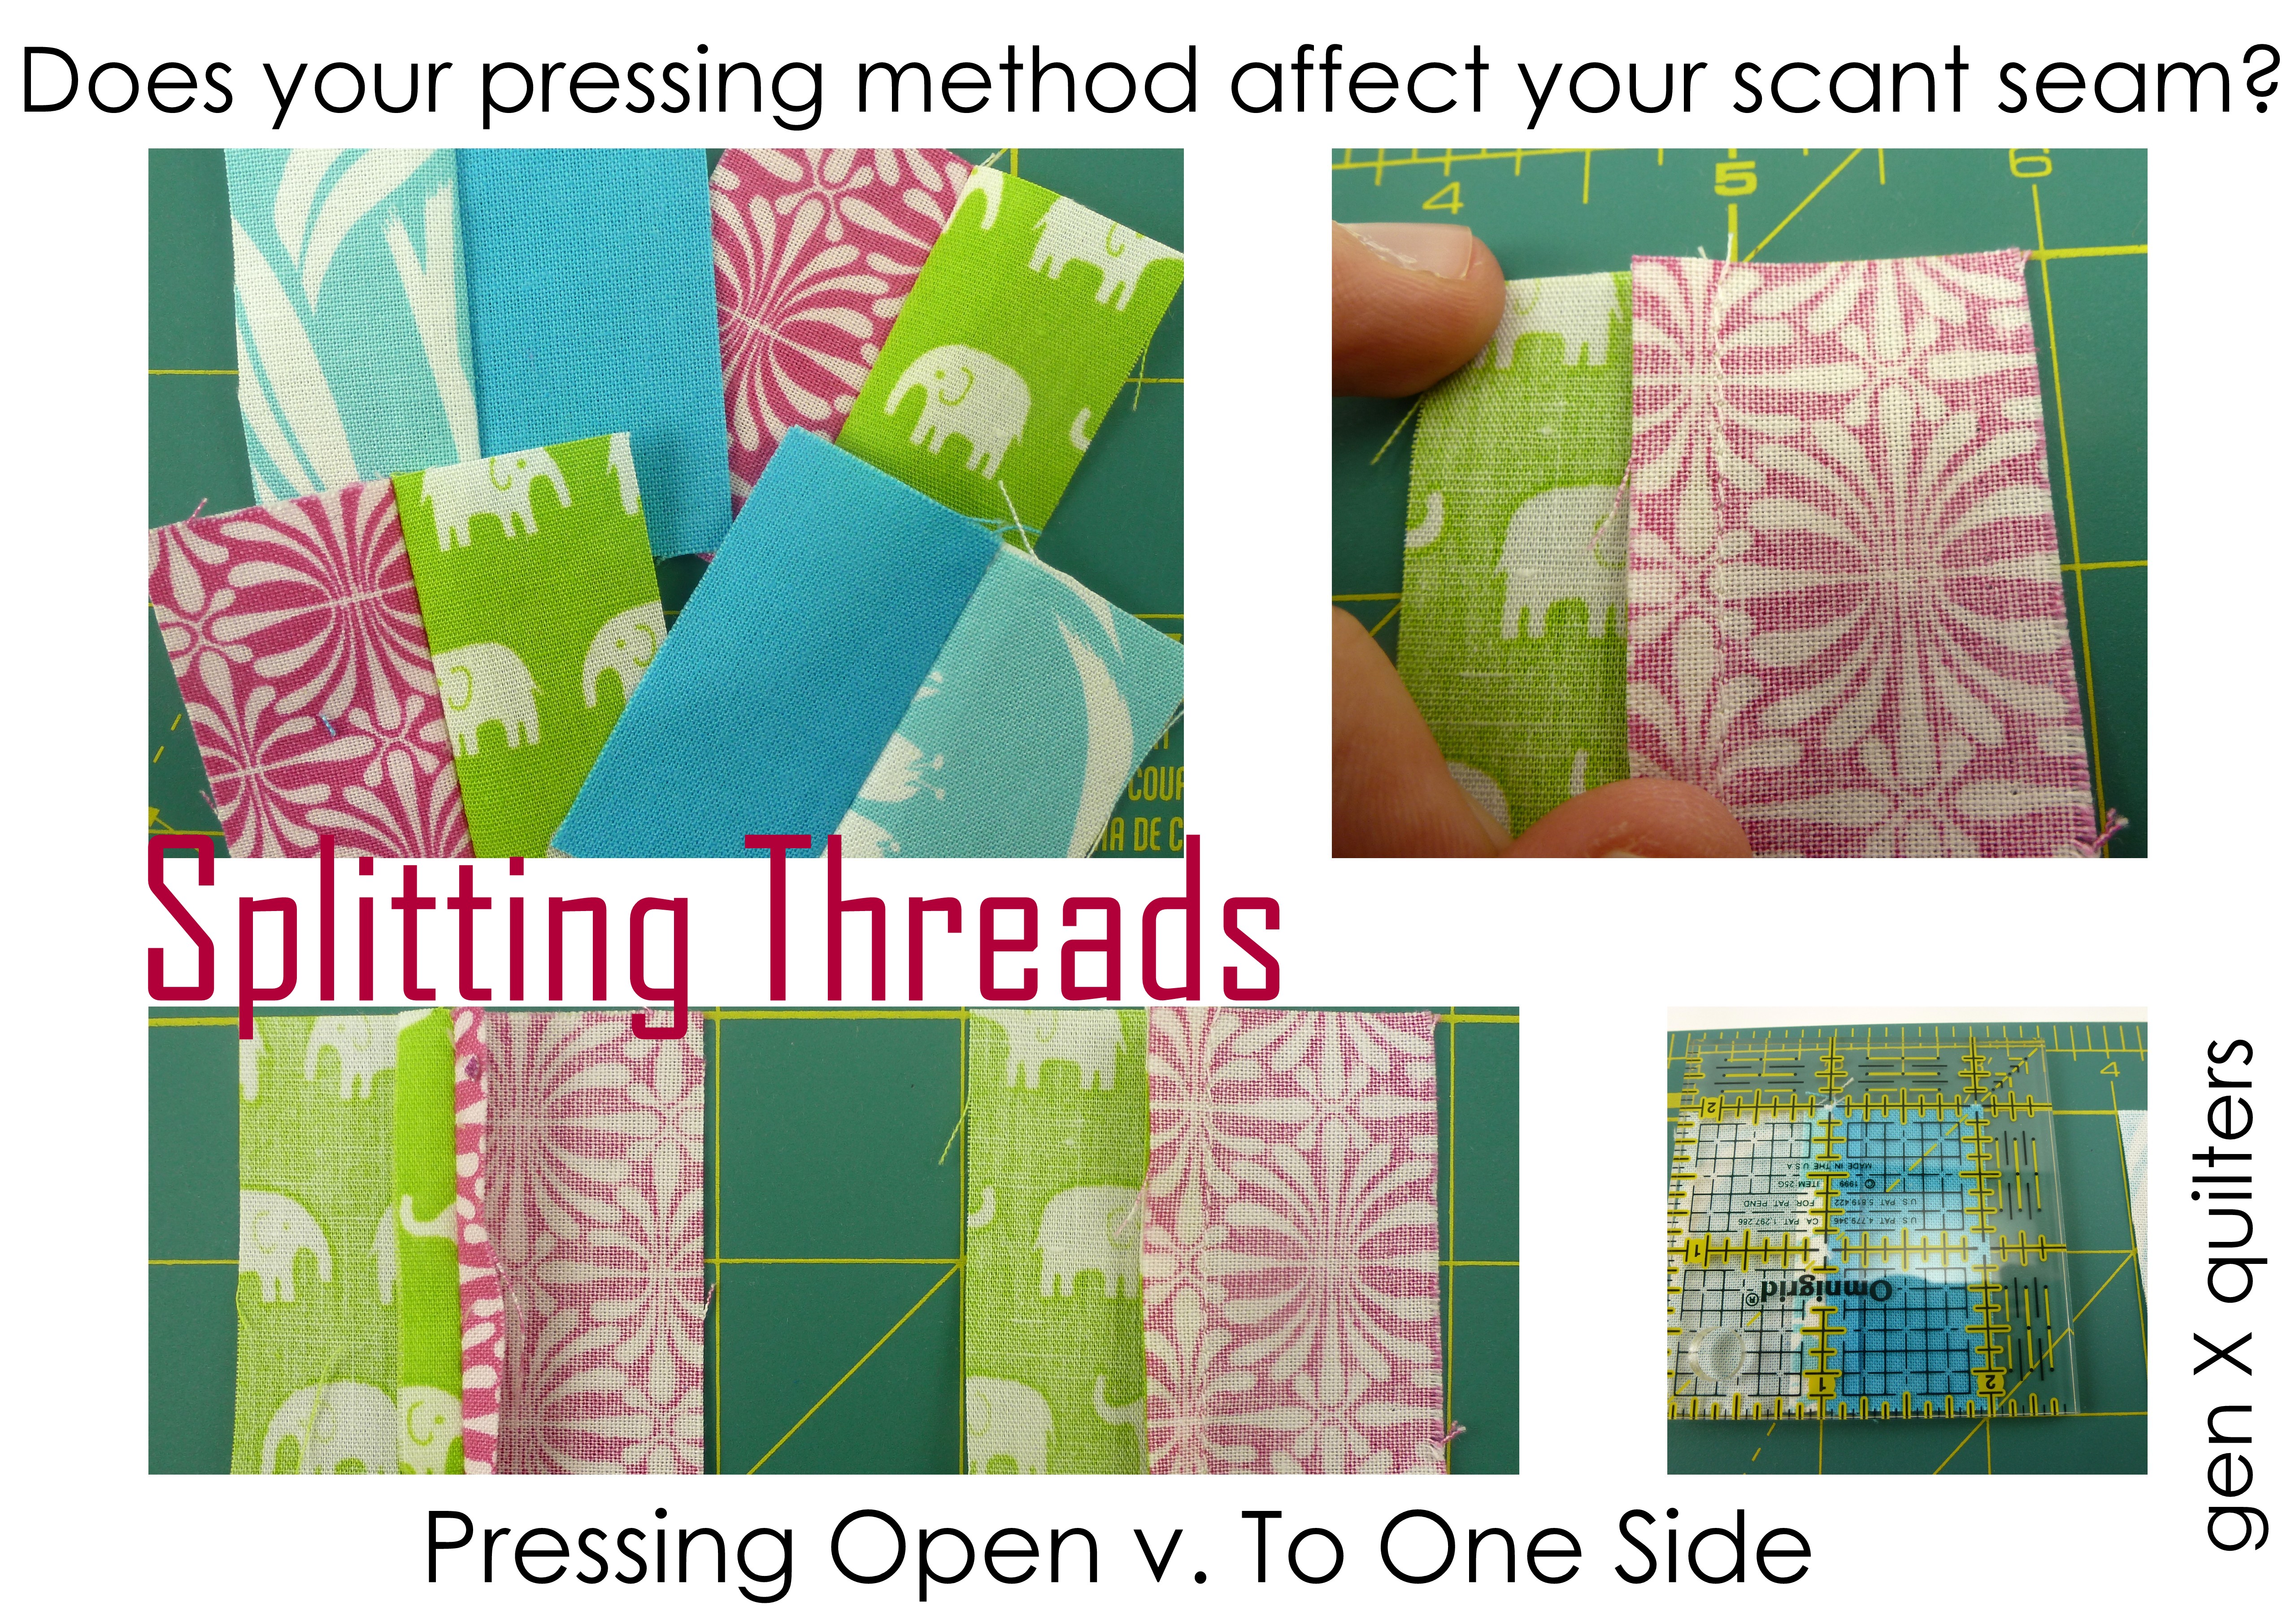
Does it make a difference if you press your seams open or to the side in your final block measurements??  Ahh, well.  The geek in me could not resist....

After digging out my only ruler with eighths and sixteenths marked on it, I cut several rectangles as I recommended in the test for sewing a scant 1/4" seam.  This time I wanted to check how pressing the seams open would influence the block size.

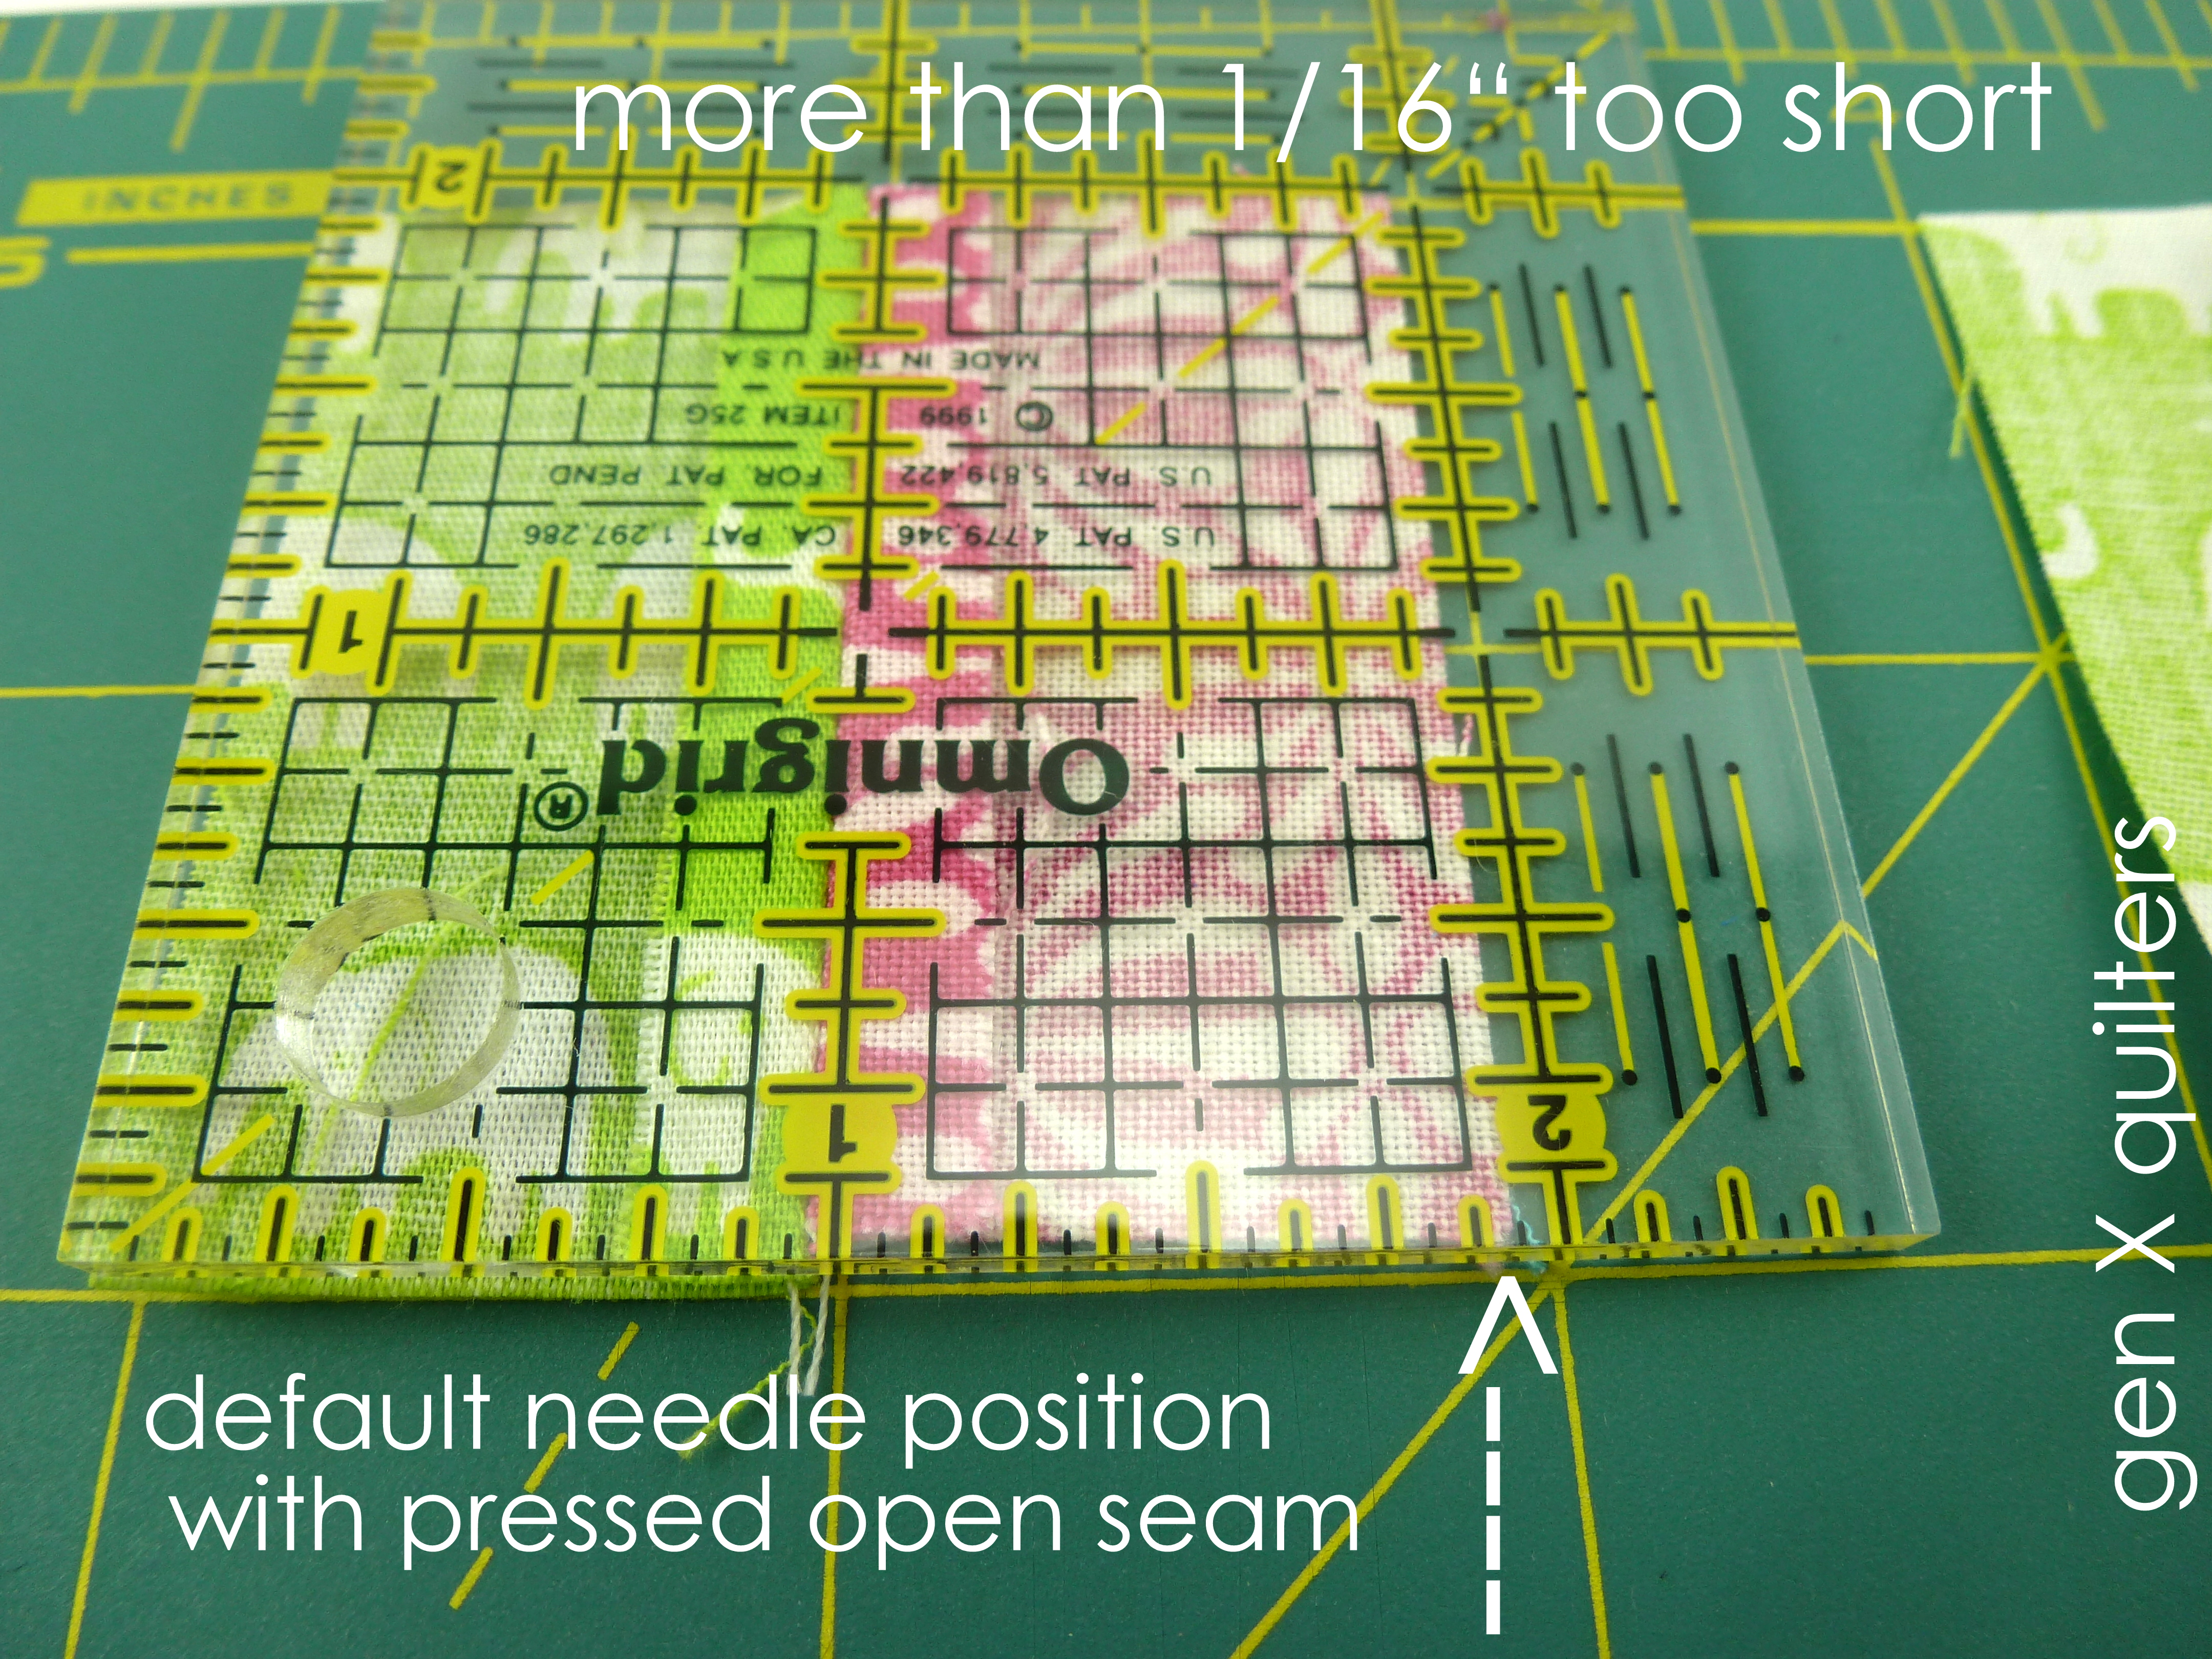
Here is the photo of the block using the needle in it's default position and pressing my seam open.  (I normally always press to one side because I am impatient like that.)  Although this is hard to photograph, I think you can see that this block is more than 1/16" too short.  Doesn't sound like much, but if every block is off this much, it can add up.
block w. open seam default needle position

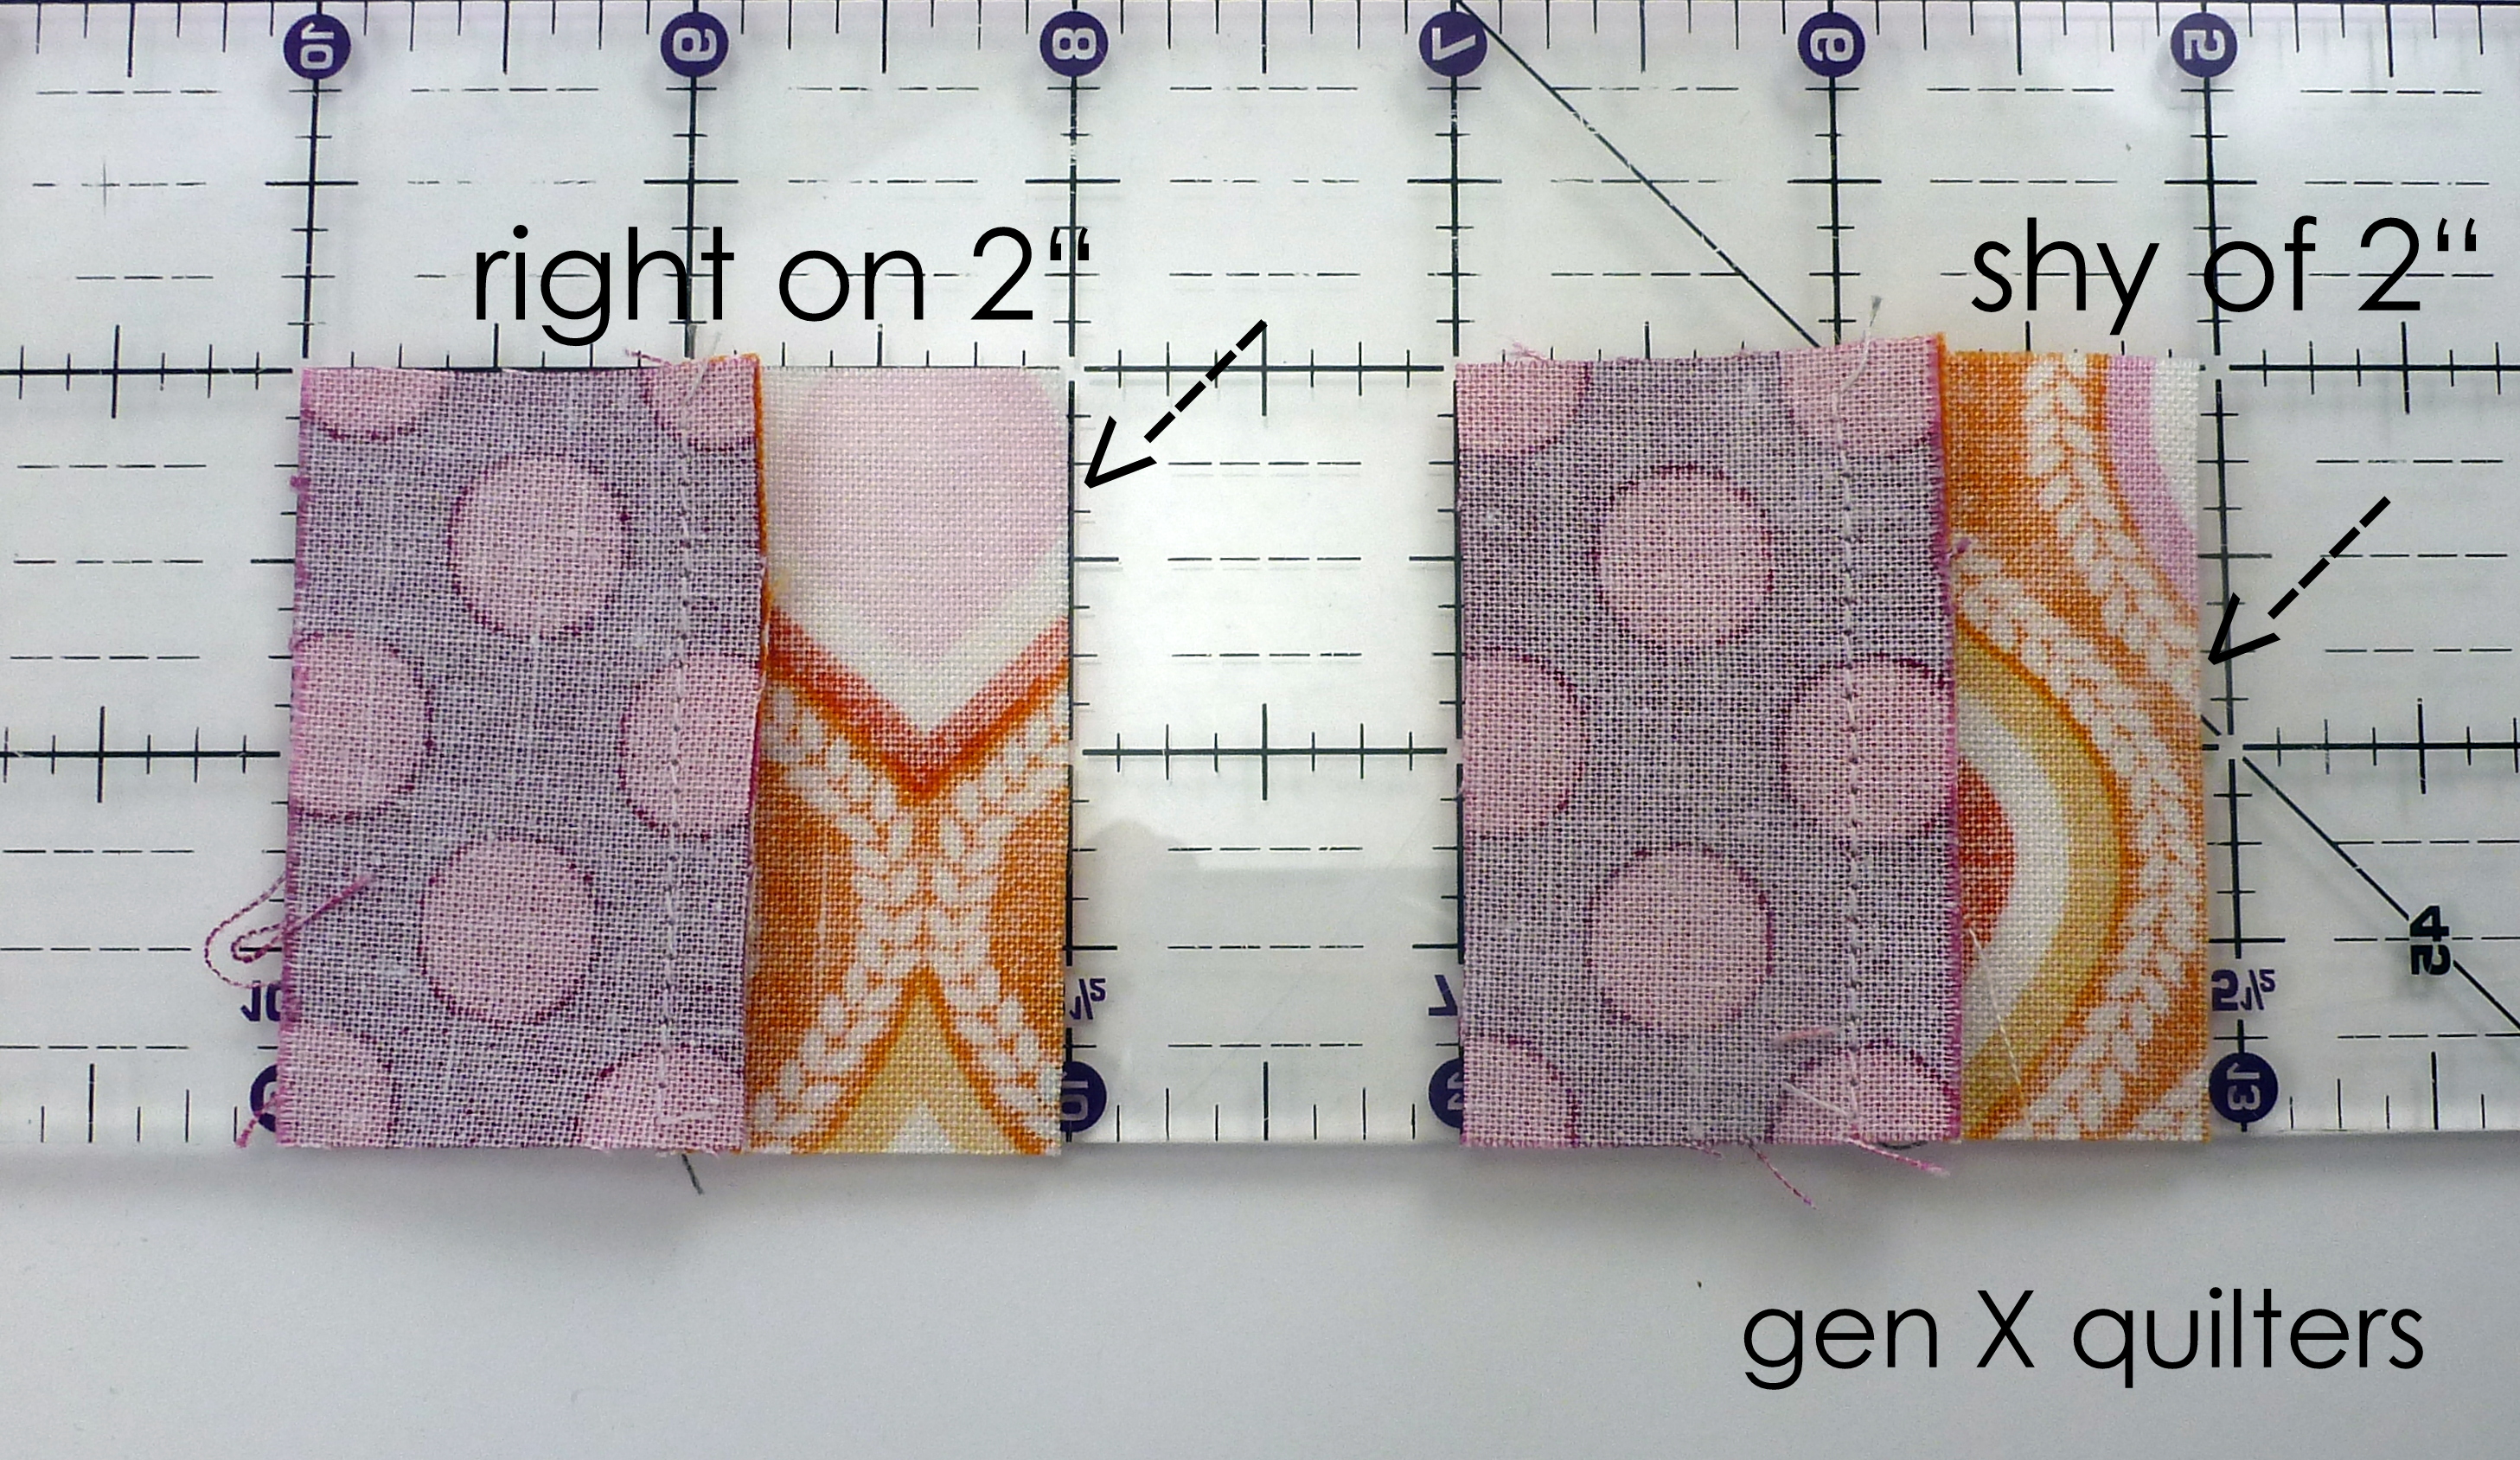
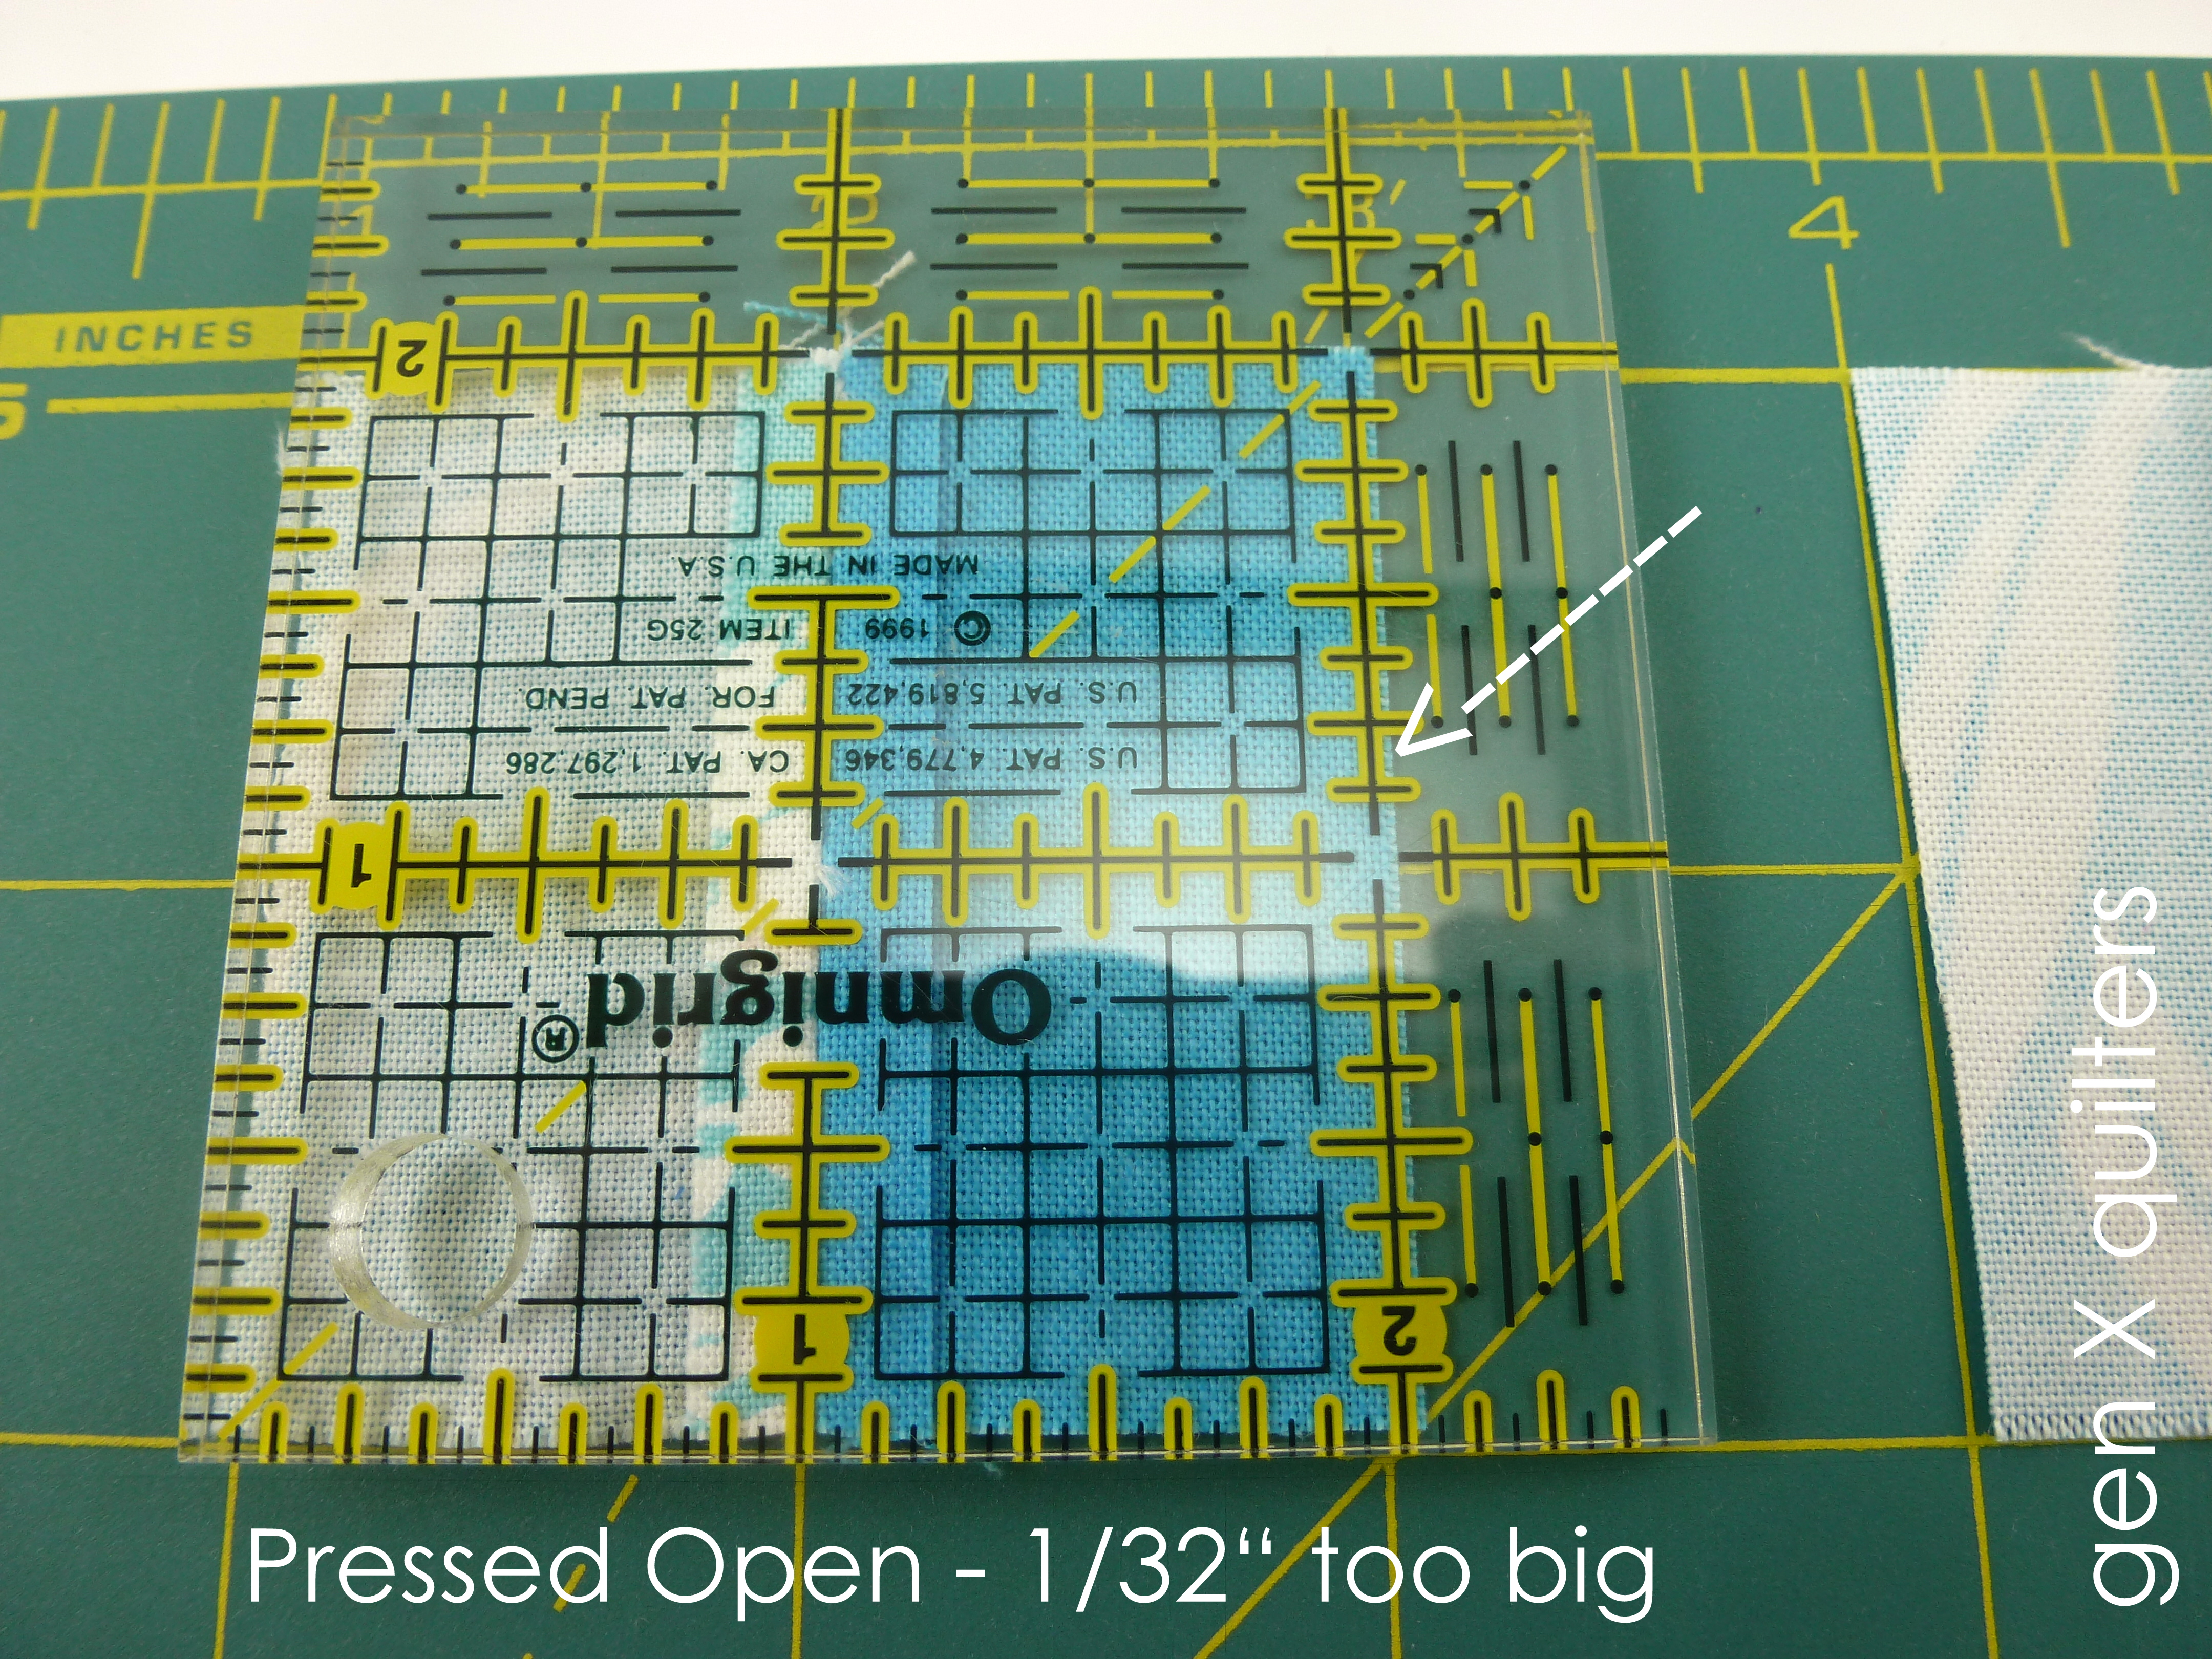
My next test was to sew the same block with the needle in it's adjusted position.  Now remember, I set this position by sewing my block and pressing to one side (explained here)....  It's pretty plain to see this block is too big by about 1/32" of an inch.
block w. open seam adjusted needle postition

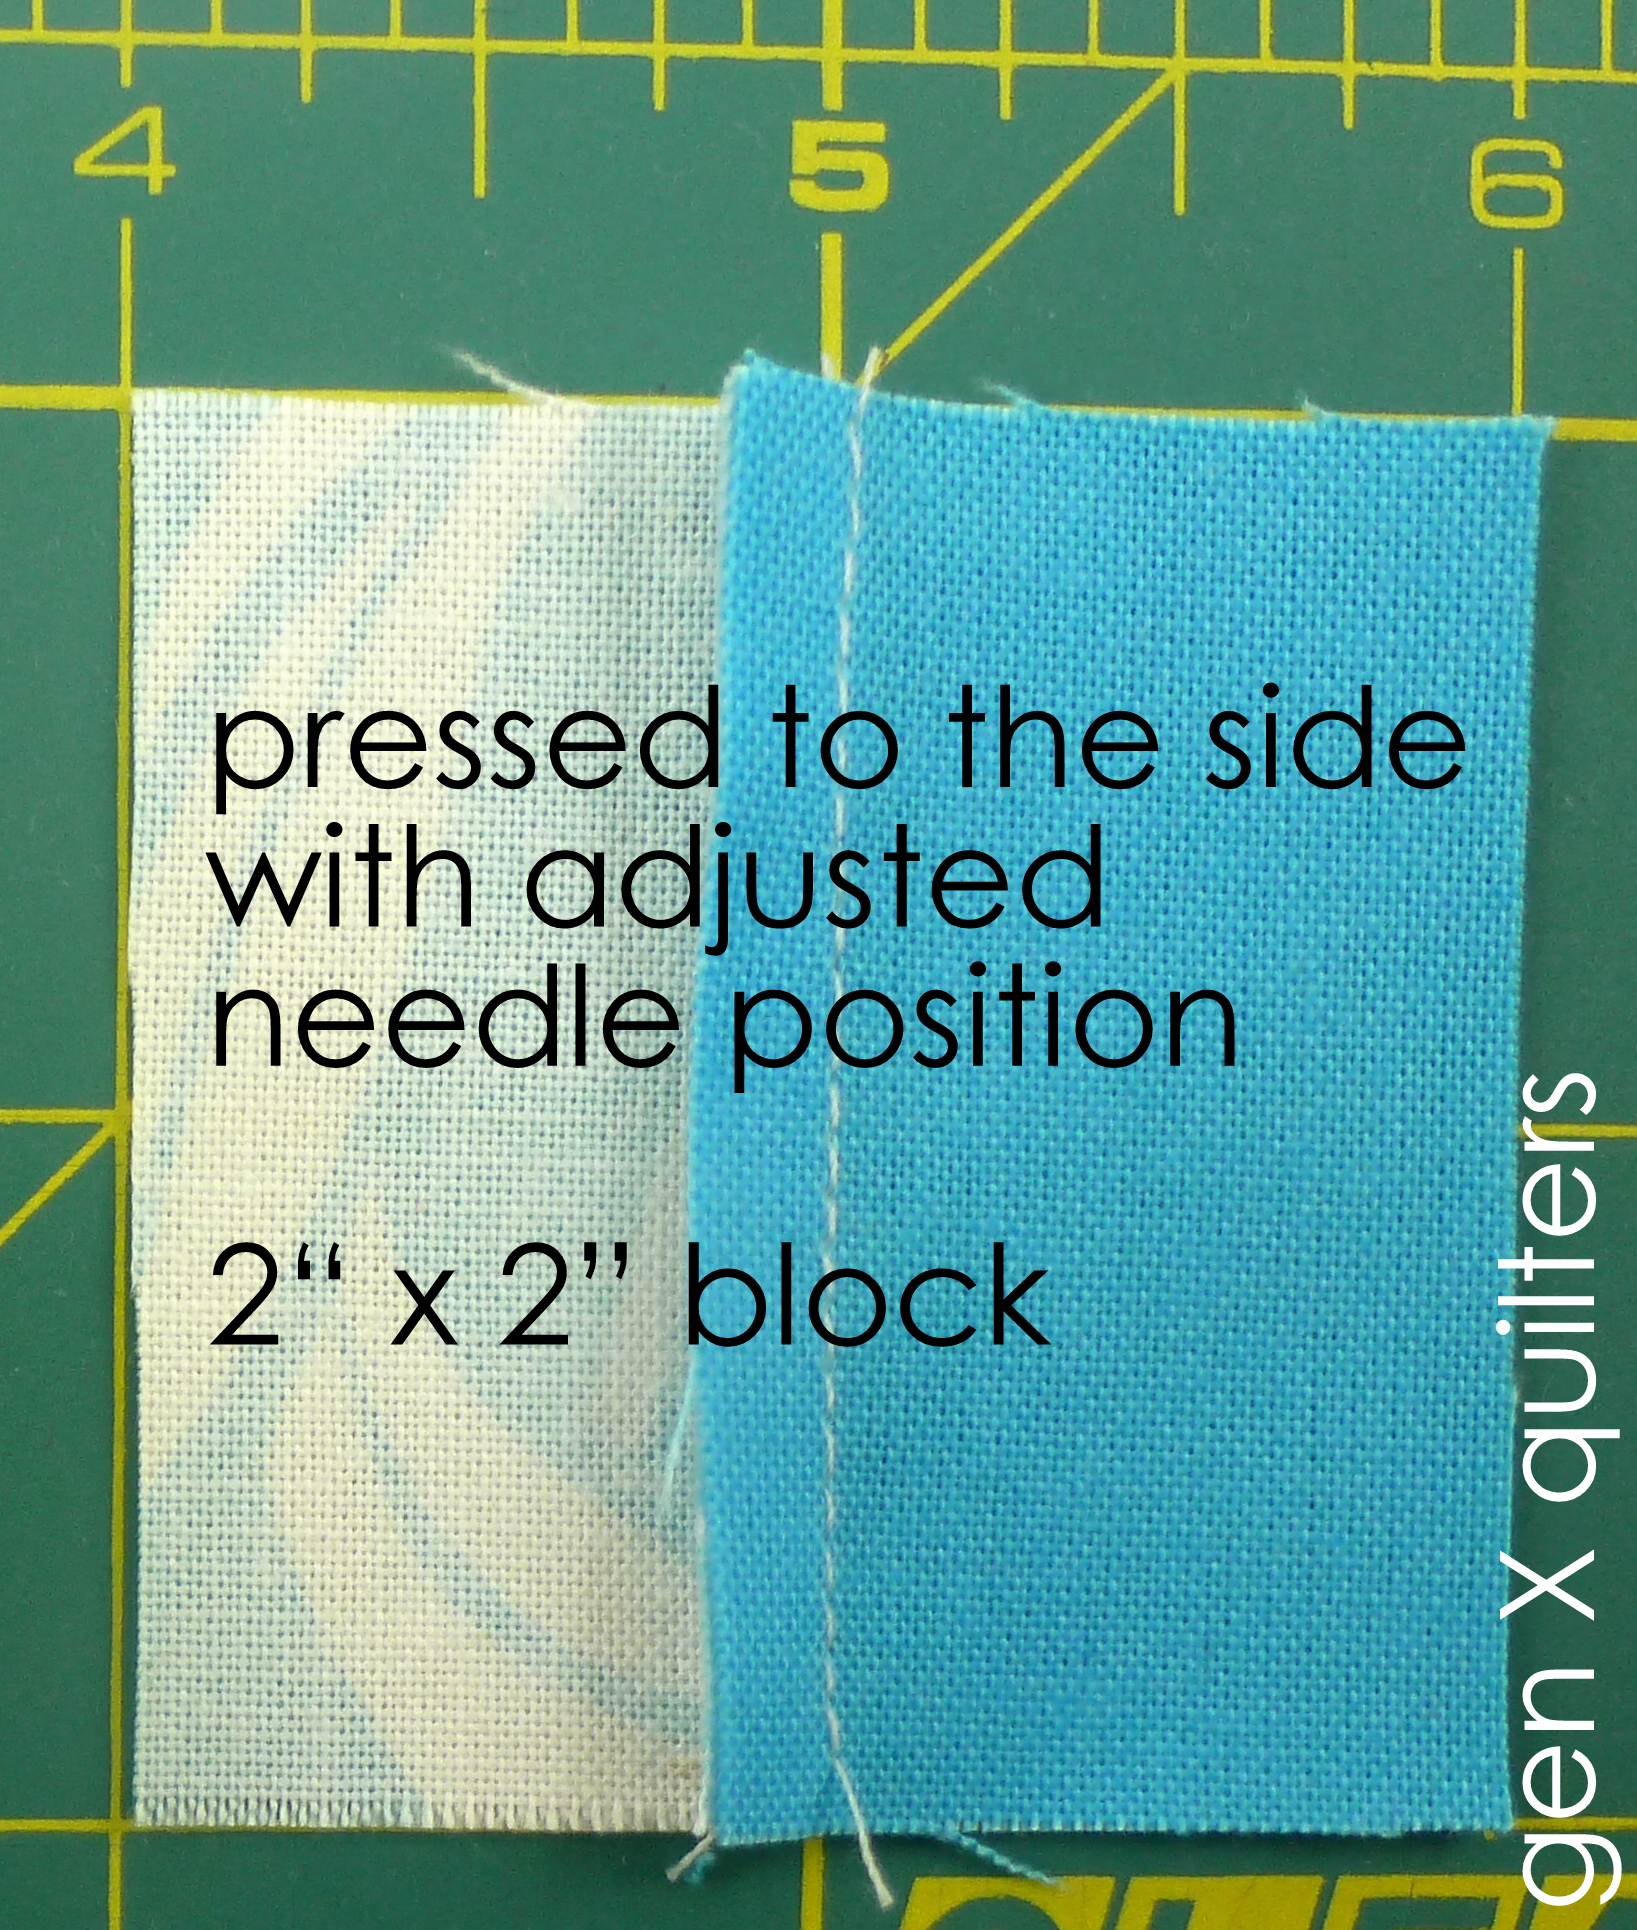
And again, test #3, the same block sewn with the adjusted needle position and seam pressed to the side.  Again hard to photograph, but this block is more accurate to 2" x 2" than the photo above.
block with seam pressed to side with adjusted needle position

So who cares?  Why on earth am I showing you all of this?  After all, we are talking about 1/16" and 1/32" of an inch here.  (I think I did mention we were going to be splitting threads right.... ha ha!)

The bottom line.  It does make a small difference.  That can add up if you are sewing lots of blocks together in, for example, a postage stamp quilt.  Here's my recommendation: find your scant 1/4" needle position using the pressing method you use most.  Or if you're into superhero precision, determine your needle position for both.

As for me, I'm no superhero.  

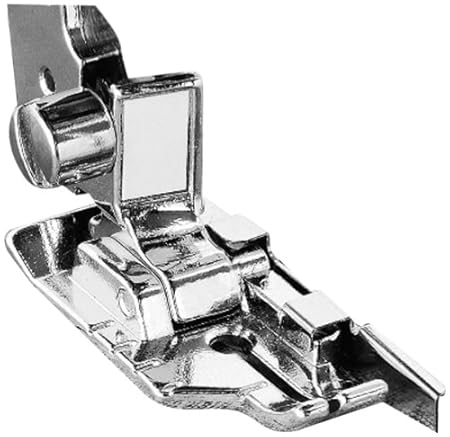
One more note.  Kati pointed out that not all 1/4" presser feet have space to reposition your needle.  Make a mental note to check that when you are selecting one for your machine.
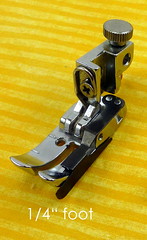
Janome quarter inch sewing machine foot  My Janome 1/4" foothas room to shift the needle to the right.


This Brother 1/4-Inch Quilting Foot does not appear to have much wiggle room.

Browse for other 1/4" presser feet models here.

Thank you for your comments!  I hope learning a little about this stuff helps everyone improve their accuracy just a little bit.


Further Reading.
Part I:  Scant Rant: A 1/4" Seam Tutorial for Sewing Machines with Adjustable Needle Positions
Part III: Scant Rant: A 1/4" Seam Tutorial for Basic Sewing Machines