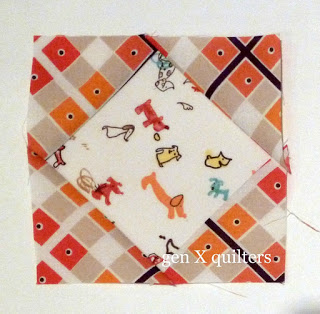
The Diamond in the Square is the easiest of the 4 selected for the Charmed Prints QAL. These should whip up in no time!
unfinished block size: a charm - 5"
finished block size: 4 1/2"
**Use a scant ¼” seam allowance for all seams.**
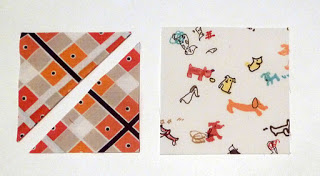
To fussy cut is to target and cut a specific motif that's printed on fabric, rather than randomly cutting yardage as we normally do.
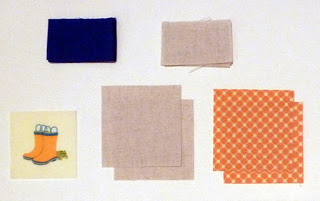
F1. Following the table below, cut your selected charm square down to a 3 5/8” square, making sure to fussy cut the elements you would like to include in that reduced size.
Diamond In the Square Cutting Requirements
| ||
Fabric
|
Quantity
|
Dimensions
|
Charm
|
1
|
3 5/8” square
|
Frame Print
|
2
|
3 1/8” square
|
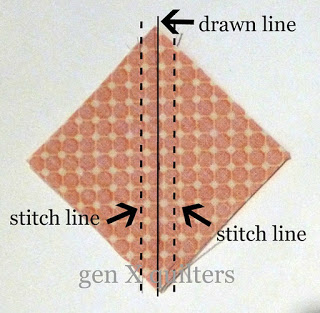
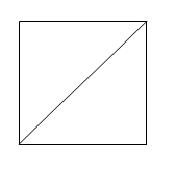
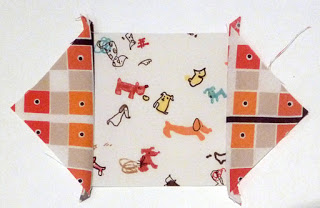
2. 2. From the selected framing print, cut two 3 1/8” squares. Cut the 3 1/8” square across the diagonal to create two triangles. Repeat for the second square.
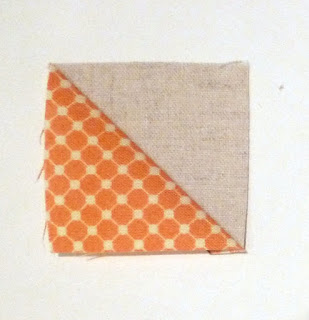
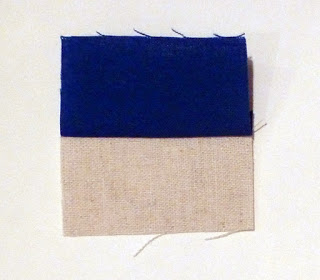
3. 3. Take 2 of the triangles for the right and left sides of the center square. Finger press a center line on the triangles and square to mark the centers. Place a triangle, wrong sides together, on top of the center square as shown, matching the centerlines. The hypotenuse of the triangle should be centered vertically over the center square. There will be some overlap (dogears). Stitch using a ¼” seam.

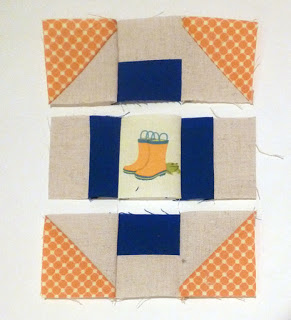
4. 4. Open and press seams out. You may trim the dogears here if you like.
5. 5. Repeat step 3 and 4 with the remaining two sides of the center square. Square up your blocks as necessary.