Patchwork Napkins Pattern


Today is the big day!  I've been showing you peeks and snippets of my newest pattern for the past month almost - and I am so glad that the Patchwork Napkins Pattern is finally ready for you.


I've developed a new fabric buying problem that is called "buying-by-the-bolt". :)  Recently, I bought a bolt of Robert Kaufman's Essex Linen in Natural - and while I was pondering what lovely things to make with said bolt, I decided I wanted a napkin set.  After all, linen seems a pretty traditional material for dinner napkins.  I began to troll Pinterest for napkin ideas - and nothing was quite like this idea I had in my mind.  Poof!  New pattern inspiration was born.


I wanted to create a pattern that you could customize and make again and again. Make some for yourself, some for your mom, some for your friend's housewarming.  Holiday.  Every day.  The possibilities are endless...

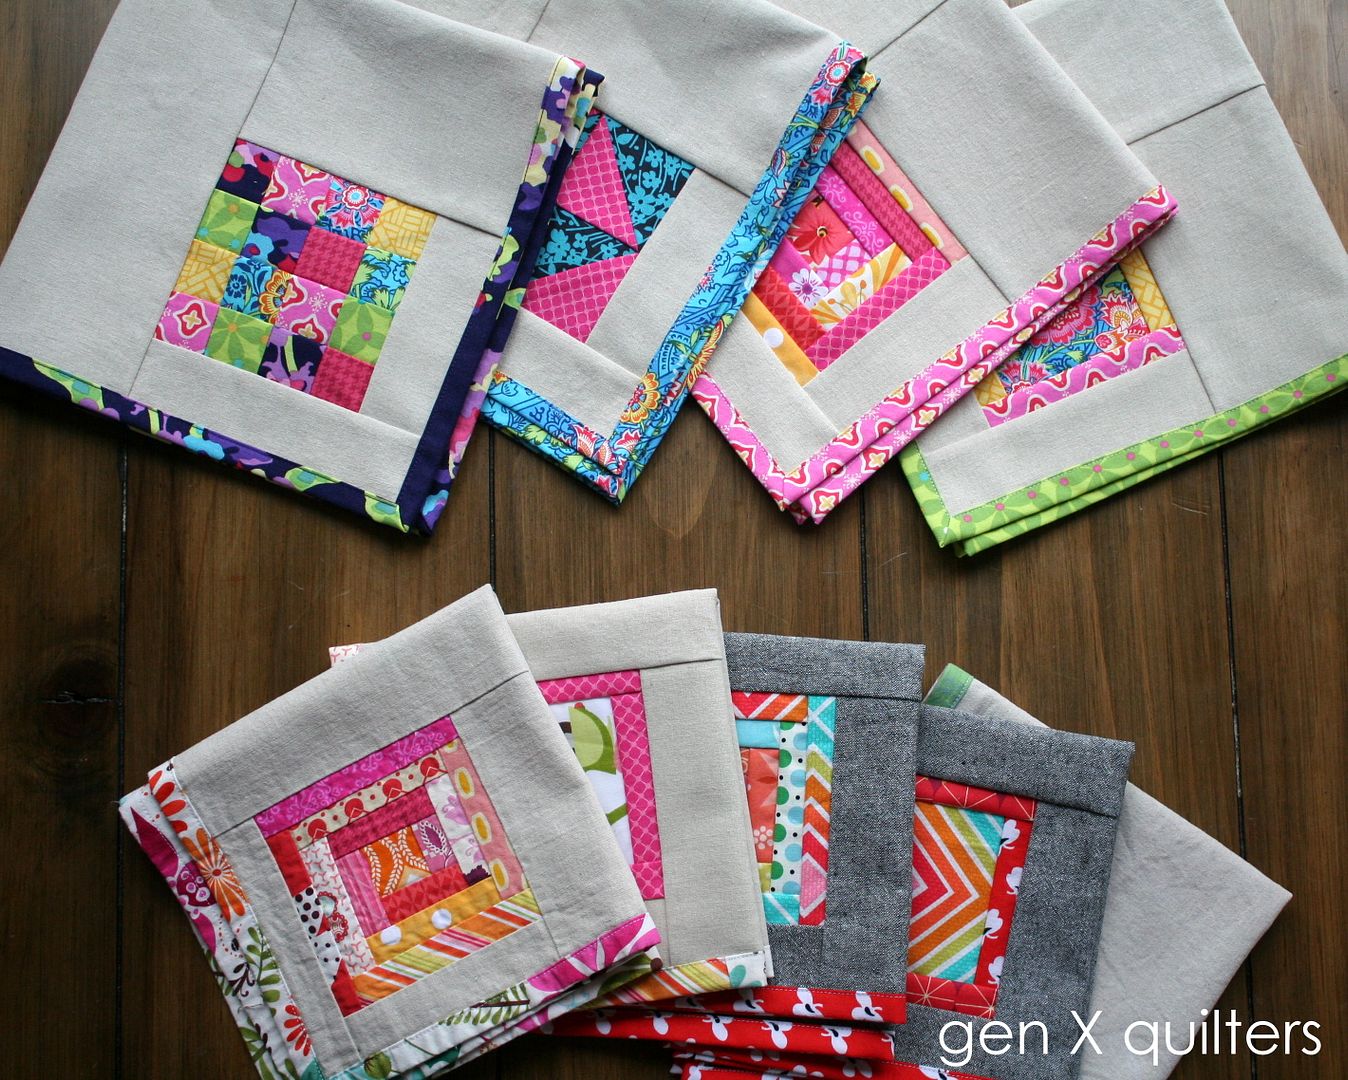
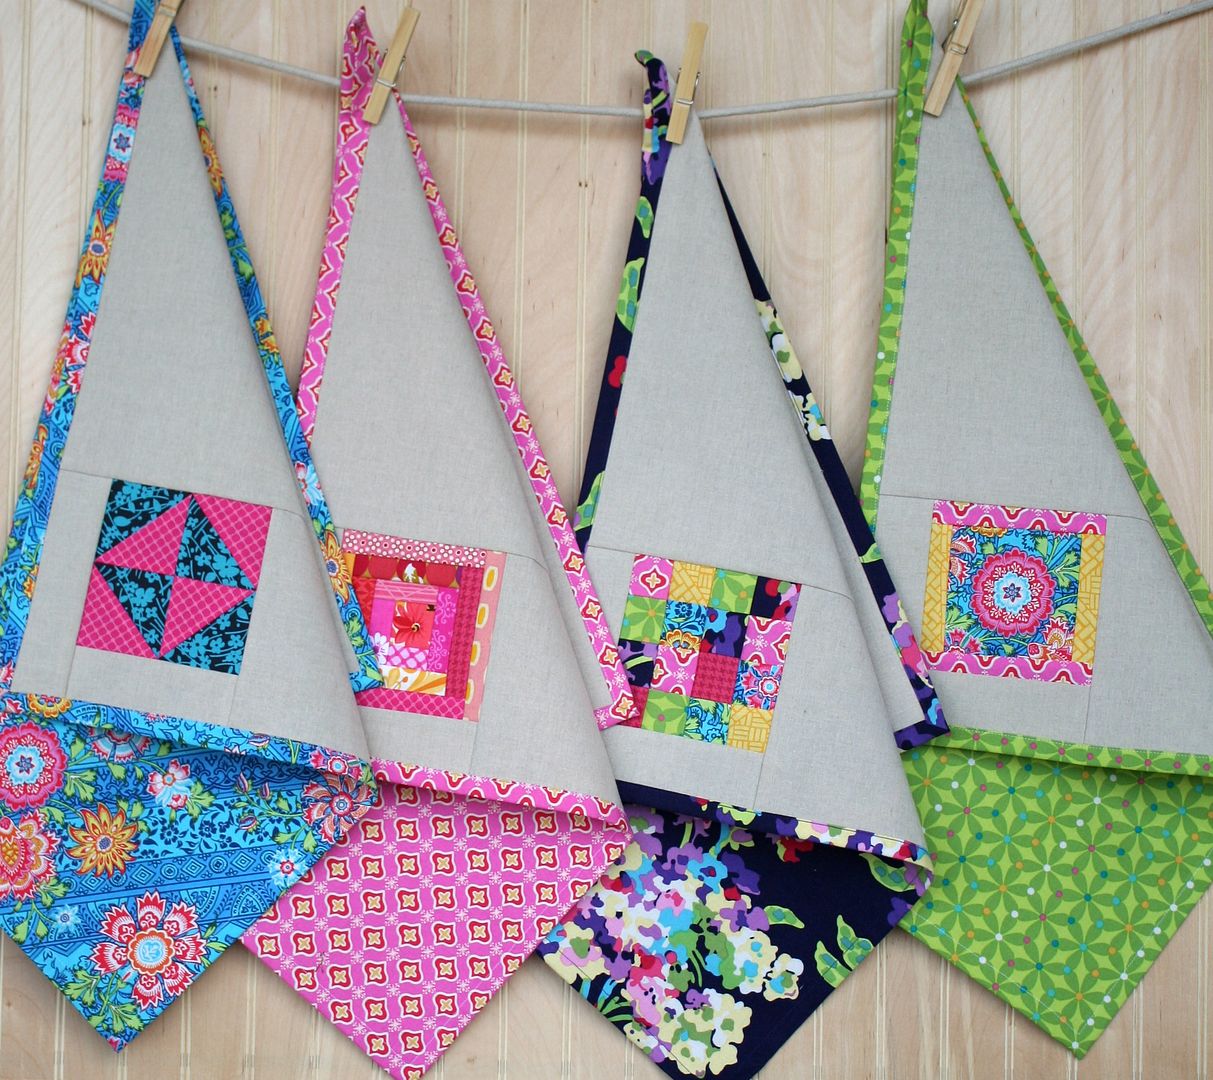
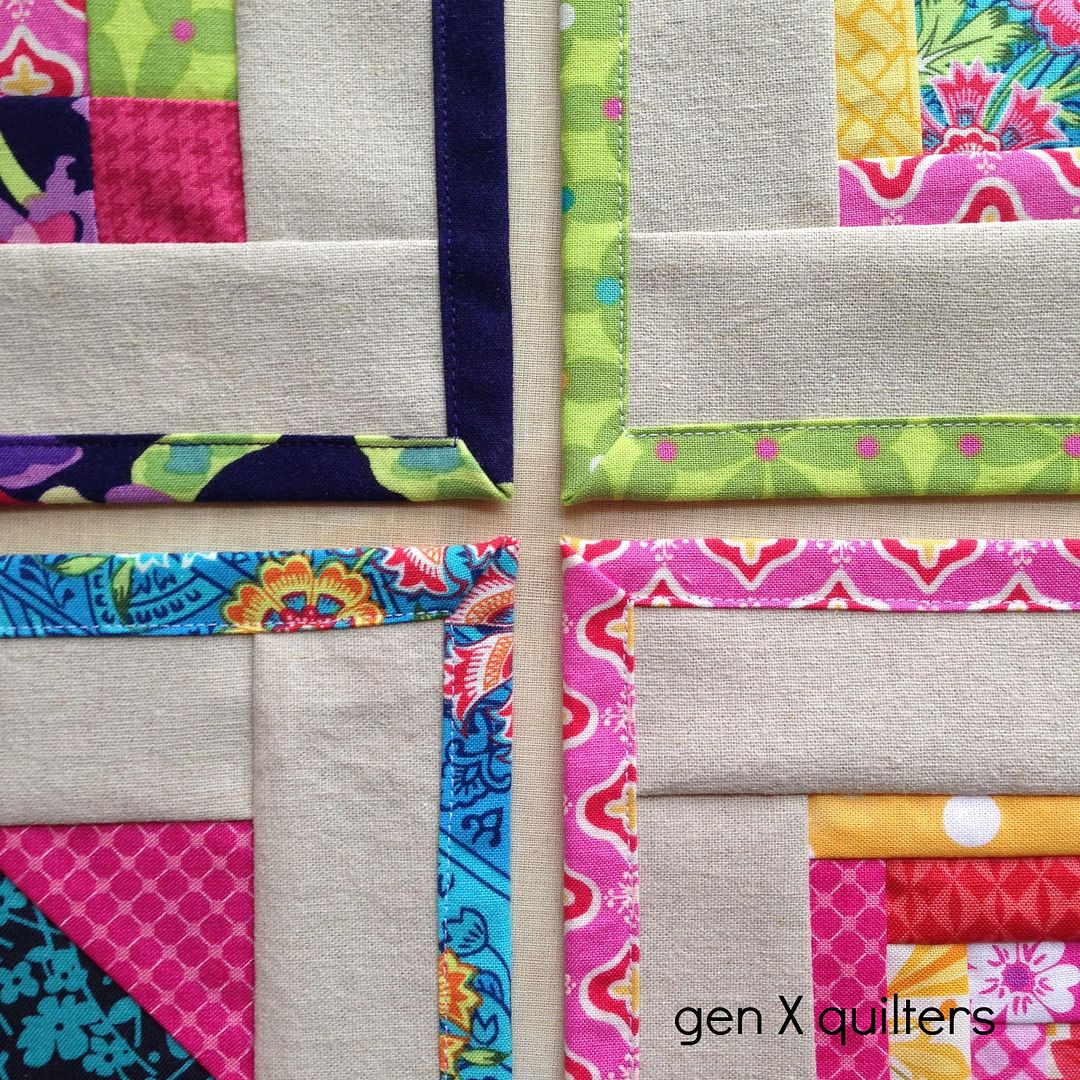
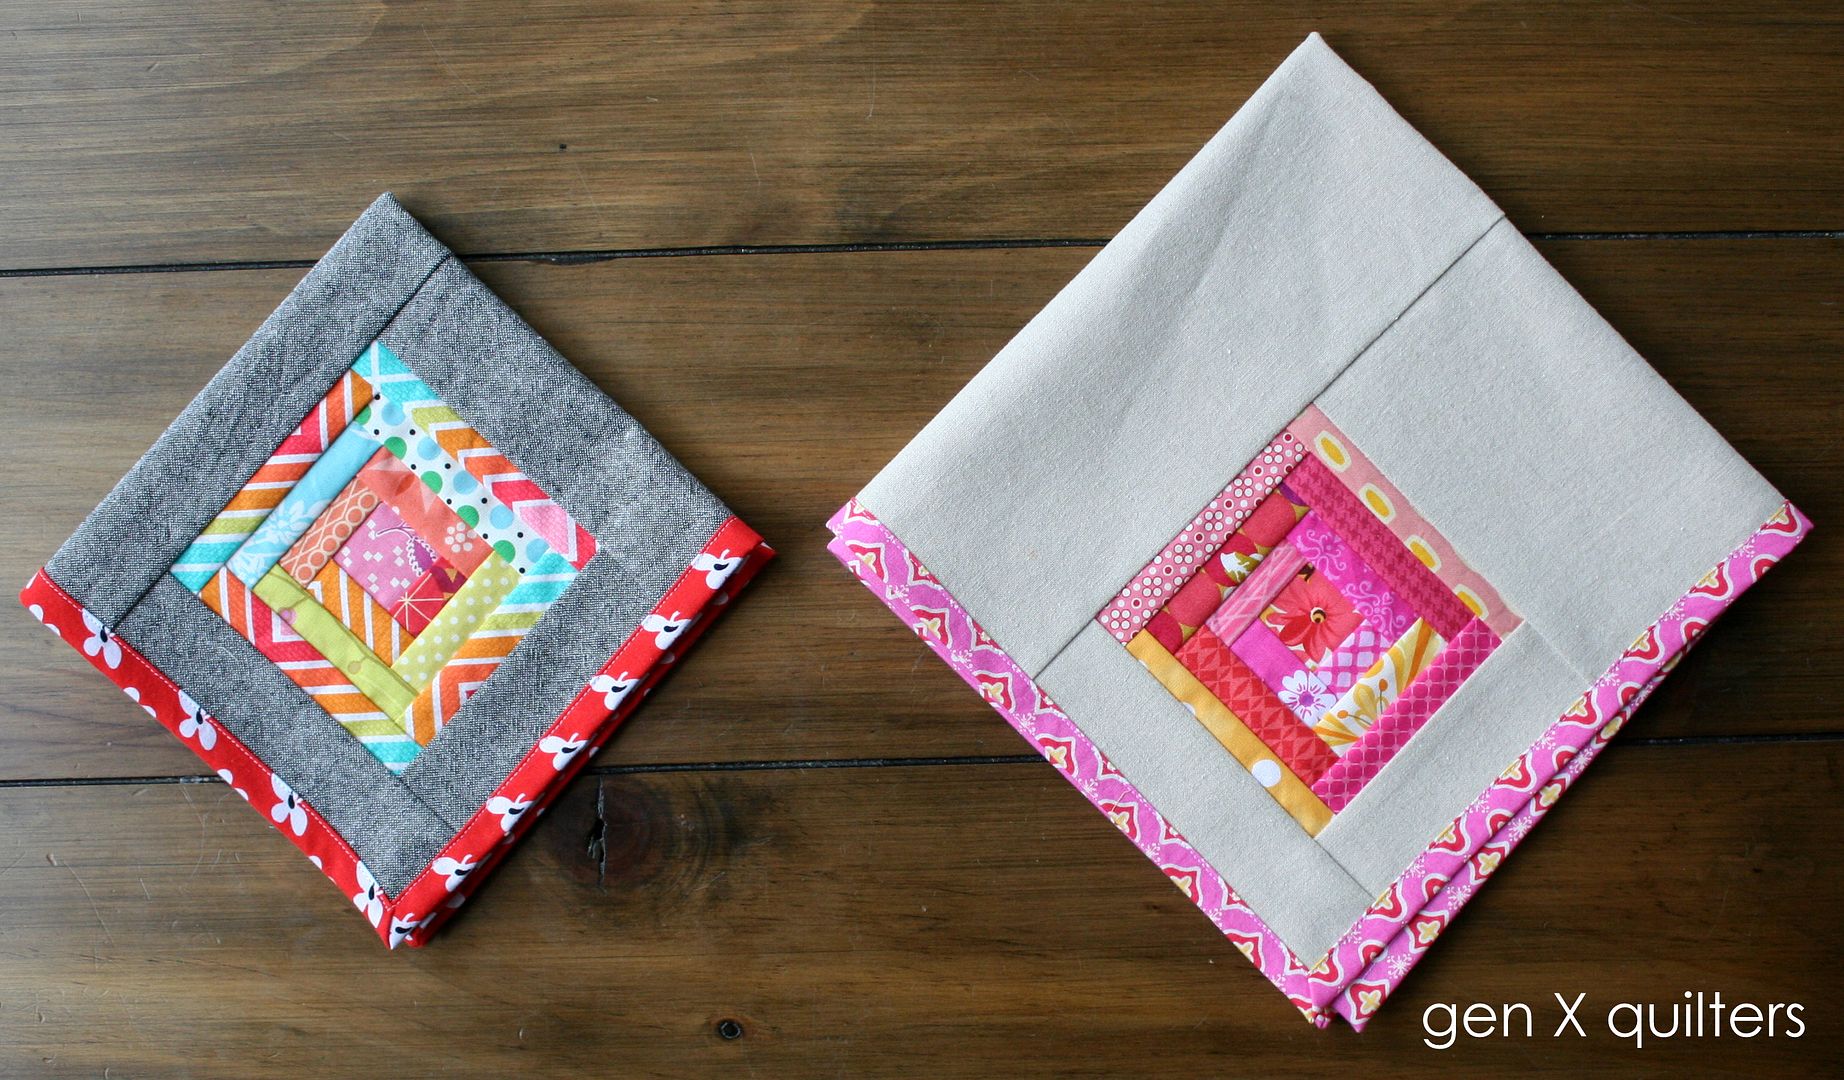
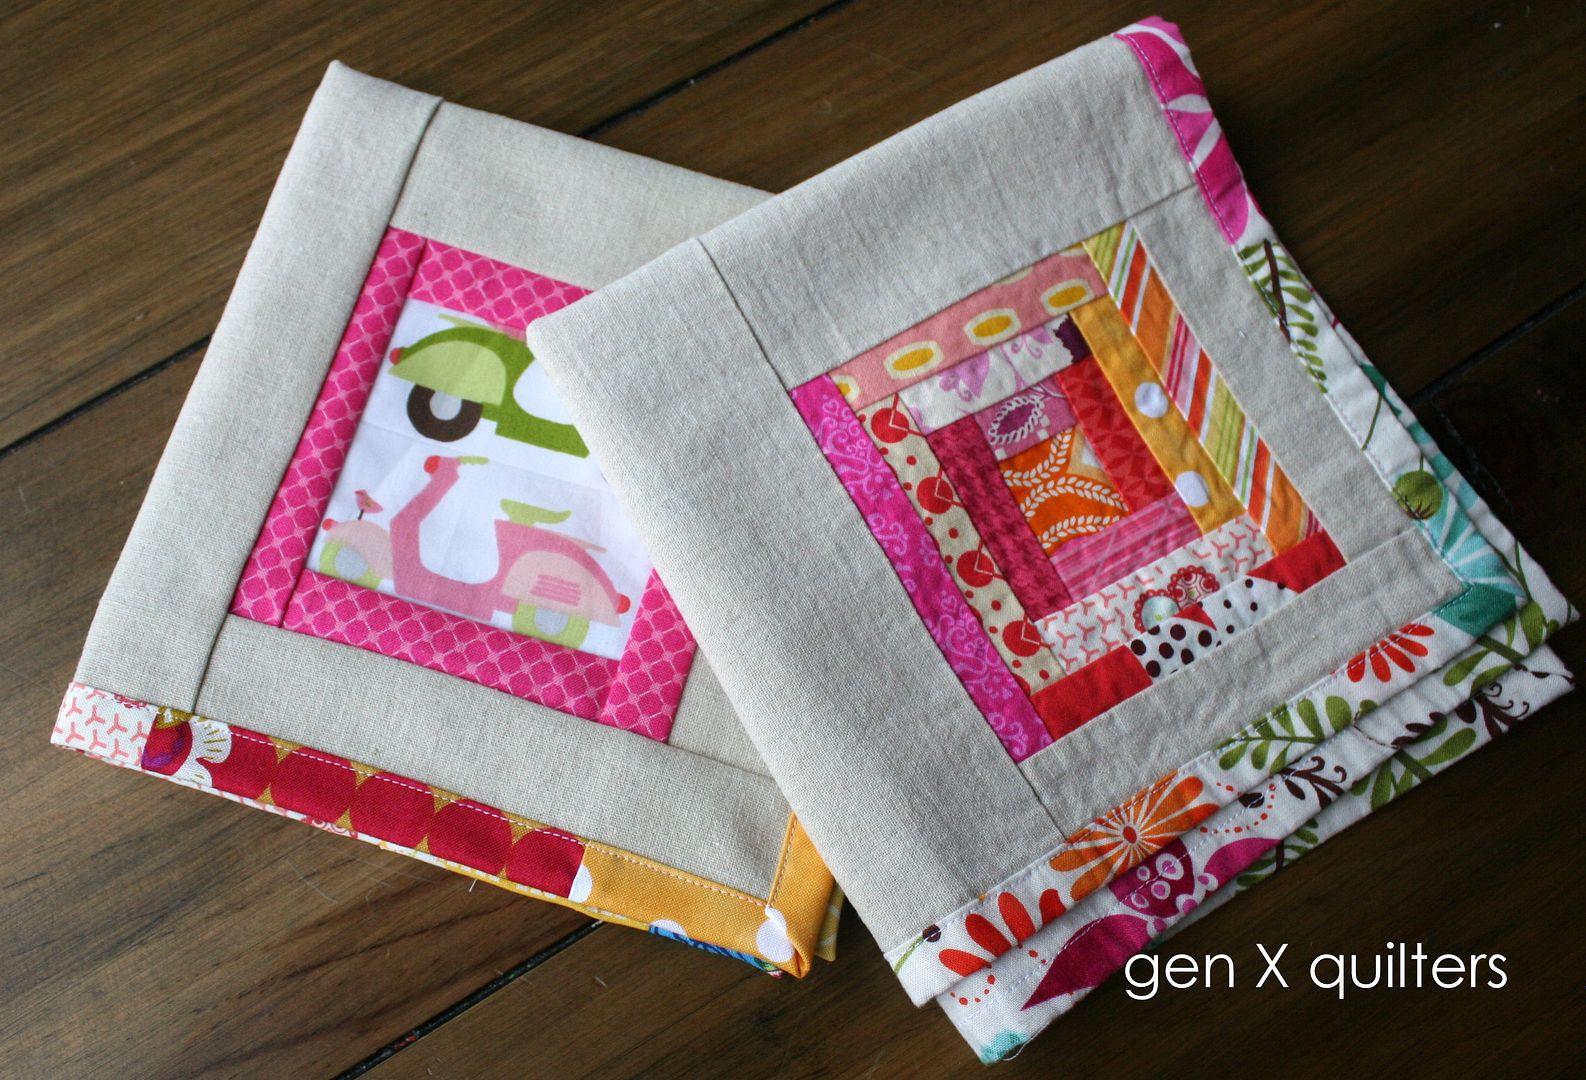
To facilitate each napkin set being different, there are for 4 different quilt blocks that are the center of attention in the accent patchwork block.  You can choose to make your set with all the same blocks and fabrics - or add some flair by mixing and matching with scraps.


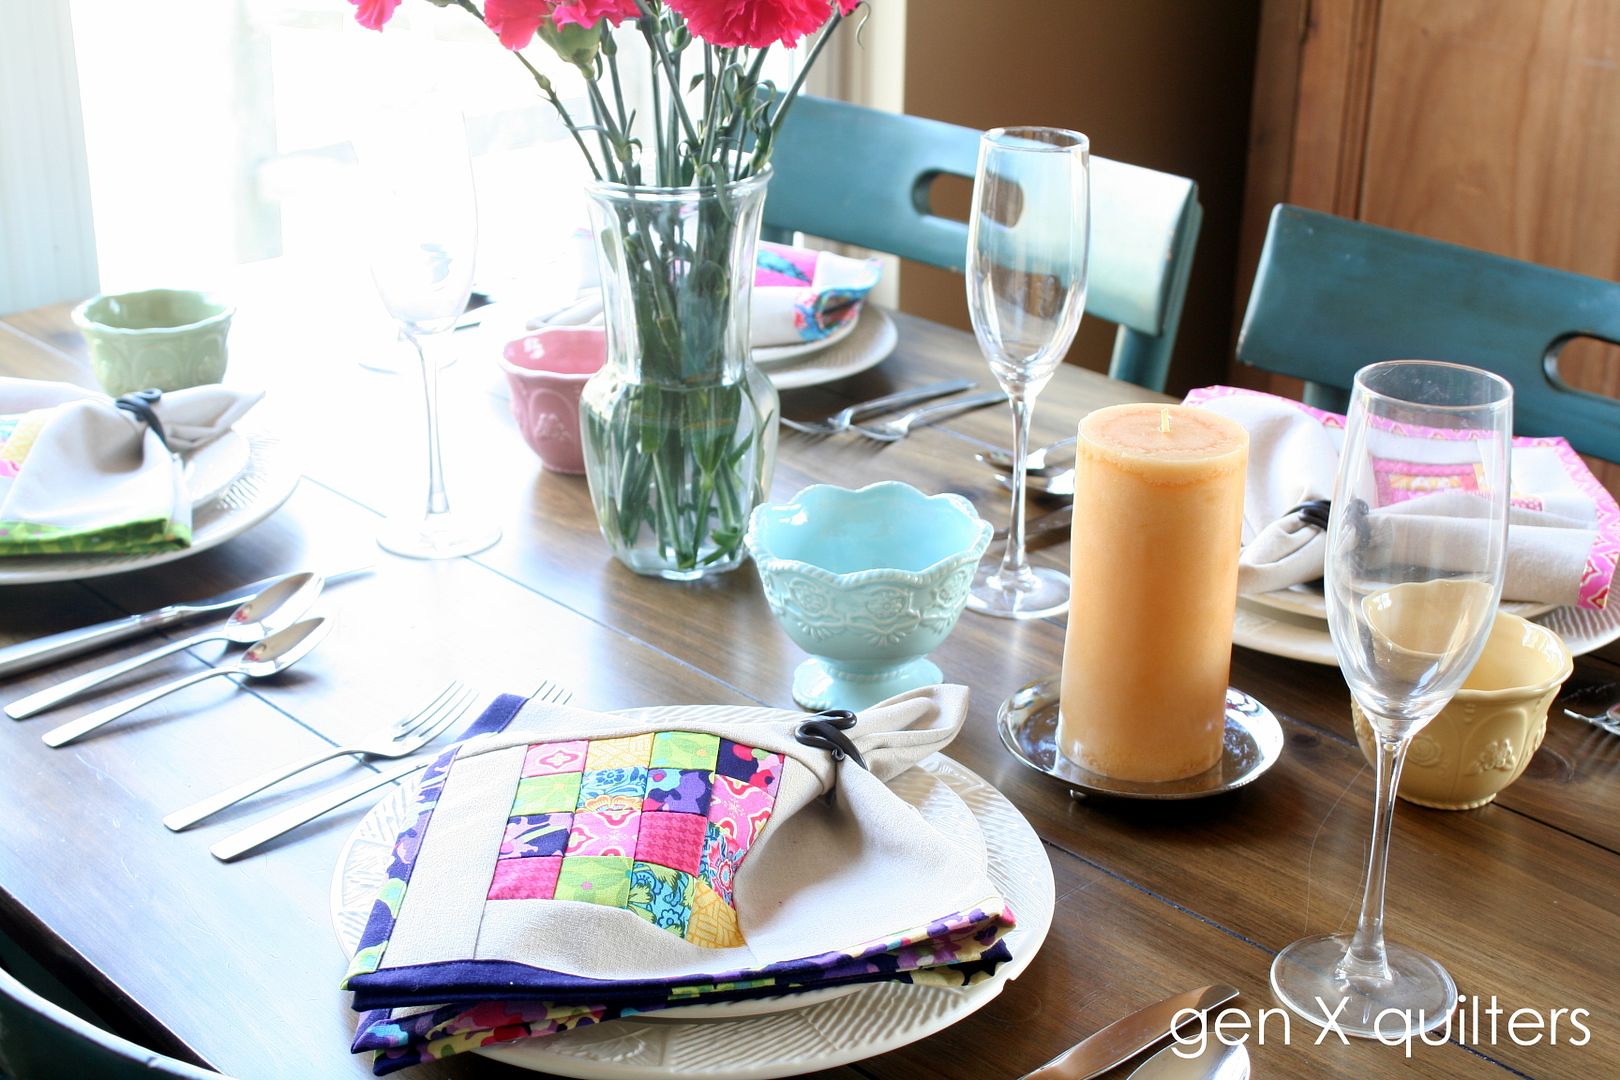
Don't they make a table setting look so fun and exquisite?  This will be my Easter table this year - and to be honest - this is completely gung-ho for me.  I didn't even own cloth napkins before I made these.  Usually, my holiday hosting is good to go if my kids haven't made a fort out of the living room and the dinner table is play-doh free. :)


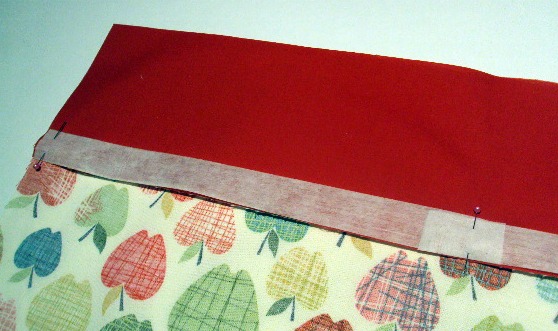
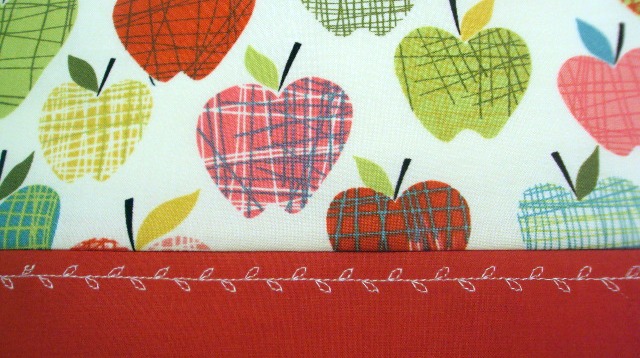
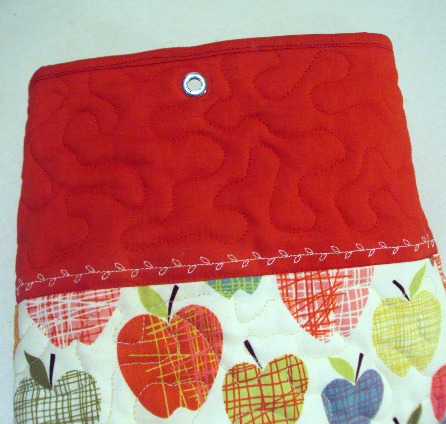
The pattern has an intermediate skill level (although if you choose some of the simpler patchwork blocks, I believe an advanced beginner could tackle it).  It has a great self-binding method in which the same fabric is used for the backing and binding - you won't need to cut binding strips!

The pattern lets you choose from 2 sizes to make. 
  • Everyday 14" x 14"  (these are intended to replace the small paper napkins usually bought in bulk at a large box store)
  • Formal 18" x 18" (larger for use with napkin rings - based on etiquette's "lunch" sized napkin)
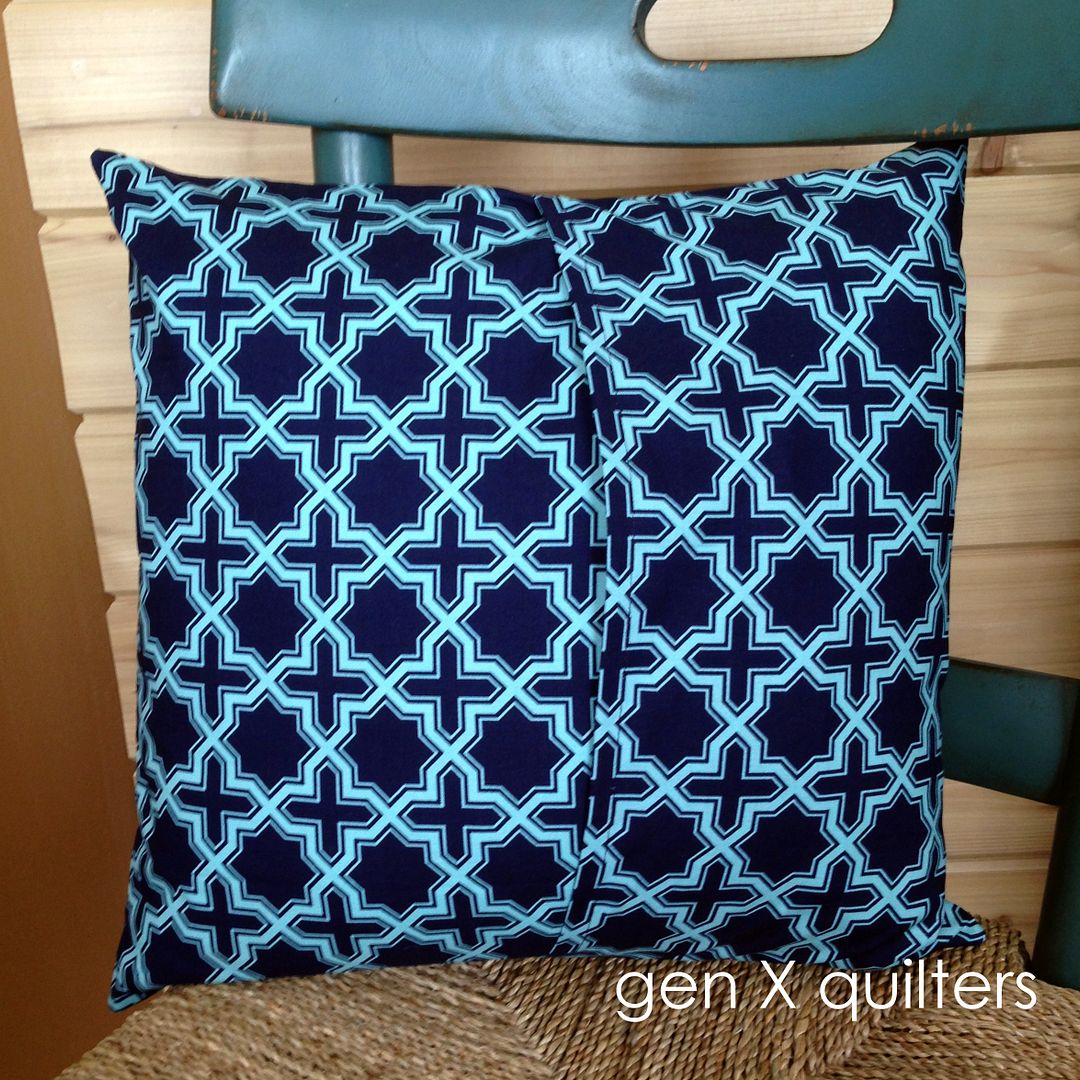
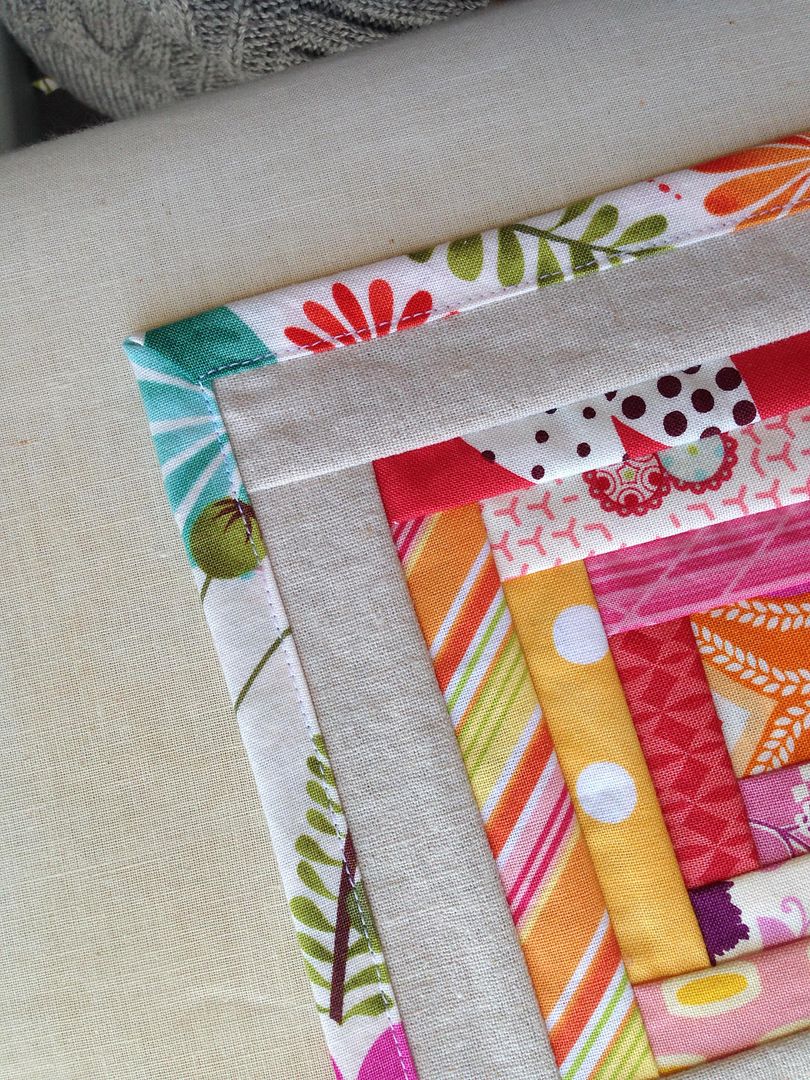
Below you can see the difference in size between the everyday napkin (left) and the formal napkin (right).  See how there is room at the top of the formal one to slide a napkin ring over the tip? ....while still emphasizing the patchwork, of course. :)

Patchwork Napkin Fabric Requirements. 

Everyday
Formal
Makes
2 napkins
2 napkins
Front / Linen
1/2 yard
5/8 yard
Back
1/2 yard
5/8 yard
Assorted Scraps
Small amount for 4 1/2" block
Coordinating Thread
1 spool
1 spool

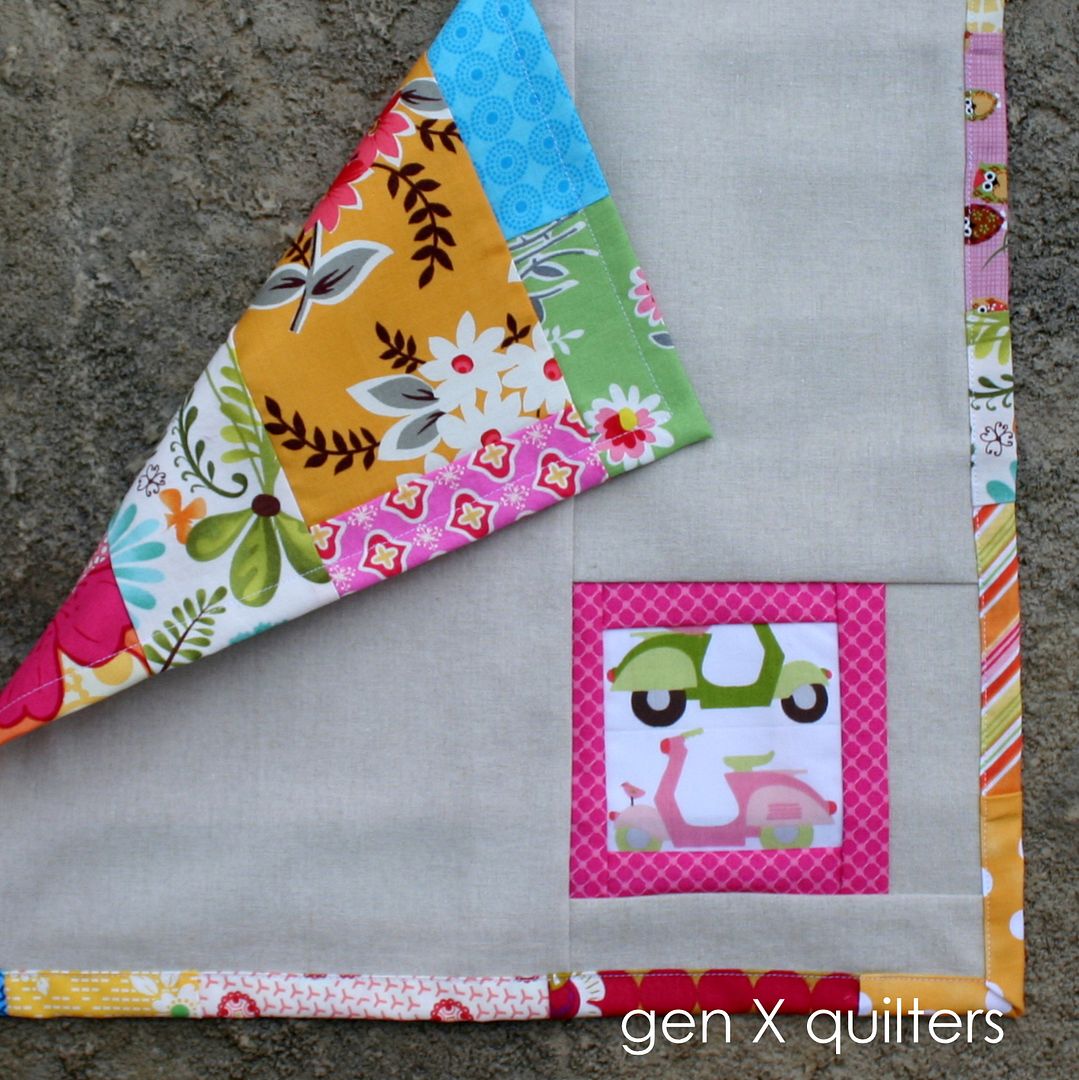
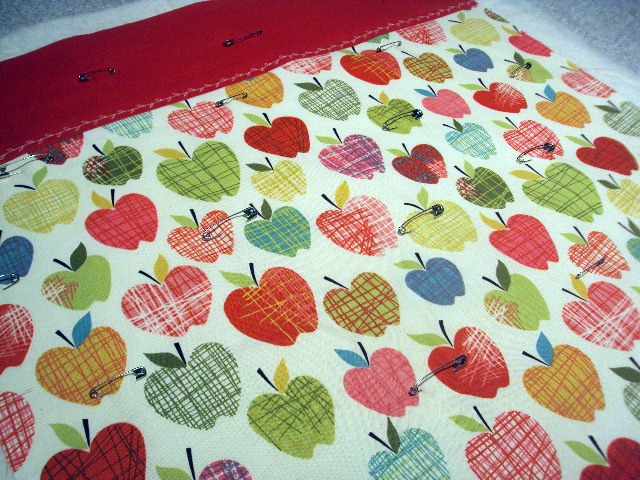
everyday napkin with patchwork backing


The Patchwork Napkin Pattern (PDF) is now available in my shop!  It will be on sale all this week for just $7.  After it's debut week, the pattern will bump up to $9 at it's regular price.

Enjoy!  If you have any questions, please do not hesitate to ask!  {annemarie@genxquilters.com}

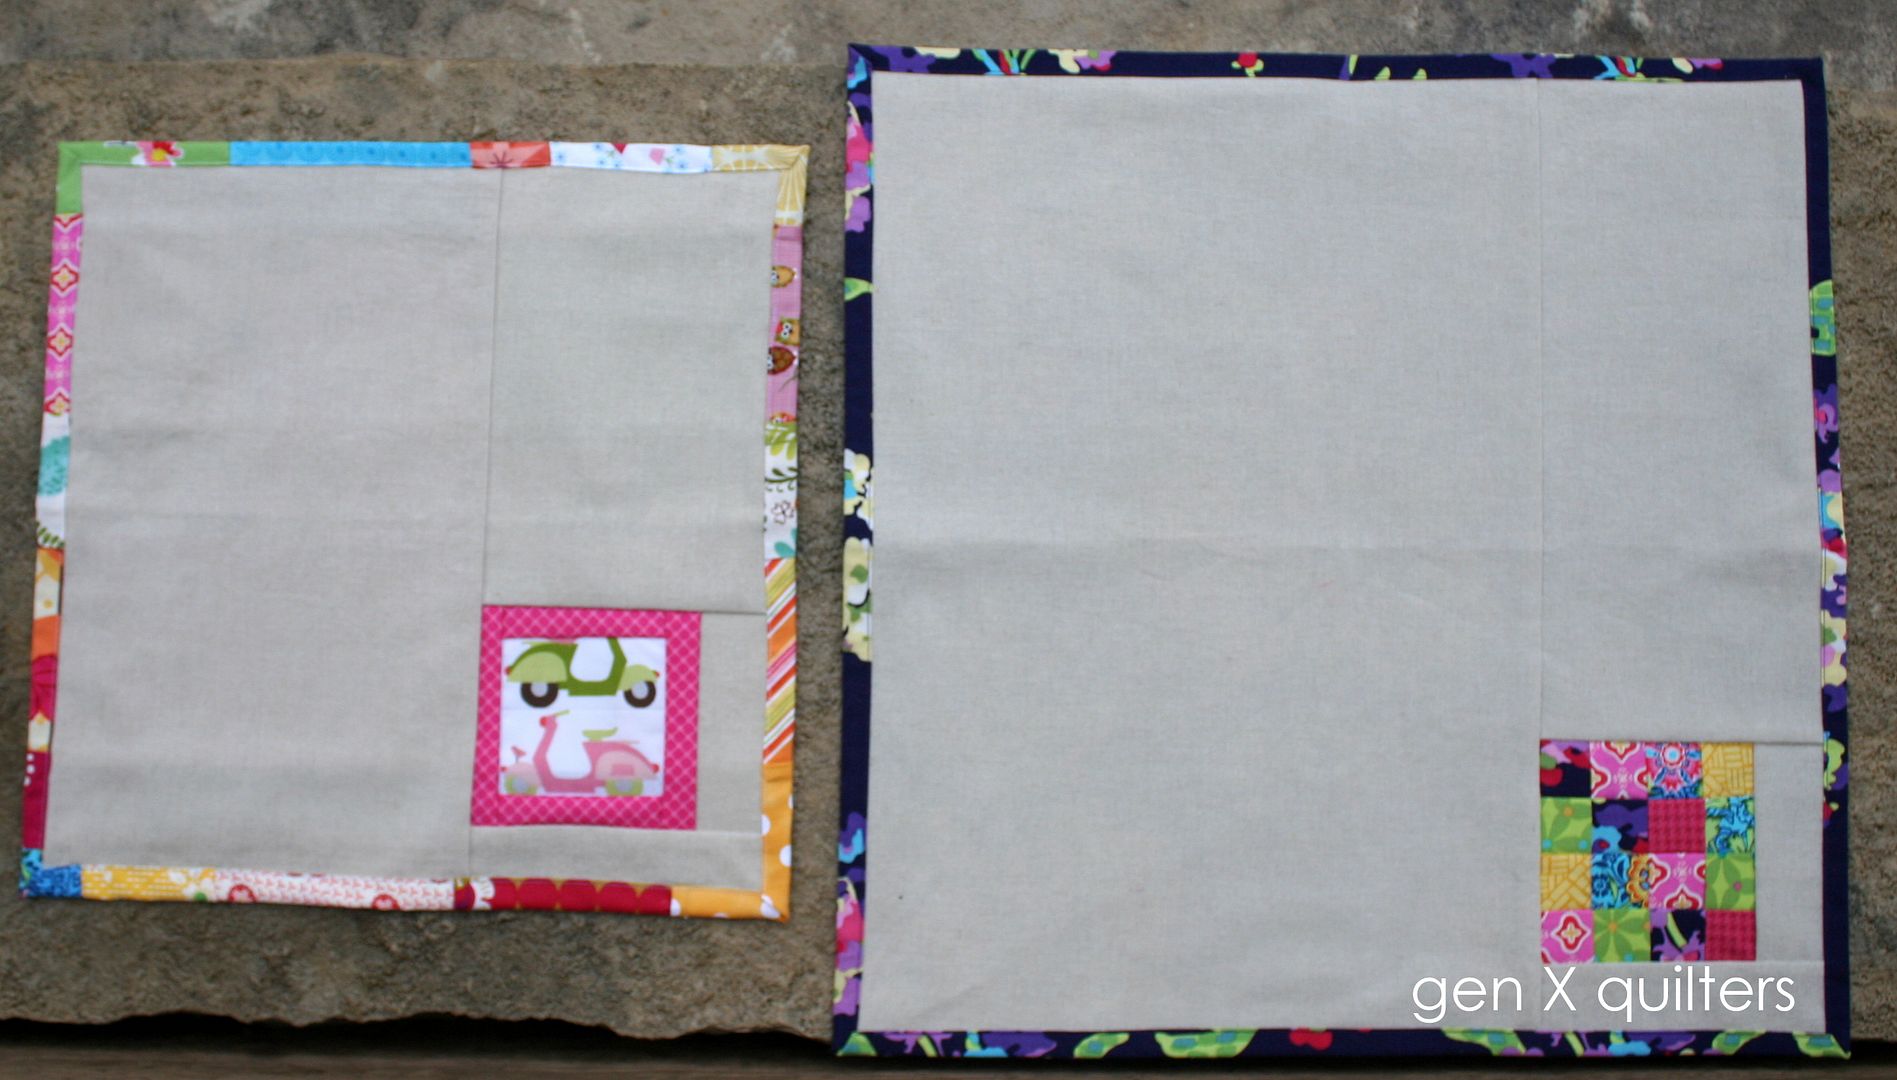
everyday (left) and formal (right)
**Fabric for the samples in the pattern cover is Lark by Amy Butler, Tea Garden by Dena Designs, Love by Amy Butler, and Summersault by Erin McMorris.  

Embroidered Granny Square Pillow

The abundance of cold temperatures this winter has kept me cuddled up close to the fire this winter.
And in my book, sitting by the fire and hand work go.., well.... hand in hand.
I picked up a FQ bundle of Dowry in the Rubies & Pearls colorway from AMH, and I immediately felt drawn to stitch up some embroidery with the fabrics.  I wanted something that would accent the colors in this floral print.

I also wanted something "quilty" even though I was going to be embroidering the motif.  I settled on stitching a granny square on Kona Ochre.  I sketched the square in Touchdraw and racked my brain for different "filler" stitches to put inside each square.

I'm especially fond of this little flower.  I think my satin stitching is improving!


To make the embroidery into a pillow, I framed it with the AMH inspiration print and then quilted in a square only on the framed portion of the block.  I didn't want the quilting to distract from the hand needlework.

I am loving envelope back closures for pillows right now!  It's so easy - simple to sew and simple to trade out one cover for another.

I hope to make a couple more pillows from that bundle of Dowry - but I'm only allowing my self one hand project at a time.  

Grocery Bag Dispenser Tutorial

My husband is always throwing away all my spare grocery bags because they are in disarray in my pantry.  I need those for dirty diapers!  I finally got around to making this cute dispenser bag and thought I'd share it with you...


Materials
1 fat quarter (18" x 22") print
1/4 yard coordinating solid
2 - 1" x 20" strips interfacing
22" x 29" batting
22" x 29" muslin for backing
11" of 3/4" wide elastic
2 - 1/4" eyelets

Directions
1.  Cut the print fat quarter down to 18" x 20".  Save the leftover strip for the bag's handle.

2.  Cut the coordinating solid into the following sizes:
                 2 - 5" x 20" rectangles
                 1 - 2 1/2" x 20" strip (for binding the top)

3.  Sew one 5" x 20" rectangle to the top of the 18" x 20" print and one to the bottom using a 1/4" seam allowance.


4.  Before sewing the decorative stitching on the red solid, we will add interfacing to give the material extra support.  Pin the 1" x 20" strip interfacing to the wrong side of the red solid along the seam you sewed in step 3.  Do this at both the top and bottom seams.


5.  Sew a decorative stitch about a 1/4" from the seam on top of the interfacing.  Use the seam as your guide. I chose a little leafy stitch to pick up the leaves in the apples.  Sew decorative stitching at both the top and bottom seam on the red solid.


6.  Now make your quilt sandwich.  Muslin backing on the bottom, then batting, and quilt top on top, making sure to center the quilt top over the larger layers underneath.  Baste with pins.


7.  Now it's time to quilt.  Important!  Only quilt the top red solid and the print portion of your quilt.  Leave the bottom red portion unquilted.  It will be much easier to make the casing for the elastic and gather it all up if  the bottom is left unquilted.  In addition to stippling an all over pattern on the top two portions of the quilt, I also stitched-in-the-ditch using a walking foot at the seam where the print meets the bottom portion of the red solid.

8.  Trim the excess batting and muslin from all sides of your quilt.

9.  Trim with scissors the unquilted batting and muslin from the bottom portion of the quilt to reduce bulk.


10.  The top of the quilt is finished with binding.  The bottom has elastic casing to keep the grocery bags in.  The next step is to make the binding.  Using the 2 1/2" x 20" strip of red solid cut in the beginning, fold it in half widthwise, wrong sides together.  Place the raw edges of your folded strip against the raw edges of the top of the quilt and sew across the entire length of the strip, 1/4" from the edge.


11.  Fold the binding strip over and sew the entire length of  the strip to the back of the quilt, using a top stitch (about 1/8" from the edge) to secure the binding.


Here's what the binding looks like from the front.


12.  Now we turn our attention to the bottom of the quilt to make the casing for the elastic.  Fold the bottom edge under 1/4" and press.


13.  Fold again, this time 3/4" to create the casing for the elastic.  Slip your elastic strip in there just to make sure it fits.  Press.


14.  Stitch a topstitch (about 1/8") from the edge of the casing along the entire width of the quilt.


15.  Use a safety pin, threaded through the end of your elastic to feed the elastic through the casing.  Make sure to hold on to the other end of the elastic so it doesn't disappear into the middle of your casing sleeve!


16.  Fold the quilt in half with right sides together.  Match the seams where the red solid meets the print and pin in place.  Also make sure to match the elastic and casing sleeve.  Then sew along the length of the open edge to create a cylinder with one gathered end.


Turn it right side out, and it looks like this!


17.  Next we'll make the handle.  Grab the leftover strip of print you cut off earlier.  It should be about 2" x 18".  To have finished looking ends on the handle, fold under (wrong sides together) about 1/4" on each short edge and press.


18.  Fold the strip in half widthwise, right sides together.  Then sew along the entire length of the strip about 1/8" from the edge.  Turn the strip right sides out.


19.  Using a pen, mark the desired location for the eyelet hole.  I placed my eyelets about 1/2" down from the binding.  If you are looking at your cylinder from the top (with the gather at the bottom), place the lengthwise seam at 12 o'clock or at the back.  The front of your bag, the part you'll see is now at 6 o'clock.  Ideally, you should place the eyelets at 3 o'clock and 9 o'clock.


20.  Follow the manufacturer's instructions for the eyelet press to install the eyelets at the locations you have marked.  Thread the handle through the eyelet and tie a simple knot on the end.


Done!  And now you have a beautiful way to store these bags for recycling!