Tutorial: Simple X Block


This is the block I used to make my Hello Sunshine quilt with Nicey Jane.  It's one I customized with EQ7 to be the size I wanted.  It's simple and elegant when paired with some great fabrics.  Here's a tutorial for the block in case you'd like to try it.

Simple X 

CUT:
1 - 10 1/2" square with your background fabric (Kona Maize in photo)
1 - 3 3/4" square with your center fabric (green/blue geometric print)
4 - 3 3/4" x 9" rectangles (floral print)


1.  Cut the 10 1/2" square across both diagonals to create 4 triangles.


2.  Sew a 3 3/4" x 9" rectangle to both the left and right side of the 3 3/4" square.  Press.

3.  Take the remaining two 3 3/4" x 9" rectangles and sew the solid triangles to the right-hand long side of the rectangles.  Refer to the photo for the triangle placement.

4.  Open the unit and press.

5.  Next sew the remaining two triangles to the left-hand long side of the rectangles.

6.  Open and press.  Your two units should look like the picture below.

7.  Now we are ready to sew the unit from step 2 in between the units with the triangles.  Pin one triangle unit right sides together with the unit from step 2, making sure to match the seams where the geometric center square meets the rectangle of the triangle unit.

8.  Open and press.
9.  Repeat step 7 on the other side of the block.

10.  Open and press.

11.  Trim off the excess material of the floral rectangles to square up the block to 14".

There you go.... done!


Nicey Jane Hello Sunshine #1

Nicey Jane Hello Sunshine #7

Charmed Prints QAL: Quilting and Flange Binding

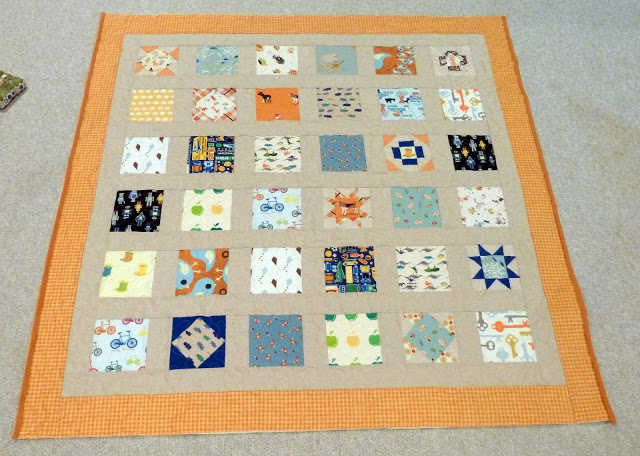
Well, here we are!  The last post for the Charmed Prints Quilt Along.  Are you ready to finish these puppies up?

BACKING:  Depending on whether you like one continuous fabric used for the back or a pieced scrappy back, there are a lot of options.  Unfortunately, I almost always run out of steam by this point, and usually cannot fathom piecing a 
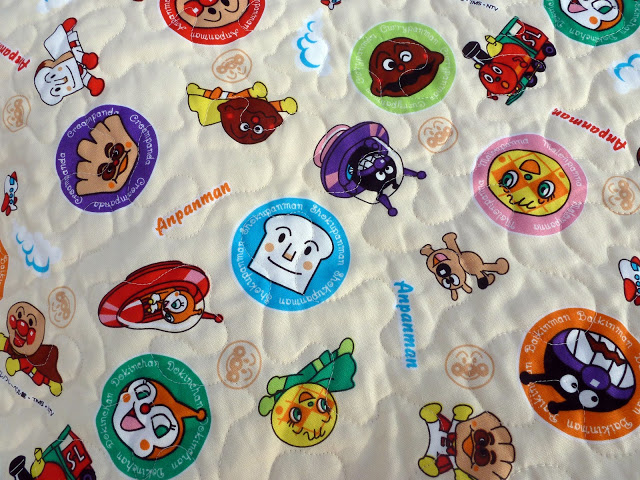
second quilt top for the backs of my quilts.  For my quilt, I chose to use a super cool Japanese print featuring Anpanman.  Anpanman is a celebrity cartoon show for kids in Japan and has a million different types of merchandising products.  My friend brought this fabric from Tokyo's Fabric-town giant Tomato for me this summer.

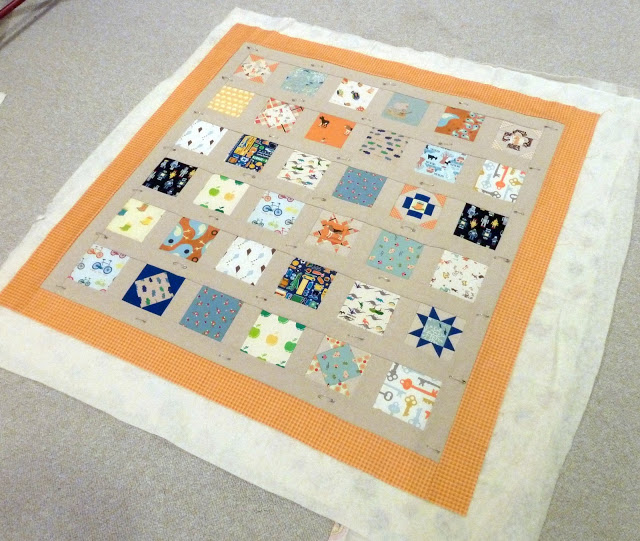
Whichever method you choose for making your quilt back, be sure to make the back 3-4" larger than your quilt top in all directions.


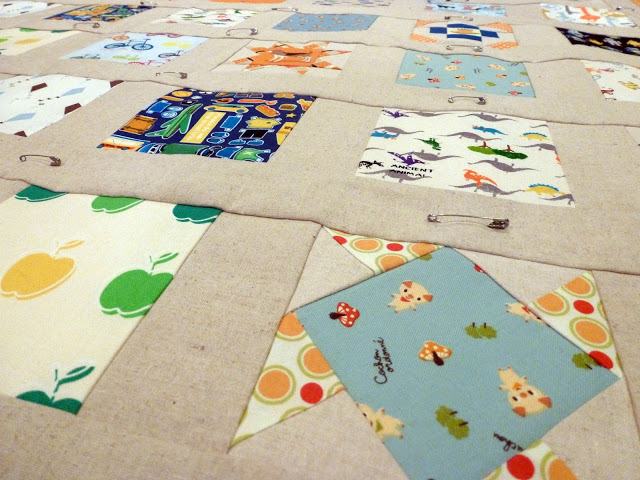
BASTING:  Now that our quilt top is done,  we have arrived at my most dreaded step in the whole process.  Basting.  Ack.  Gotta do it!  I know that spray basting has been popping up a lot lately and I've used it on smaller quilts such as this one.  But for now, breathing any extra fumes just will not do for the growing baby!  So it's on my hands and knees with pins that I am basting.


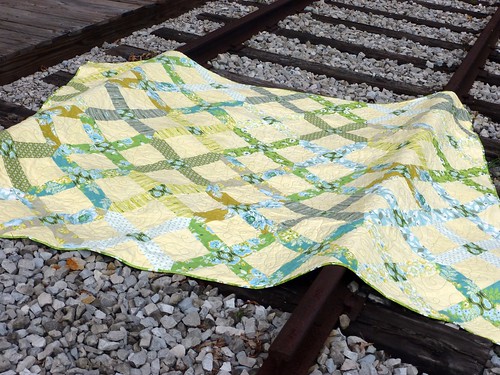
QUILTING:  On to some fun!  Now that your 3 layers are basted together, you can begin to contemplate how to quilt them together.  For a long while, I considered myself a beginner and ventured no further than straight line quilting.  Minimal, at that.  Honestly, this was only a year ago!  If you have the patience, there are some fantastic straight line designs you can try.

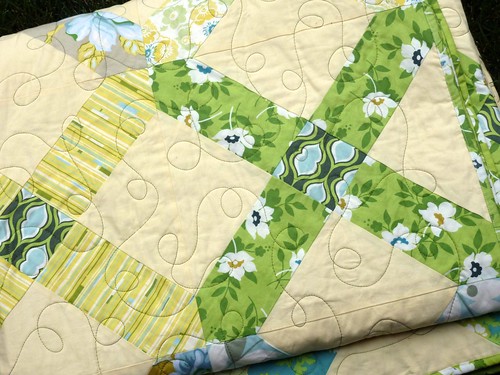
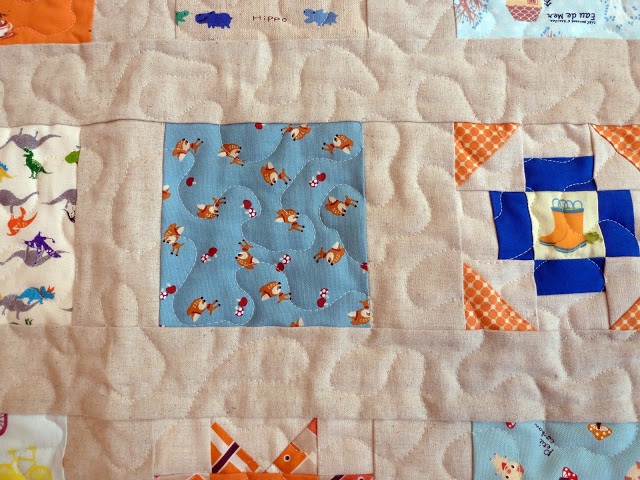
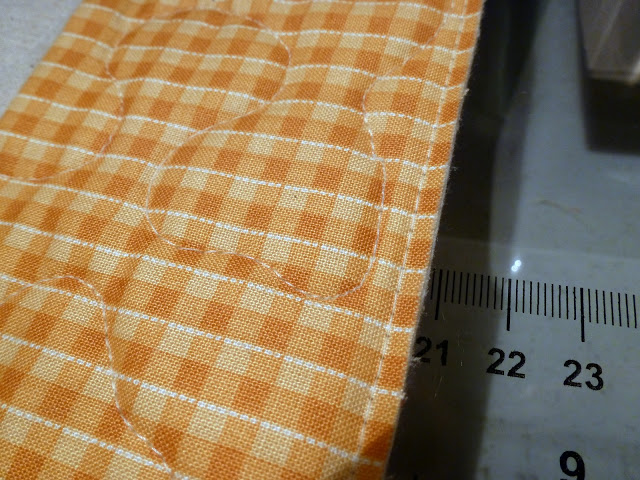
Then I built up my courage and ventured into free motion quilting.  I would still consider myself learning in this area.  I've mastered stippling on my home machine and use loopy "Ls" on the mid-arm machine at my LQS.  There are so many things to learn and practice here!  I've found my comfort zone for now though, and am stippling this baby quilt as well.  After all, I want my own QAL quilt to look spectacular, right?

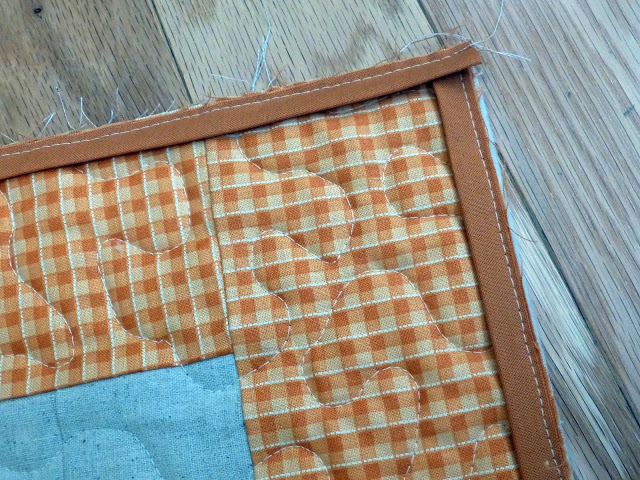
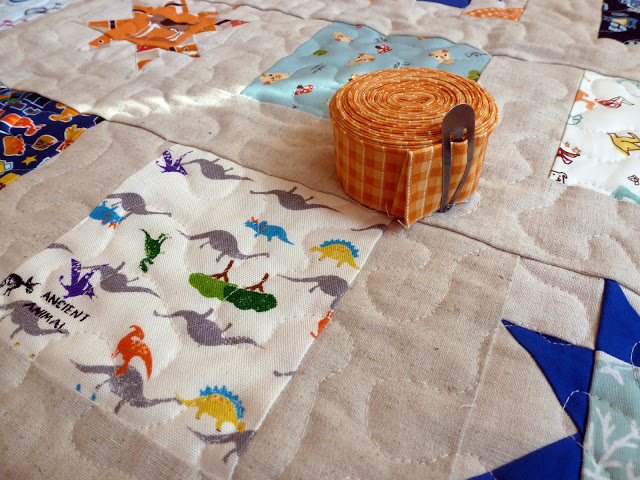
FLANGE:  Add some flair!  Sometimes when I finish a quilt, I like to use the same fabric for binding as I do for the last border.  On this particular quilt, I wanted to add something a little flashy and fun in between.  The flange on the quilt binding was a new-to-me technique, although I have added flanges on blocks for in the Rockin' Robin QAL and really enjoyed them then.


BINDING:  Most of the time I am in a great hurry to finish up a quilt.  This time, since I used the new flange, I decided to put my binding on the traditional way - stitch to the front, turn and hand stitch to the back.  Most of the time, I'm a machine stitch all the way type of girl, but I really wanted the binding to look perfect.  (I decided a while ago, I am hanging this quilt up and am not letting it be the pukey playmat for the floor)


Gen X Quilters

Next week, I'll be showing off the finish photos of my own quilt for the Charmed Prints QAL.

Poinsettia Quilt

 This Poinsettia Quilt is one of my favorites!  It is one of my first few quilts and really brings the Christmas spirit to my home when I pull it out on Thanksgiving.

I found the green border fabric at an after-Xmas sale and somehow everything else just fell into place.  I was still a beginner when making this quilt and selecting fabric was difficult for me.  I was beaming when I finished this quilt, as I finally got the "pop!" I was looking for that makes you say "Now that's a great quilt." The two different tones of red give the petals depth, and I love how the four flowers are accented by the candy cane border. 
This quilt hangs high up in my two-story great room below a crecent window.  Which means my husband has to get out the ladder to put it up and take it down each year..... and with the snow, sometimes we display this quilt until April or May!!  (I certainly don't mind....)
 I loved this pattern so much, I actually revisited it last year to make a table runner for my mom.  Poinsettias have always been a favorite flower of hers, so I made this 2 flower table runner with part of a 12 Days of Christmas (by Kate Spain for Moda) )layer cake.  I added a scrappy border since I only had small 10" squares to work with.

The pattern for the quilt is in this book:  

Debbie Mumm's Decorating with Quick & Easy Holiday Quilts.