
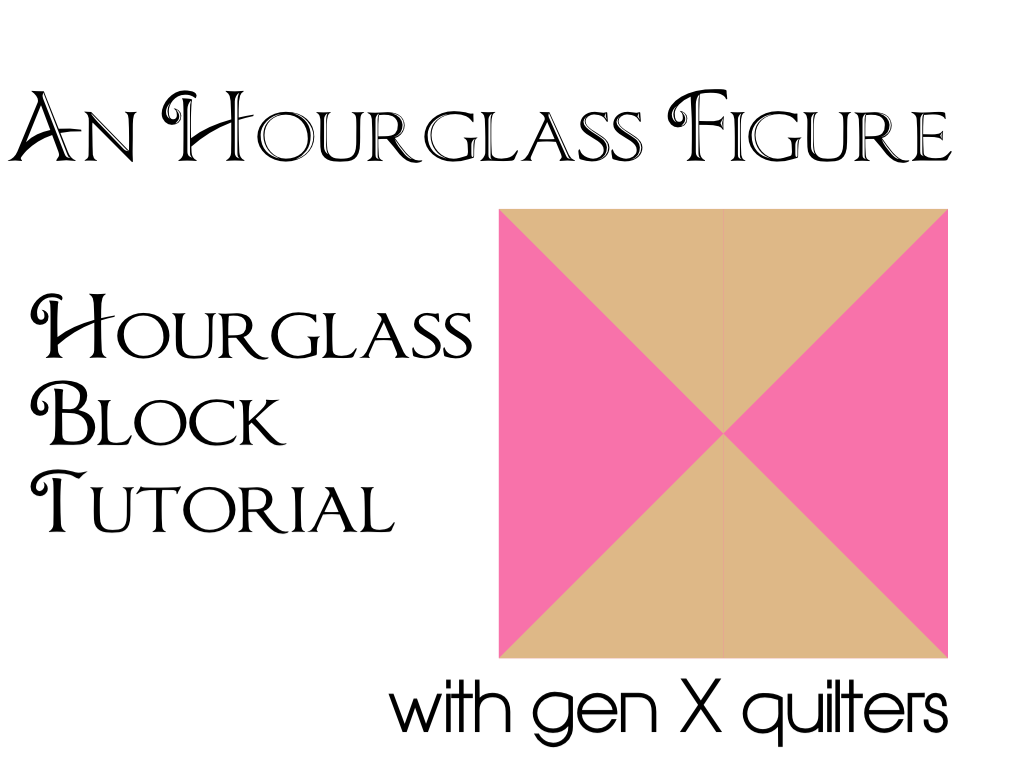
Here is a tutorial for a fundamental quilt block, the Hourglass block. Such a classic! Bet you can't guess what block will be May's Sisters' Ten block?? Hee hee. The block for the BOM will build upon this hourglass block... but I love having the basics separated out into it's own tutorial. Here we go...

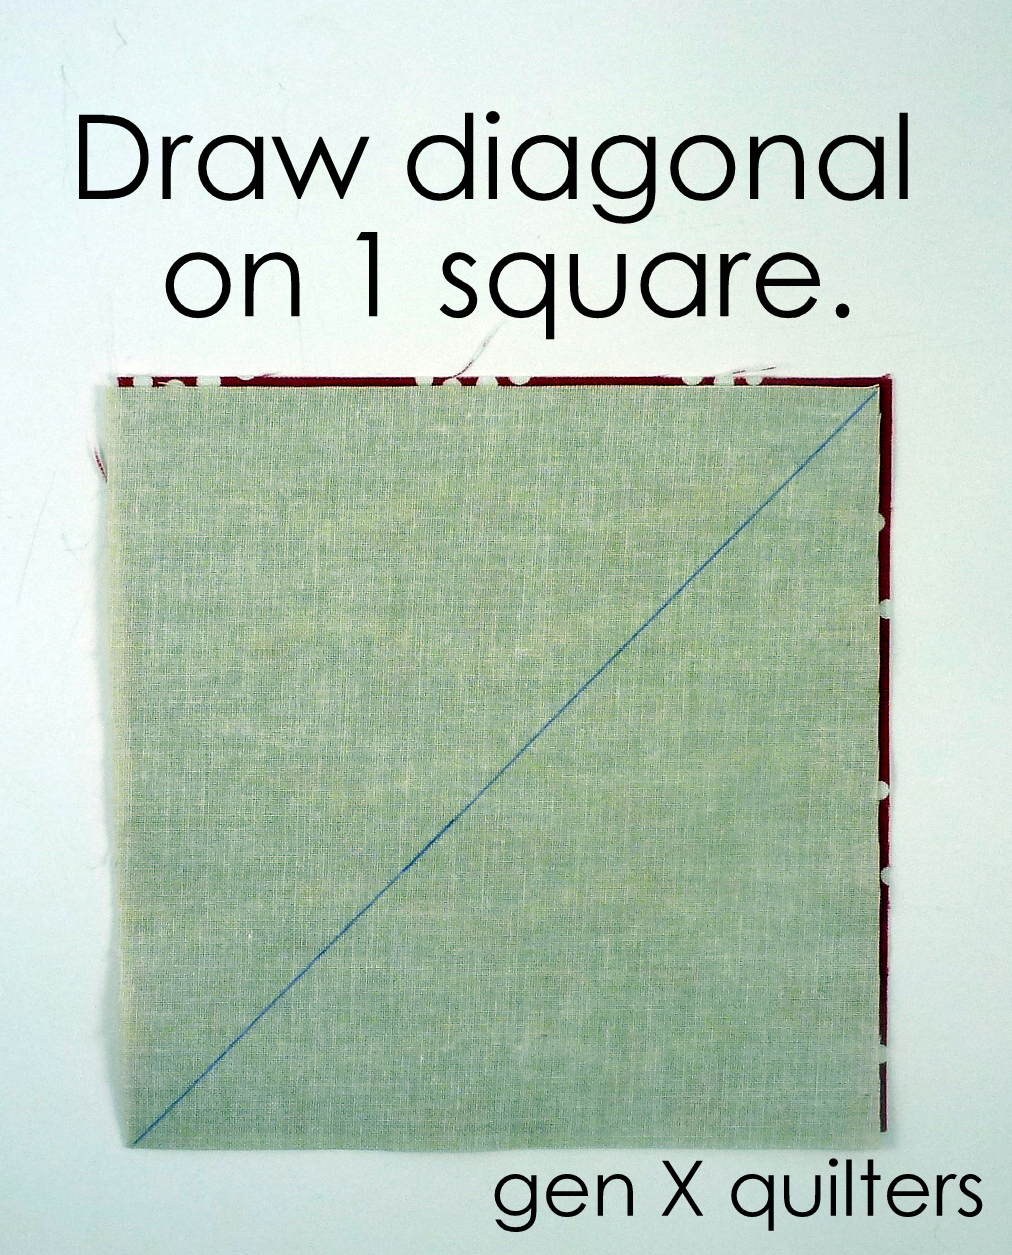
Draw a diagonal line on the wrong side of the Fabric A square.
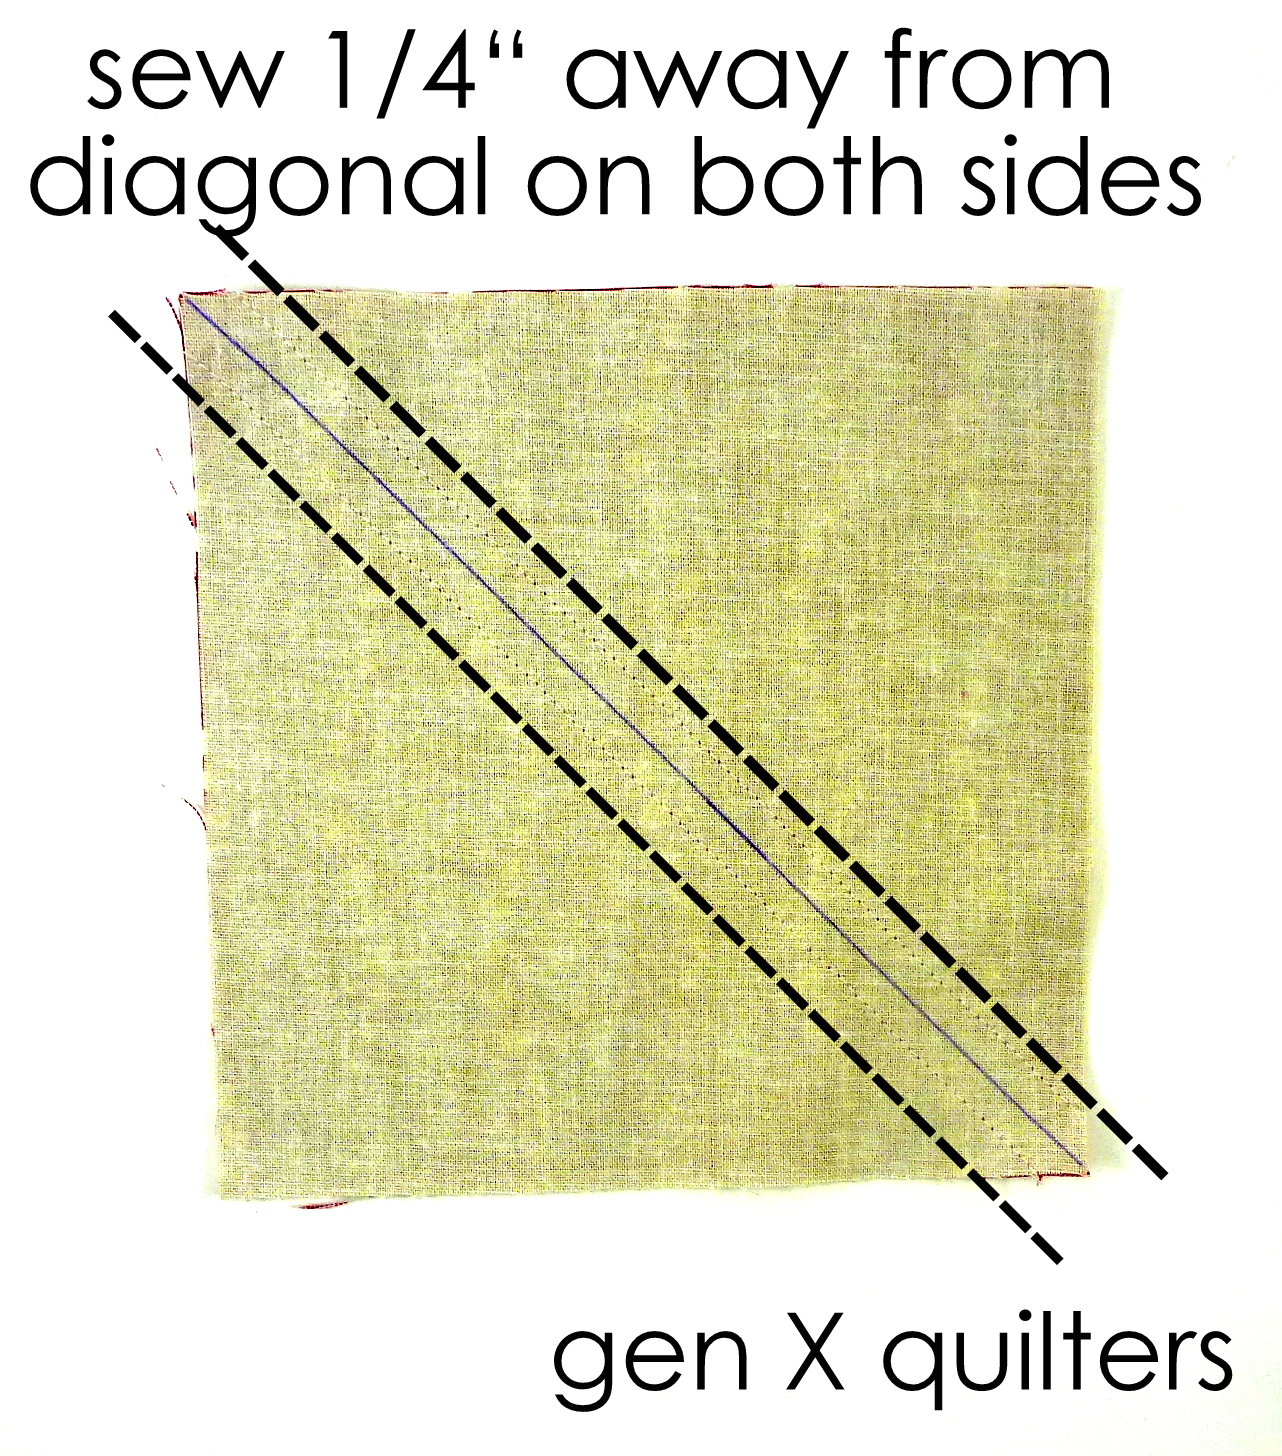
2. Layer the Fabric A square atop the Fabric B square with right sides together. Sew pairs together, stitching 1/4" on each side of the drawn line.
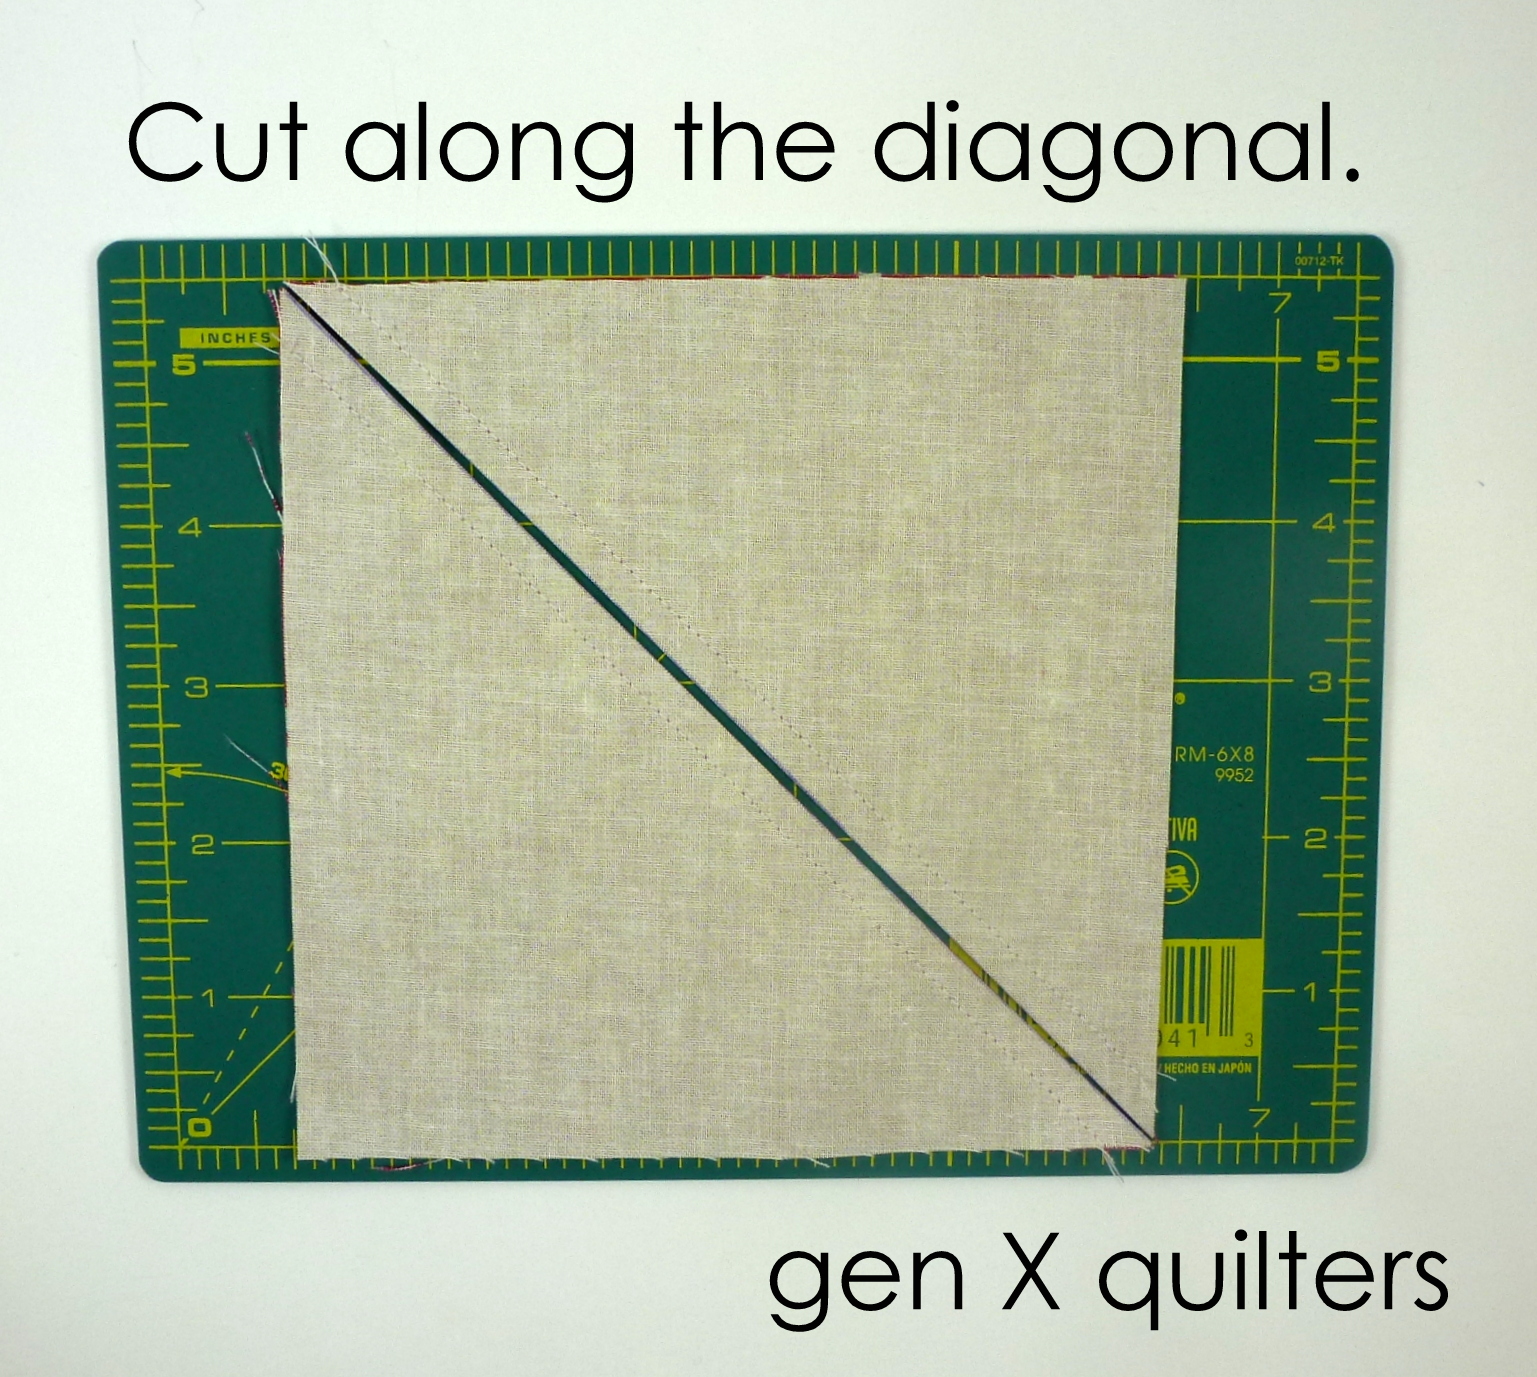
3. Cut the pair apart using your rotary cutter along the drawn line.
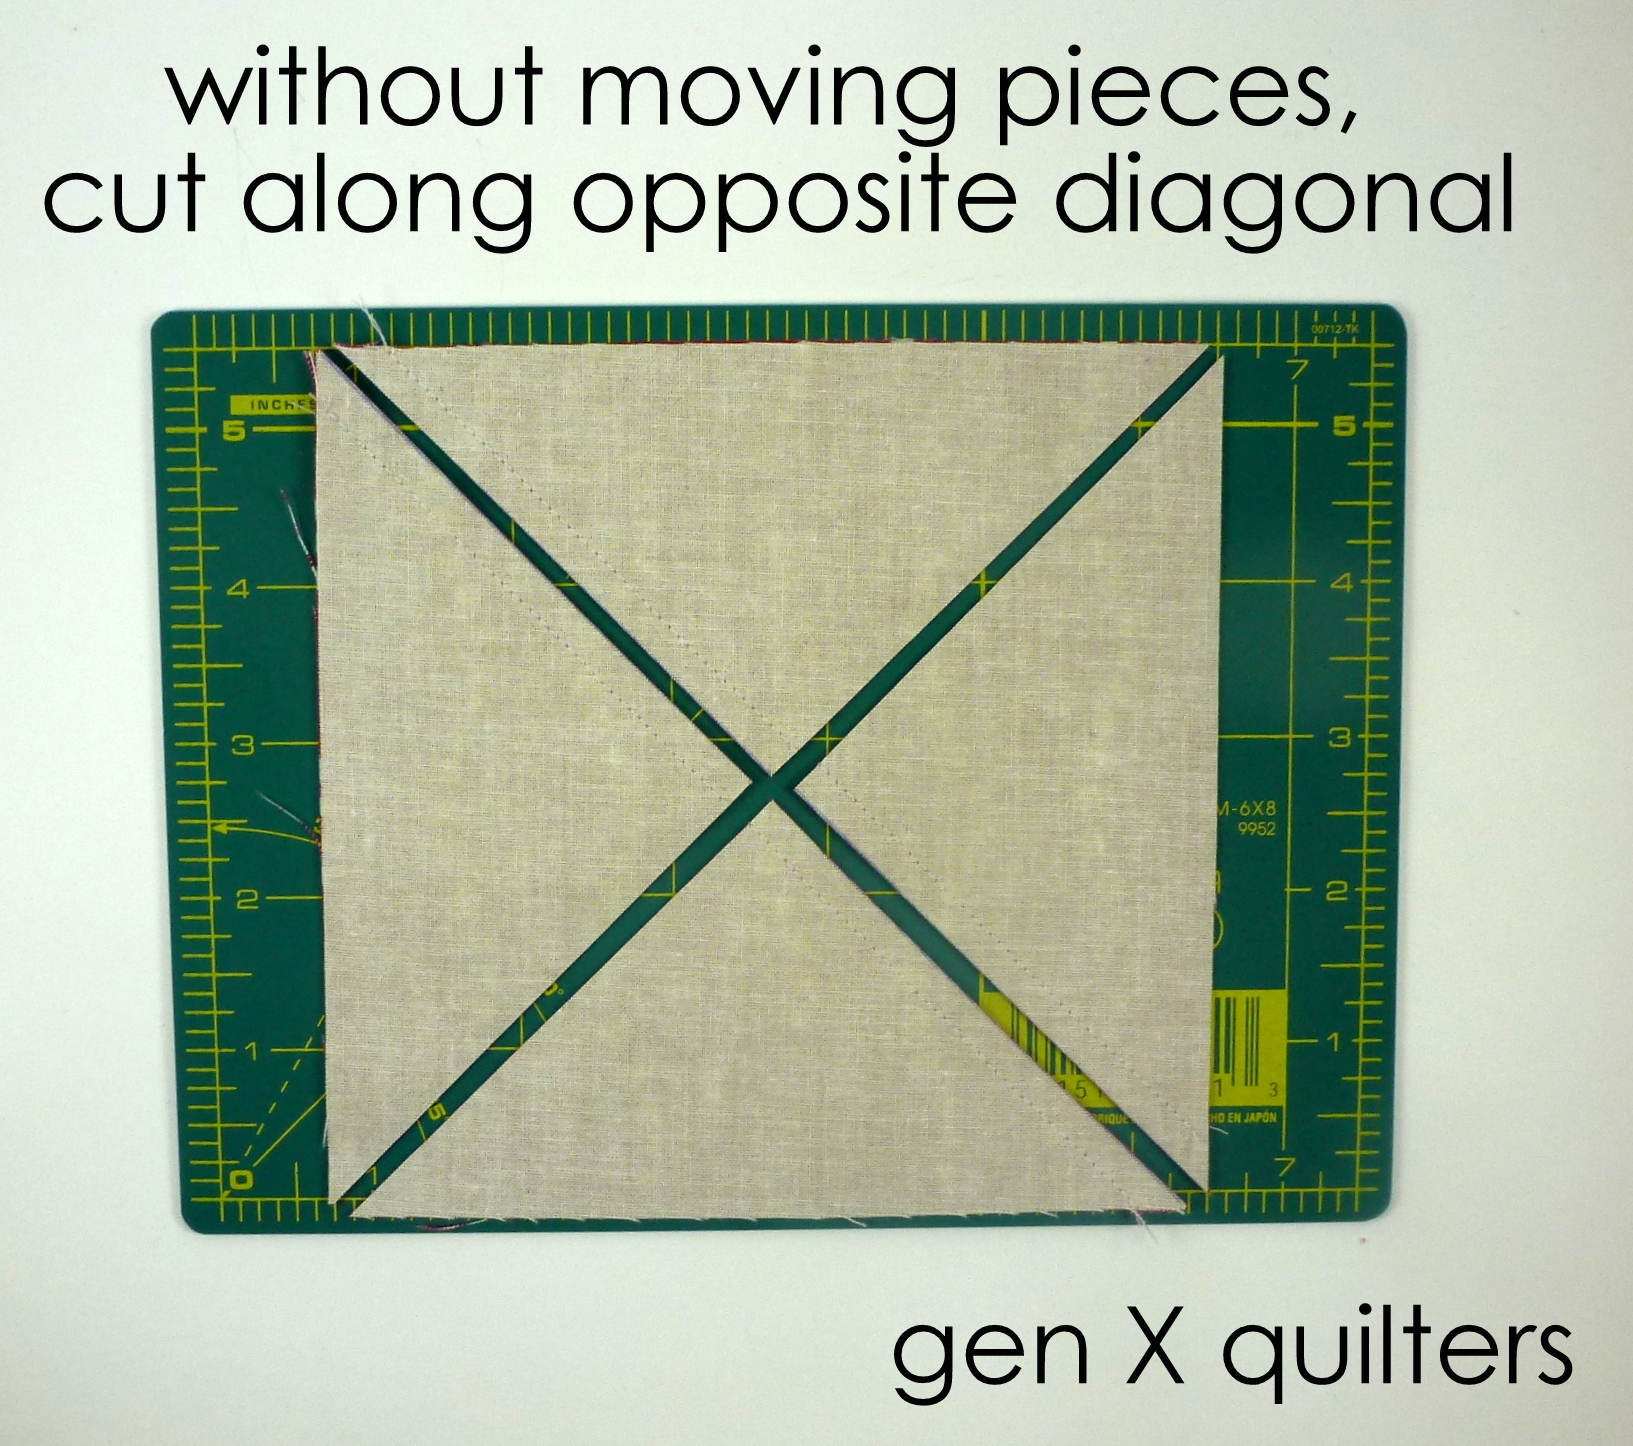
4. Without moving the blocks you just cut, place your ruler over the opposite diagonal and cut. There are now four triangle units. Each unit has one A triangle and one B triangle.

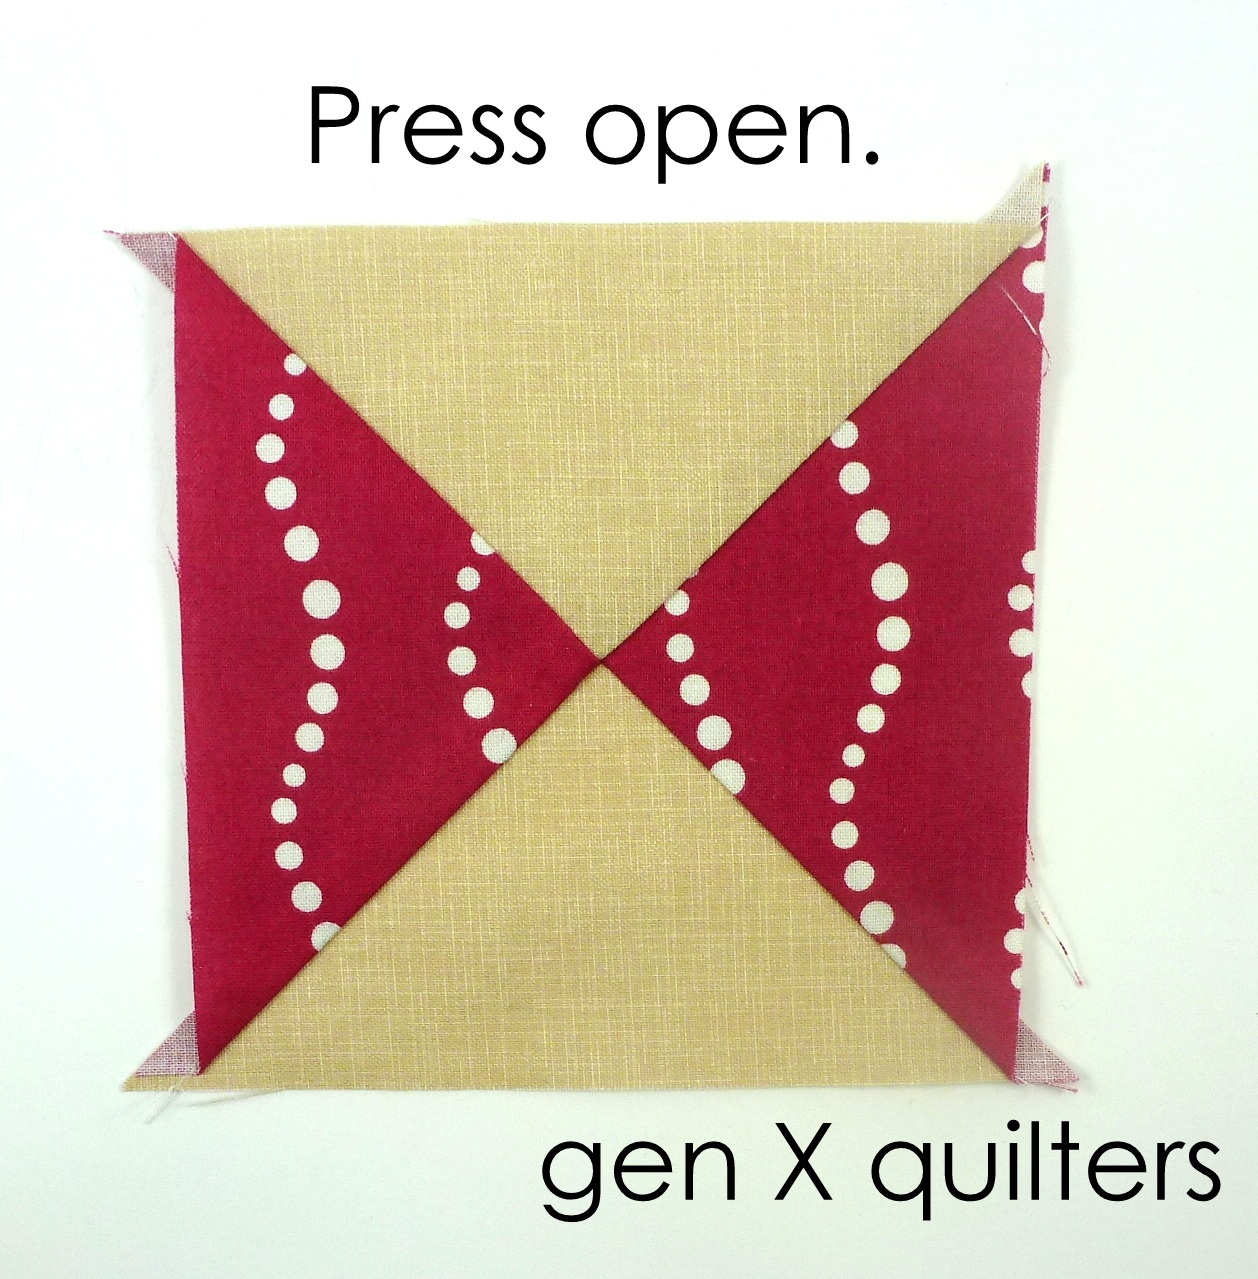
7. Press the block open.
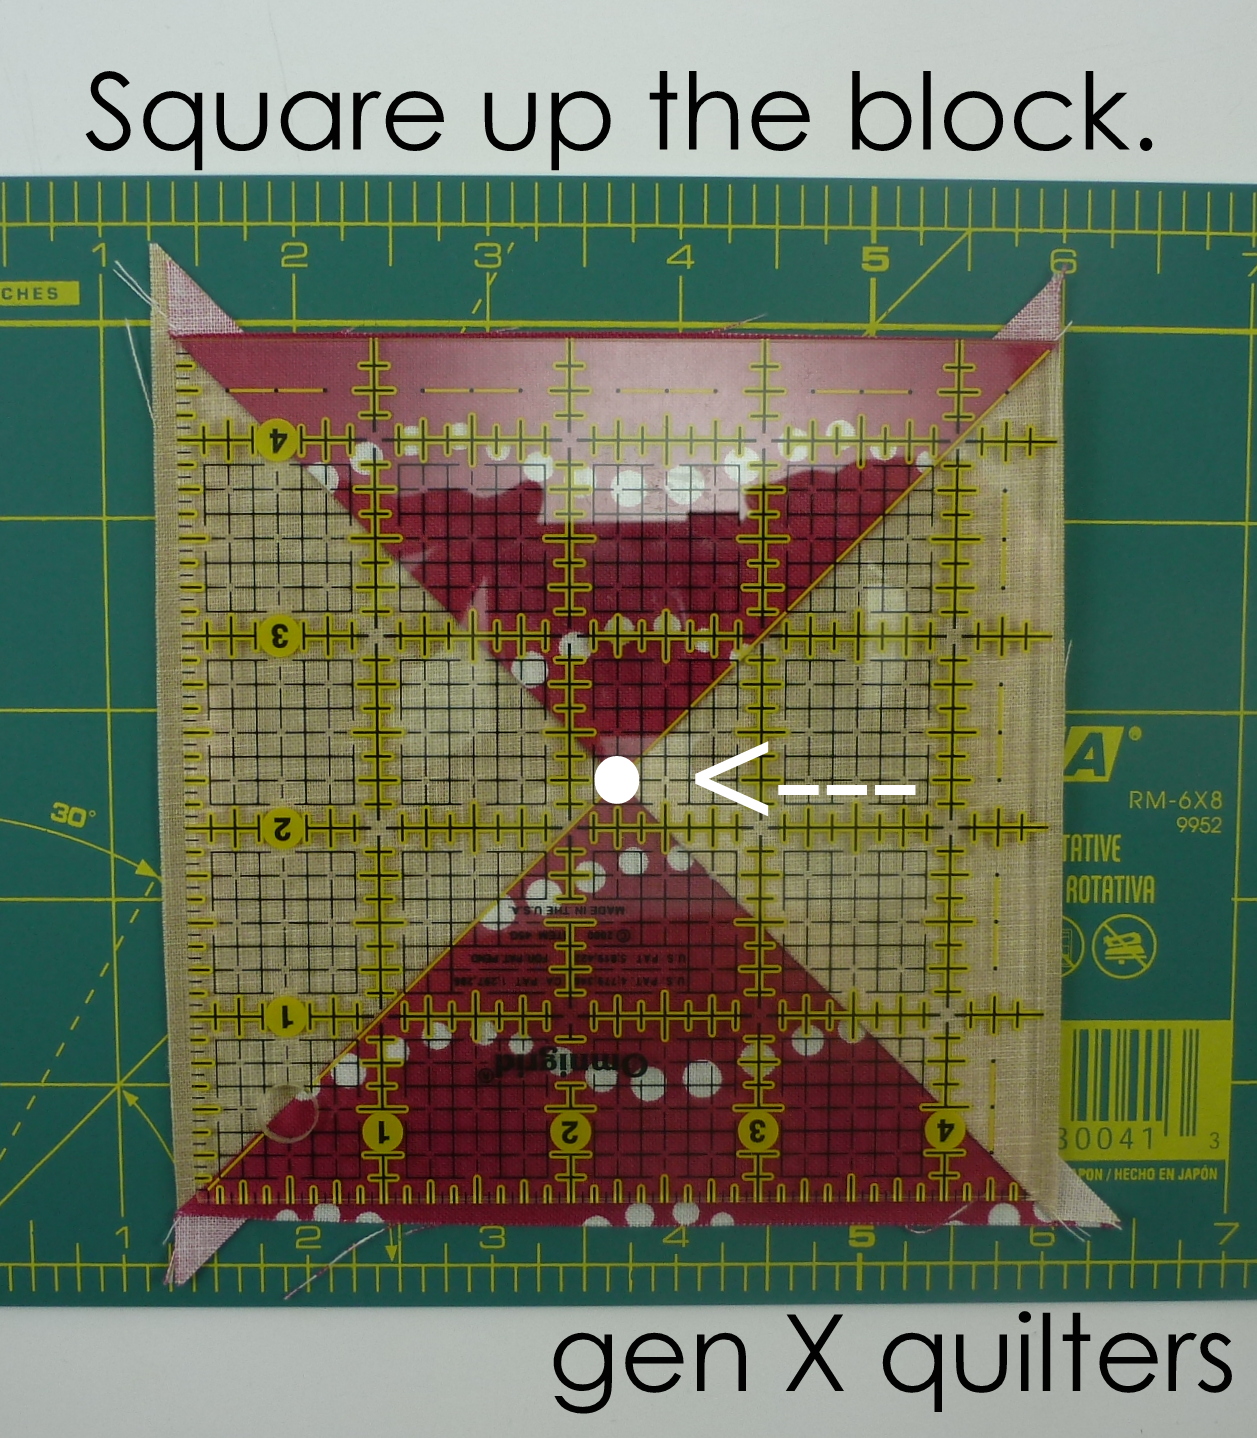
8. Square up the block.
In this case, I was lucky that this block needed to square up to 4 1/2" and I happened to have a 4 1/2" ruler.
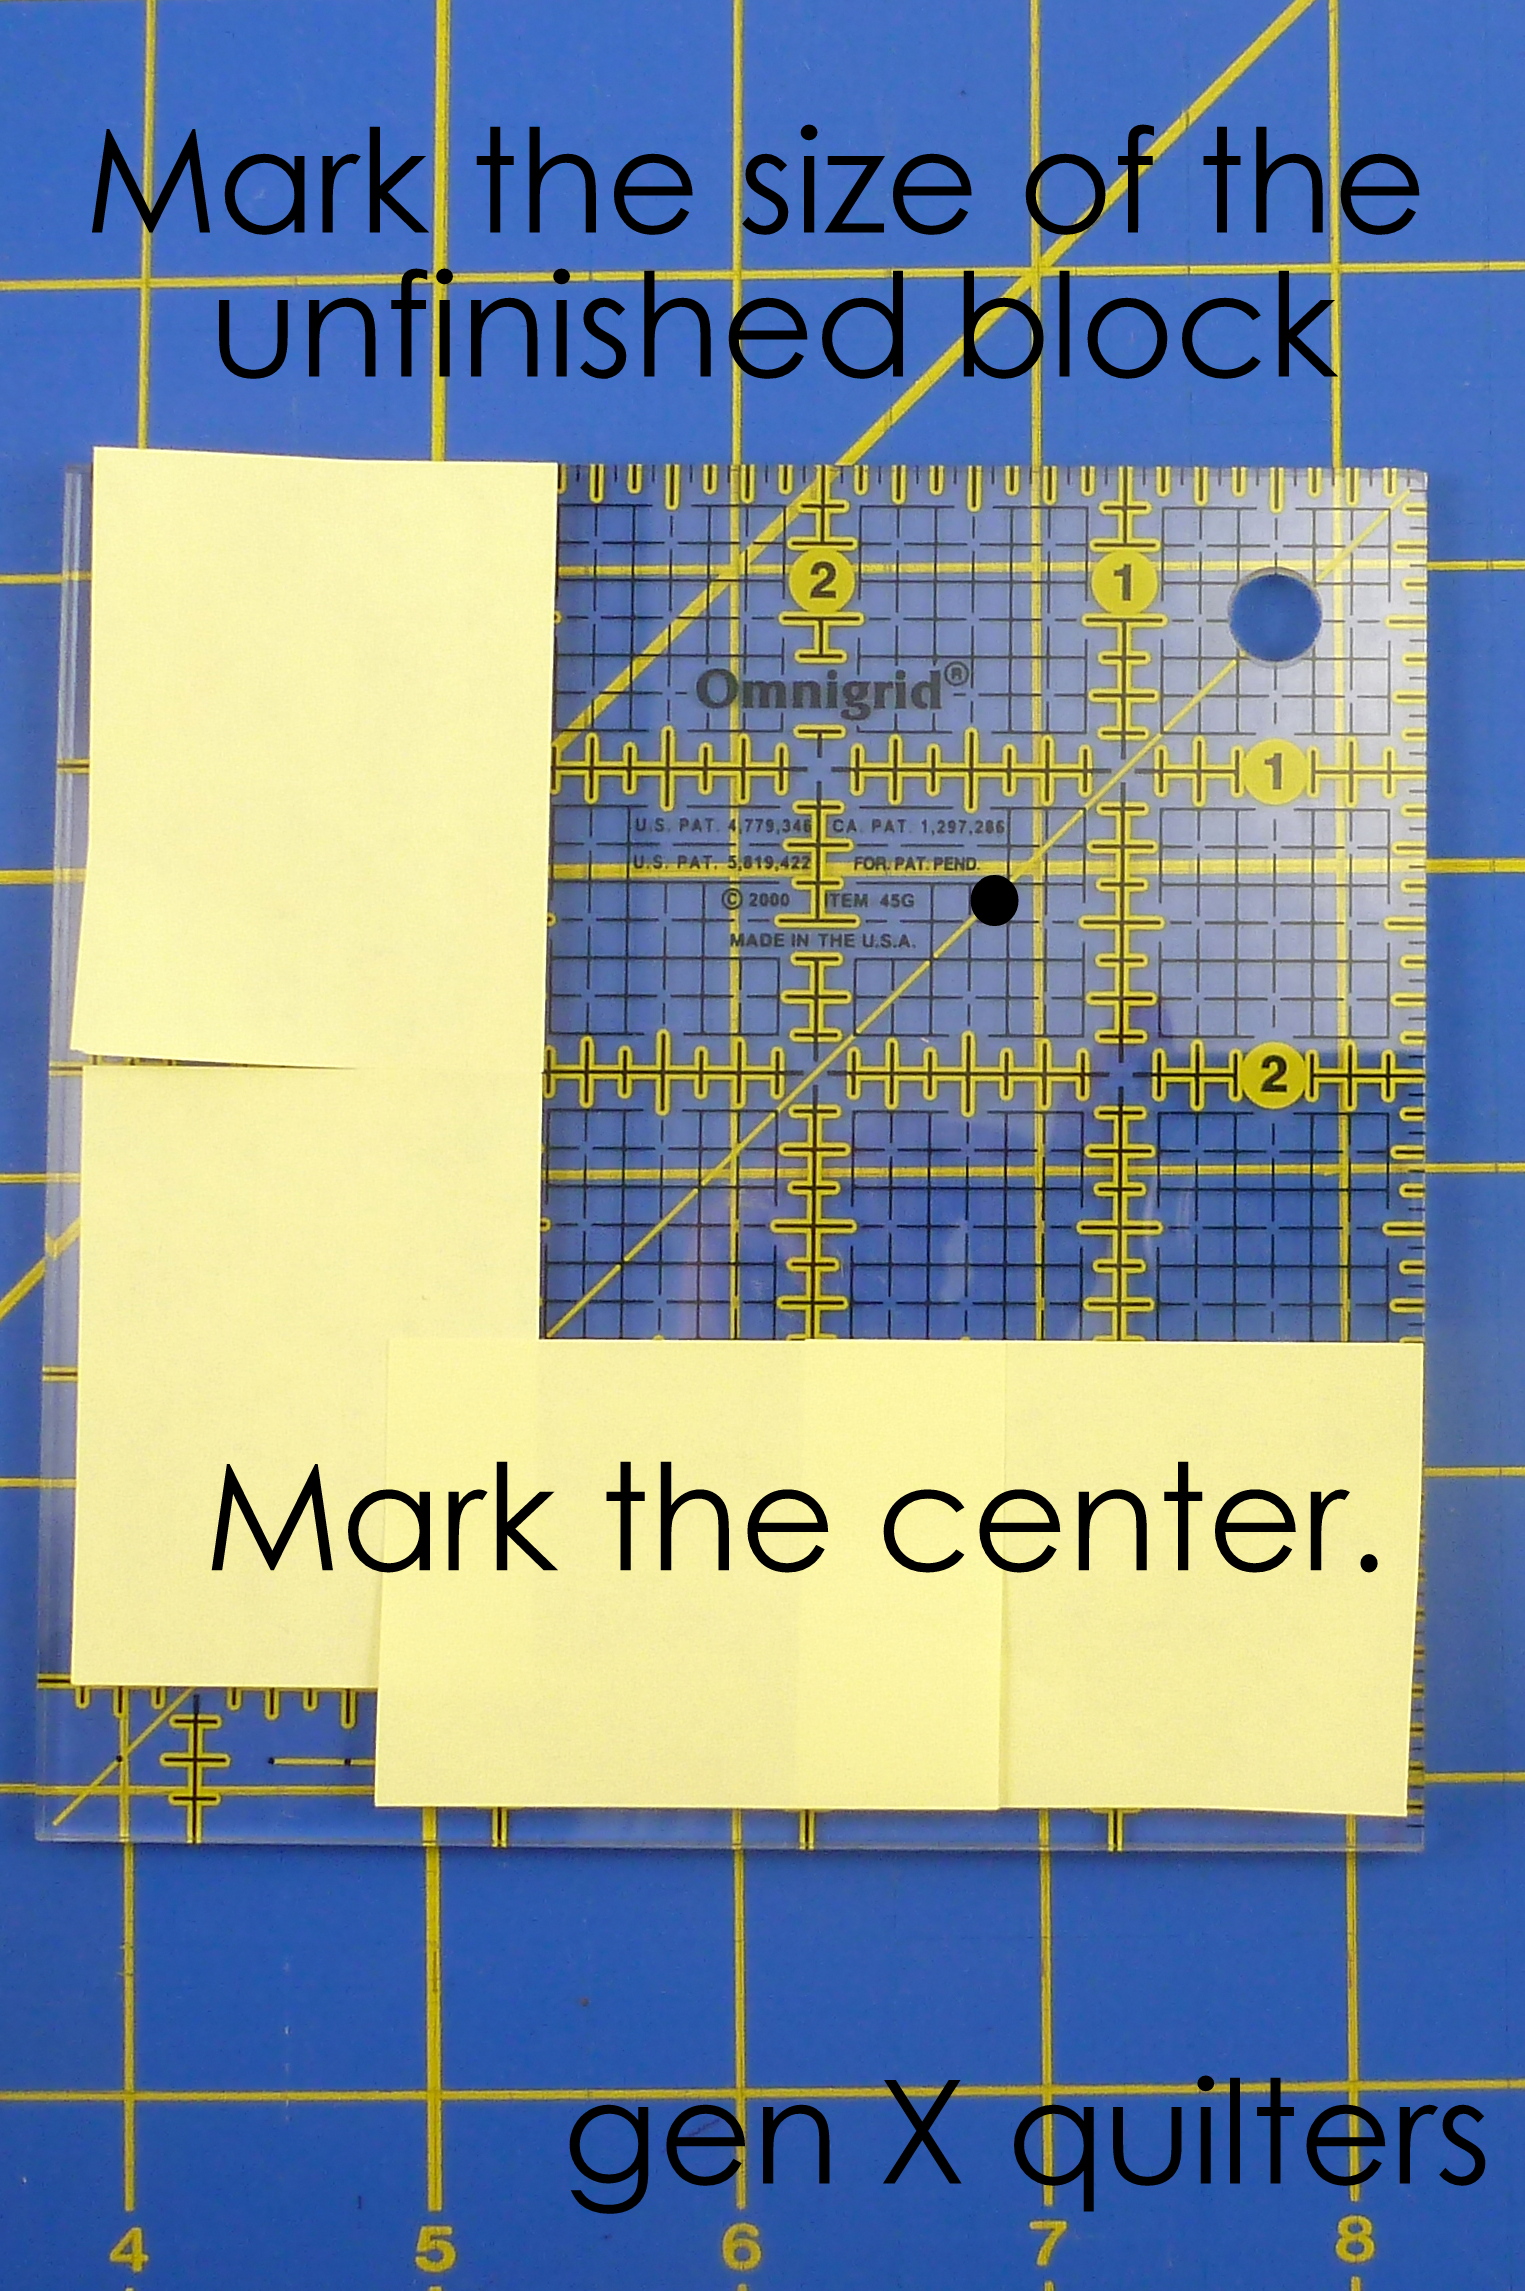
Mark the center of the block on your ruler. Lay the diagonal of the ruler on top of one of the diagonals of the Hourglass, making sure the center dot is at the intersection of the block. Trim excess fabric on all sides.
8.5. If your ruler is not exactly the same size as you need, I like to mark off the unfinished size I am going to trim the block down to. I lay post-its on the ruler so I can see the unfinished size without getting confused. (In this example, I have gridded off a 2 7/8" x 2 7/8" square. Mark the center of the square also.
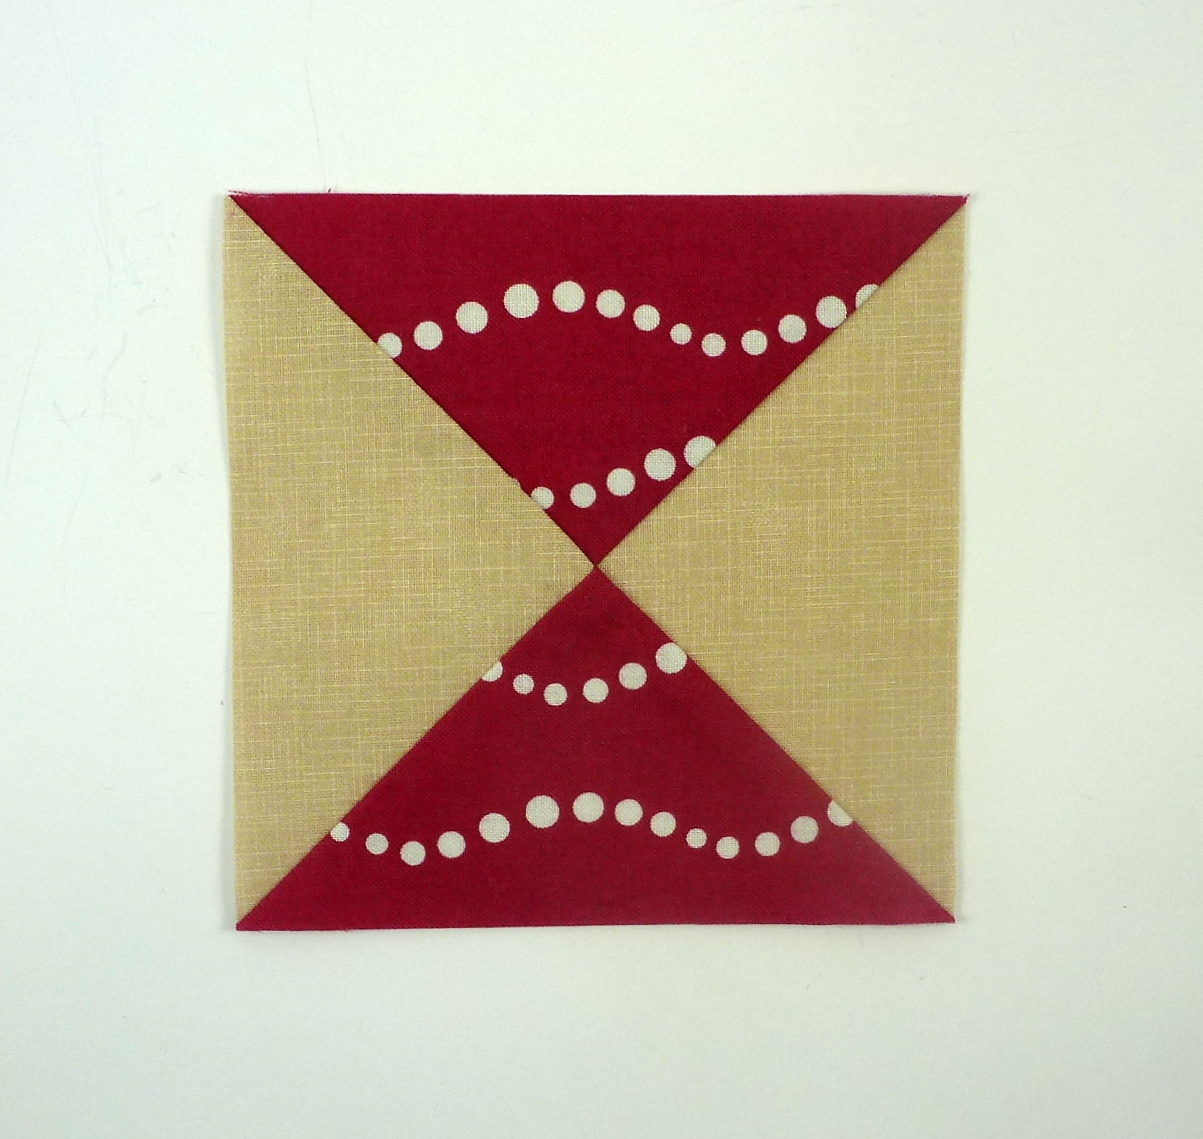
Finished!